Brew Dudes

Homebrewing Blog and Resource

The hobby of homebrewing beer

Brew Dudes Homebrew Swap – Exchange #45

When you start a blog, you don’t think that 14.5 years later it will cause people who you don’t know personally to drop beer off at your doorstep – but here we are. Bill from Massachusetts gave us three beers that he brewed under the Dirty Bucket Brewing moniker. We tasted one on camera and we posted it on YouTube. This is our Brew Dudes Homebrew Swap – Exchange number 45.

Billy B’s Harrison Lager Notes

Before we begin – you can find the recipe for this beer on Brewer’s Friend. On this page, you will see that the grain bill is simple and the hop selections are all noble. Specifically, he uses Hallertau and Tettnang throughout his brewing process.

The yeast he used was Fermentis Saflager German Lager Yeast W-34/70, which these Brew Dudes have used before. We have had success using this strain, especially in lager fermented at warmer than traditional temperatures.

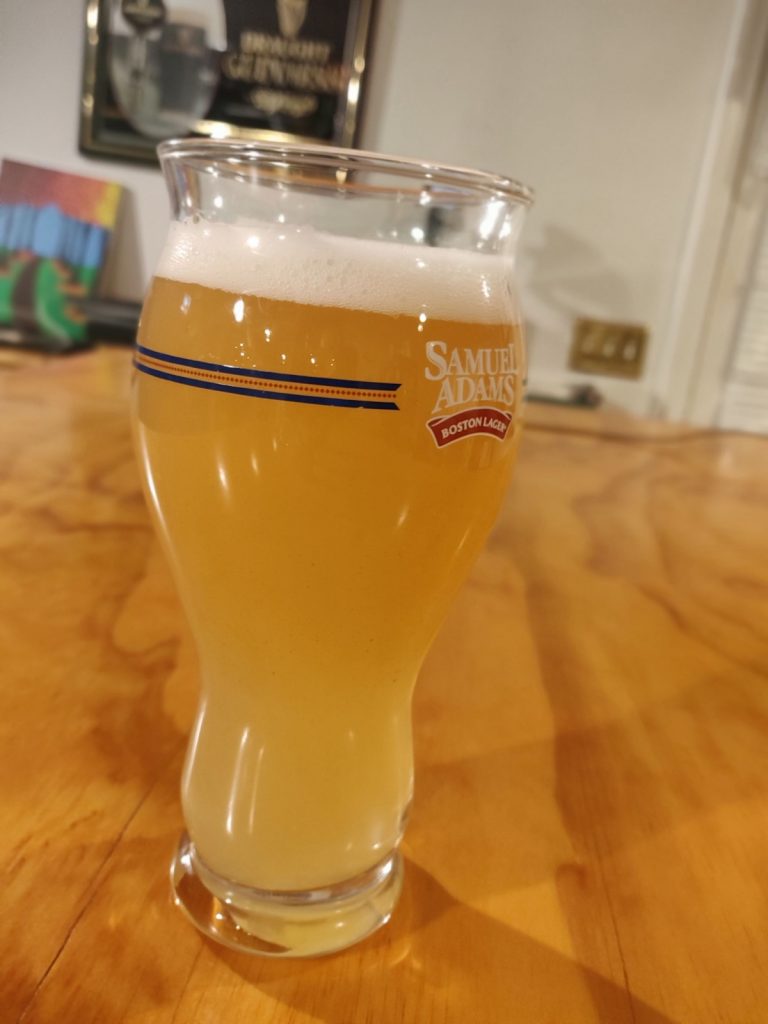
Opening the bottles into glasses, this beer poured clear and had a nice off-white head. The color of the beer was in line with what we were expecting with a Sam Adams Boston Lager clone.

On the nose, you could detect some spicy noble hop aroma with some soft malt notes. The taste delivered the familiar balance of caramel maltiness with the floral, spicy notes of Hallertau. The beer finished clean with a nice aftertaste.

In terms of making a similar beer, we feel Bill hit the mark. The only note we had was to increase the bitterness in the taste. Sam Adams has a present noble hop bitterness that his clone didn’t match exactly. Living in the same area as him, we know all too well that water in our region doesn’t necessarily help us to produce world class bitter beers.

The main tip would be to increase the amount of hops added to the beginning of the boil or upping the gypsum addition. We have found that we need to do that to make our beer’s bitterness pop.

Thanks again for the beer, making our exchange 45 a good one.

Brew On.
The Homebrew Jar of Destiny

As we reflect on 2021, albeit briefly because it was overly great, we introduce a beer brewing challenge for these Brew Dudes. Please meet The Homebrew Jar of Destiny!

What will be our homebrewing fate?

What is The Homebrew Jar of Destiny?

As Mike has observed and states in the video, we Brew Dudes are creatures of habit. We do tend to brew the same styles often. Hey, when you like certain styles of beer, you take the time to brew them often.

As true keepers of the homebrewing flame, we are challenging ourselves for 2022. Every three months, we will go to the Jar of Destiny and retrieve a homebrew style that is listed in the 2015 BJCP guidelines*. We plan to this blind choice as a part of our regular video posts so keep following the channel to stay up to date with the latest styles.

I picked the wooden nickel with the Black IPA written on it. It is one of the substyles of 21B – Specialty IPA.

Mike’s fate was of another style: 17A British Strong Ale.

Now that we have our assignments, we need to do our research. I plan to read up on the style and do some in-the-field investigation. That is, have a few pints of Black IPA from commercial breweries.

Mike is right – this jar will force us to learn more about beers and share what we have discovered on a regular basis. I do think that getting great a few styles is a worthy skill, but homebrewers of our experience level should expand their horizons.

As always, thanks for reading and being a part of this wacky homebrewing adventure. These Brew Dudes will continue to showcase our interesting in brewing beer at home as long as we can.

Brew ON!

Check out the British Strong Ale post
Check out the Black IPA post
Check out the Second Pick!
Check out the International Amber Lager post
Check out the Belgian Tripel post
Check out the Third Pick!

Idaho 7 hops SMaSH Beer

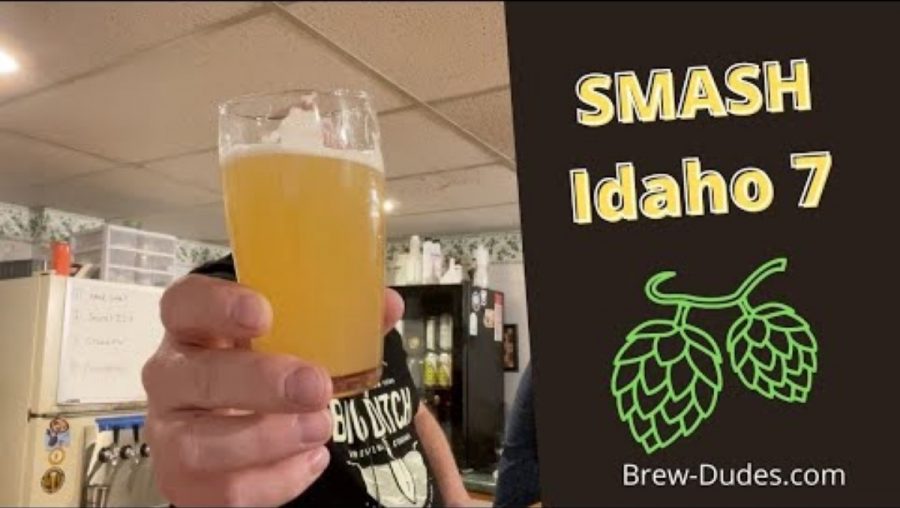
Idaho 7 Hops SMaSH Beer Tasting

This variety has been on our list for a while. Other hops were used before it but we really should have brewed with Idaho 7 earlier. This video has our initial thoughts about this SMaSH beer.

SMaSH Beer Details

Here are the pertinent details of the SMaSH I brewed for this post.

Ingredients:

2 pounds (.9 kg) of Great Western Pale malt

1 ounce (28 g) of Idaho 7 hops

Instructions:

Milled grains into a large mesh bag. Placed bag in a 5 gallon (19 L) cooler.

Heated 2 gallons (7.6 L) of tap water treated with a Campden tablet to 161°F (72°C)

Added water to cooler and mashed malt for 60 minutes at 150°F (66°C).

After the mash, I transferred all the wort into my 10 quart (9.5 L) pot.

Brought the wort to a boil for 60 minutes. I added hops to the beer following this schedule:

0.25 ounces (7 g) at 15 minutes left in the boil

.5 ounces (14 g) at flameout

.25 ounces (7 g) at day 3 of fermentation

After the boil, I chilled the wort in an ice bath in my utility sink. I transferred the wort to my 1 gallon jug and added 3 grams of US-05 yeast. Fermentation lasted 10 days at 68°F (20°C).

Our Idaho 7 SMaSH Notes

Mike really liked the aroma on this beer. He felt it was unique with notes of Pixie Sticks or Pixy Stix, under ripe green melon, and ginger. There was ‘sugary zinginess’ in his mind from what he could pick out of the aroma.

In terms of flavor, there was a nice piney resin in the background that helped push more of the fruit flavors forward. Mike mentioned in his description under the YouTube video that he detected guava and citrus flavors in his beer.

Mike also mentioned that the real magic of this variety happens when it is used as a dry hop. Idaho 7 apparently releases thiols when added during fermentation that add very special aroma and flavor notes to a beer.

So, hopefully, you’ve picked up on something from this Idaho 7 SMaSH beer video. Try them in your next brew – we think they’re great too.

Brew ON!

NEIPA Innovation – Focus On One Hops Flavor Profile

Since we do all of this hops discovery and analysis on the site, it makes sense to use it for something. Mike went back through all of our previous hops posts and found ones that had a certain profile. He used these hop varieties in his latest brew under the heading of NEIPA Innovation. When you have enough information, you can fine tune a hop forward beer to the profile you want. Check out this video where we discuss the recipe and the aroma/flavors of this beer.

Lime Focused NEIPA That’s More Like Orange

The Flavor Focus

The focus that Mike had for this New England IPA was to find hops that had lime as a descriptor as a part of their aroma/flavor profile. The varieties that he choose were Cashmere, Wakatu, and Sabro.

He also tuned his grain bill to showcase the hops prominently. He wanted to keep the mass of hops low so that the hop bite wouldn’t be present in the beer. By using a simple list of light grains, he feels he was able to do that.

Let’s examine the recipe.

Grain Bill

10 pounds of Briess Brewers Malt
2.5 pounds of Flaked Wheat
0.5 pounds of Carapils

1 pound of table sugar

Hops

.75 ounces (21 g) of Nugget hops at 60 minutes to go in the boil
1 ounce of Cashmere hops – added as a whirlpool hop
1 ounce of Wakatu – added as a whirlpool hop
1 ounce of Sabro LUPOMAX – added as a whirlpool hop
1 ounce of Cashmere hops – dry hop in the keg
1 ounce of Wakatu – dry hop in the keg
1 ounce of Sabro LUPOMAX – dry hop in the keg

Yeast

One pouch of A07 Flagship yeast
One packet of Fermentis S-04

Water

Tap water with a little bit of gypsum:

5 grams in kettle
5 grams in the mash

Outcomes

Original Gravity: 1.061
Starting Gravity: 1.010
%ABV: 6.69%

NEIPA Results

Mike’s focus on hops of a certain flavor profile helped him to produce a beer with an intense, juicy, citrus note. Although he was going for lime, the predominate flavor profile was orange. Not that it’s a bad thing, it was quite enjoyable.

He was looking to use less hops in his beer to avoid any ‘green’ hop bite and he was successful. The addition on Nugget for bittering was present but not harsh, although that typically isn’t the cause of the problem. Mike was trying to maximize hop flavors without having to add a pound of pellets to the beer. With just three ounces added at the whirlpool phase and in the keg, he accomplished what he set out to do.

If there is one thing that I took out of this beer experience is that you can always innovate known styles. Heck, you can innovate on unknown styles too. Homebrewing gives you the freedom to use ingredients and techniques to produce beer that you want to drink. You can even whip up a little NEIPA Innovation if you want.

BREW ON!

Imperial Stout With Cocoa

Imperial Stout With Cocoa – Recipe and First Tasting

At the end of 2020, I wanted to brew a really big beer. When I state, “big”, I mean, a beer high in of alcohol content. I had tried to brew these kinds of beers in the past but had a hard time hitting my target starting gravity.

The main roadblock I ran into when brewing these beer was the size of the grain bill. Not necessarily the number of grains, but the overall weight of the bill. My homebrewing system wasn’t large enough to mash the grains. Thankfully, with advice from our audience and some extra planning, I was able to tackle it this time around.

With a notion of cleaning out my fridge of leftover grains and a bag of black cocoa powder supplied by Olive Nation, I was ready to brew. This post showcases the recipe and the first tasting of this beer after it conditioned in the bottle for about a year.

Always Dark Before The Dawn Imperial Stout Recipe

Grain Bill

This first part has all the base grains:

7.5 pounds of Great Western Premium Two Row Malt – 3.4 kg – 31% of bill
6.5 pounds of Stone Path Gold Ale Malt – 2.9 kg – 27% of bill
5 pounds of Rahr Standard 2-Row Malt – 2.3 kg – 21% of bill

This second part has all the specialty grains:

2 pounds of Flaked Barley – 0.9 kg – 8% of bill
.625 pounds of Caramel 120° Malt – 283 g – 2% of bill
.5 pounds of Roasted Barley – 226 g – 2% of bill
.5 pounds of Carahell Malt – 226 g – 2% of bill
.5 pounds of Chocolate Malt – 226 g – 2% of bill
.5 pounds of Caramel 40°L Malt – 226 g – 2% of bill
.3125 pounds of Caramel 60°L Malt – 142 g – 1% of bill
.25 pounds of Barke Munich Malt – 113 g – 1% of bill

Hops

1.5 ounces – 43 g – Cascade hops – 6.1% AA – 90 minutes to go in the boil
1.5 ounces – 43 g – Centennial hops – 9.5% AA – 90 minutes to go in the boil
2 ounces – 56g – Cascade hops – 6.1% AA – 20 minutes to go in the boil

Water

Filtered tap water

Yeast

SafAle US-05 American Ale Yeast – pitched from a previously brewed beer

Mash Schedule

All base grains were mashed overnight – starting mash temperature was 150°F/66°C in my 10 gallon orange beverage cooler (6 US gallons/22.7 liters of water)

The special grains were steeped for 90 minutes in 2.5 US gallons/ 9.5 liters of water)

Collected enough wort for a 7.5 gallon boil size (28.4 liters)

Fermentation

Fermented for 2 weeks at 68°F/20°C

Secondary Conditioning

Racked to a secondary fermentor with .5 pounds (226 g) of black cocoa powder and let it sit for another 2 weeks

Bottling

Bottled with Lallemand’s CBC-1 yeast along with 115 grams of corn sugar for bottle carbonation and conditioning

Outcomes

Starting gravity: 1.100

Final gravity: 1.025

%ABV: 9.84%

First Tasting Notes

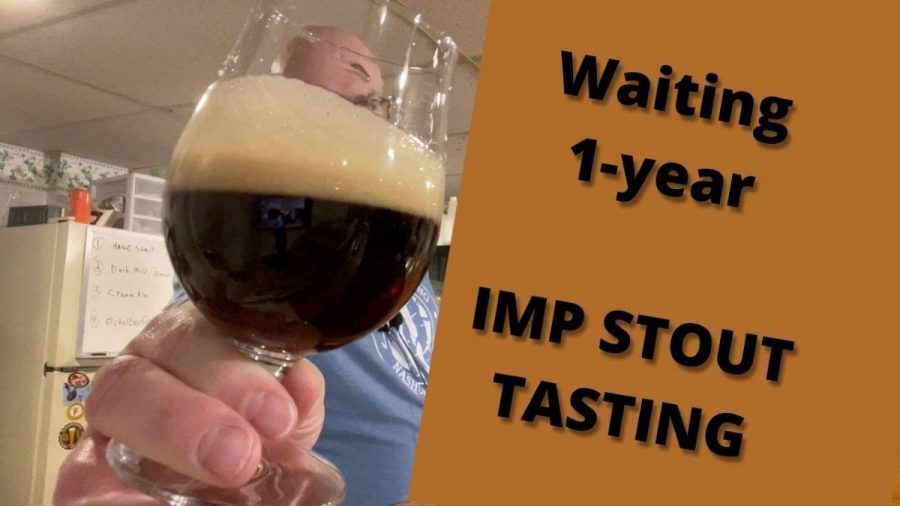
This beer tasted like a big beer with lots of dark fruit notes. Mike liked the chocolate graham cracker aroma. Along with the fruit, there was a strong milk chocolate taste along with caramel malt flavors.

The color was the darkest brown you could imagine. With more roasted barley, we would have had a black color. I was trying to get the color I wanted with the black cocoa addition, but it didn’t have as strong of an influence.

If I were to do this again, I would triple the amount of the roasted barley and I would choose one caramel malt. It’s not really an Imperial Stout – more like an Imperial Nut Brown Ale with Cocoa. I think this beer will continue to improve over the years and I can’t wait to drink it again in late 2022.

BREW ON!

Page 50 of 322

Powered by WordPress & Theme by Anders Norén