As you may know, most of the hops produced in the USA are grown in the Pacific Northwest. There are other states that are hop producers but just at a smaller scale. One of our viewers, Vinnie from PA, sent us some hops for us to try. For the record, these hops were grown in Wisconsin even though they have another state in their name. Check out this SMaSH beer tasting video of Michigan Copper hops.
Brewing With Michigan Copper Hops
I followed the typical procedure for this 1 US gallon SMaSH beer batch.
- I used 2 pounds of American pale malt, 2 gallons of water, 1 ounce of hops, and a few shakes from a US-05 yeast packet (about 3 grams)
- My mash is held at 150°F for an hour and the boil is for a hour
- Hop Addition #1: 15 minutes to go in the boil (7 grams)
- Hop Addition #2: At Flameout (14 grams)
- Hop Addition #3: Day 3 of fermentation
- Fermentation happens for 10 days at 68°F
After fermentation, the beer is racked to a small keg and then forced carbonated for tasting.
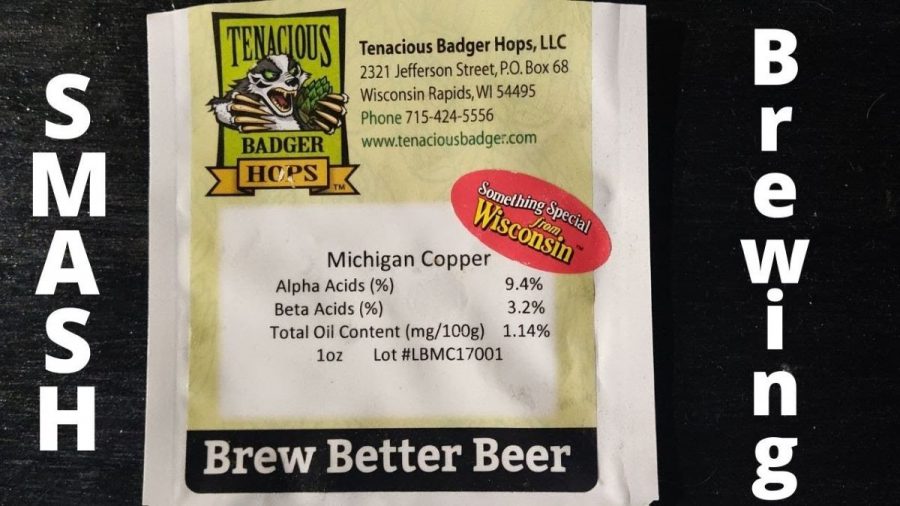
This packet of hops came from Tenacious Badger Hops, and they are ferociously committed to quality hops. Here are the specifications they listed on the package.
- Alpha Acids: 9.4%
- Beta Acids: 3.2%
- Total Oil Content: 1.14%
Now, how did they present themselves in this beer?
The Tasting Notes
The aroma of these hops had a bouquet of kids breakfast cereal. You know the ones, like Trix or Froot Loops.
It carried through to the flavor too. Mike didn’t like it. I thought it was ok.
The aftertaste had more grapefruit pith notes than we expected. It was an interesting transition from that artificial fruit flavor.
I think these hops could play with other tropical fruit note hops like Sabro. Also, I think it’s good to try out beer ingredients from different parts of the world. It may be strange or scary to try them, but be adventurous in your homebrewing journey.
Brew On!