Brew Dudes

Homebrewing Blog and Resource

The hobby of homebrewing beer

Adding Fruit to Secondary

I don’t use a secondary very often as I tend to ferment in primary for at least two weeks then I cold crash and rack to a keg. Mainly I just like not taking the time to clean a secondary and then rack the beer. I prefer to just let it ferment out in primary and the next move is to the serving vessel. However, a secondary does have a practical applications occasionally, one being the addition of fruit.

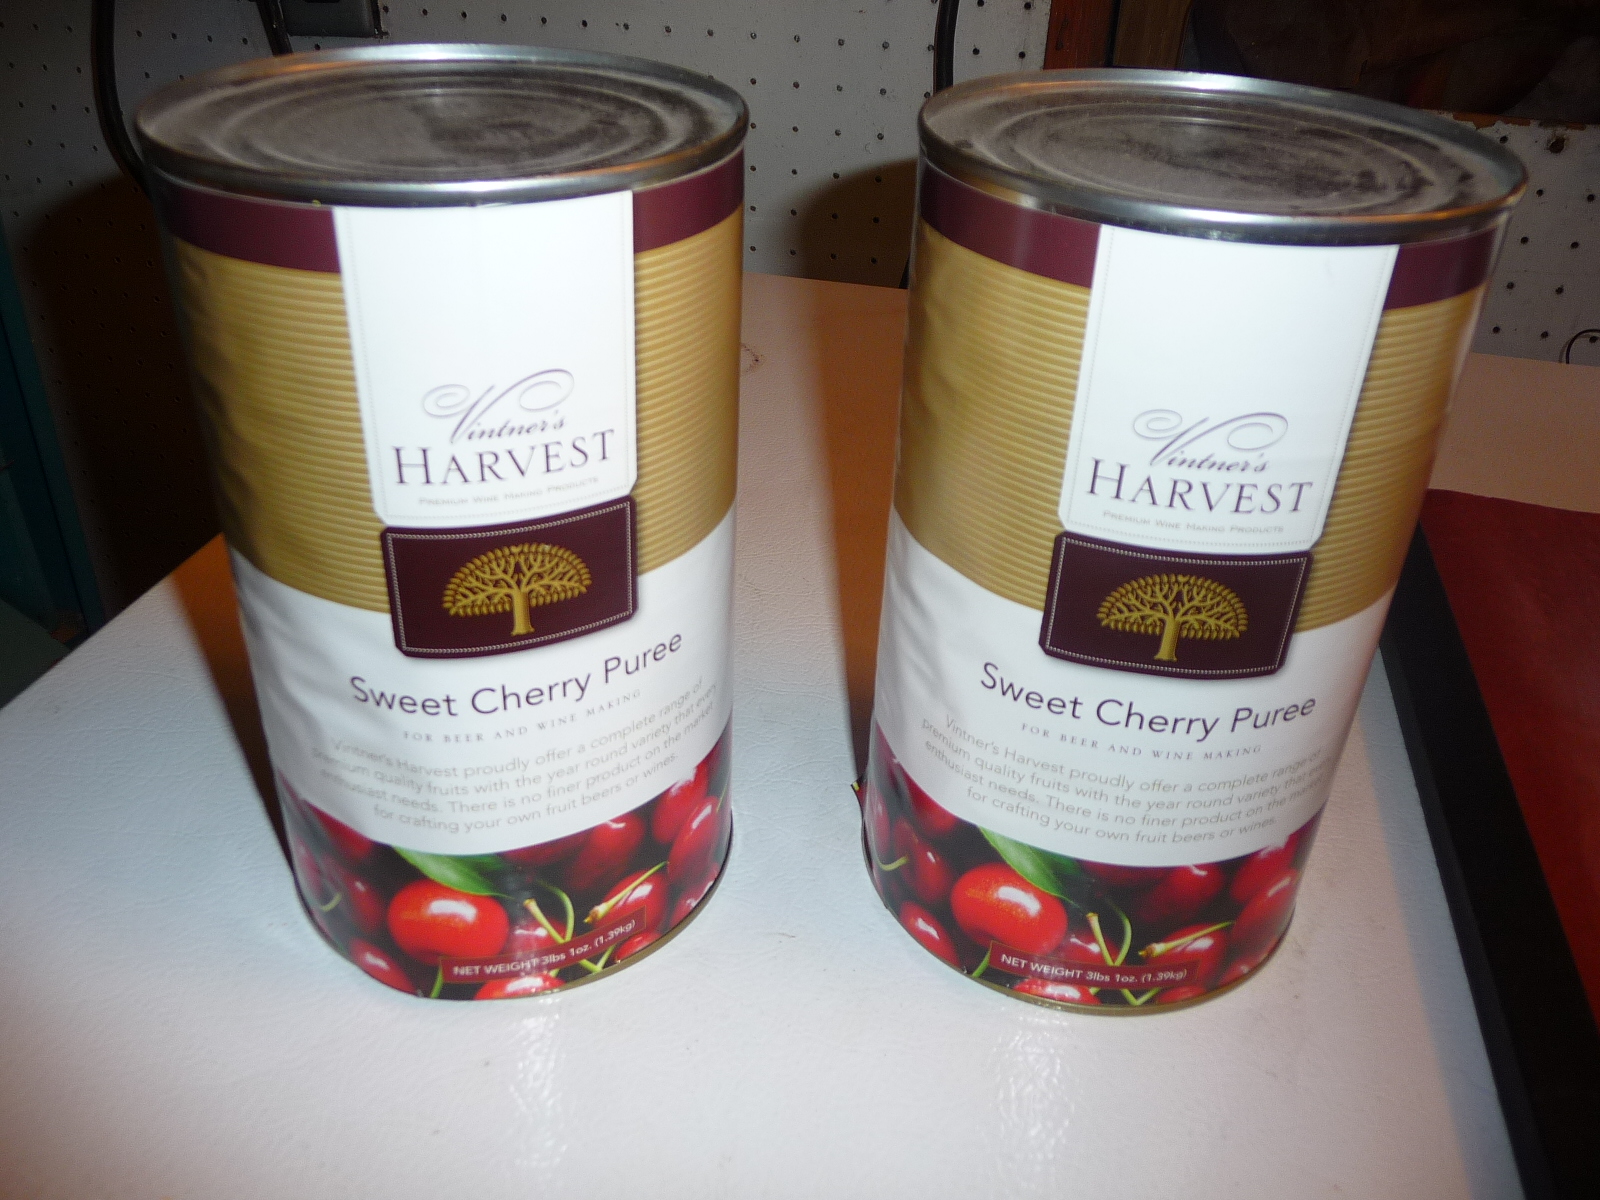
AAAAAnd you won’t see that here. The few times I’ve done fruit beer in the past I have added fruit to secondary, then racked the beer on top of the fruit. This time I wanted to experiment with something different and keep with my simple one fermentor process I outlined above. In the case of my Cherry Wheat brew, I chose pureed cherry from a can. This cherry source is pasteurized at canning, so the fruit is ready to go. All I needed to do was sanitize the can, and pour it in the fermentor. Of course, I used a sanitized funnel to help get the red cherry goodness into the glass carboy I was using.

Going along with my easy as possible steps, I left a bucket of sanitizer next to the fermentor with my small funnel in it after the last brew session. All I did was to pull the airlock and bung out of the carboy, add the puree and replace the airlock.

No worries right?

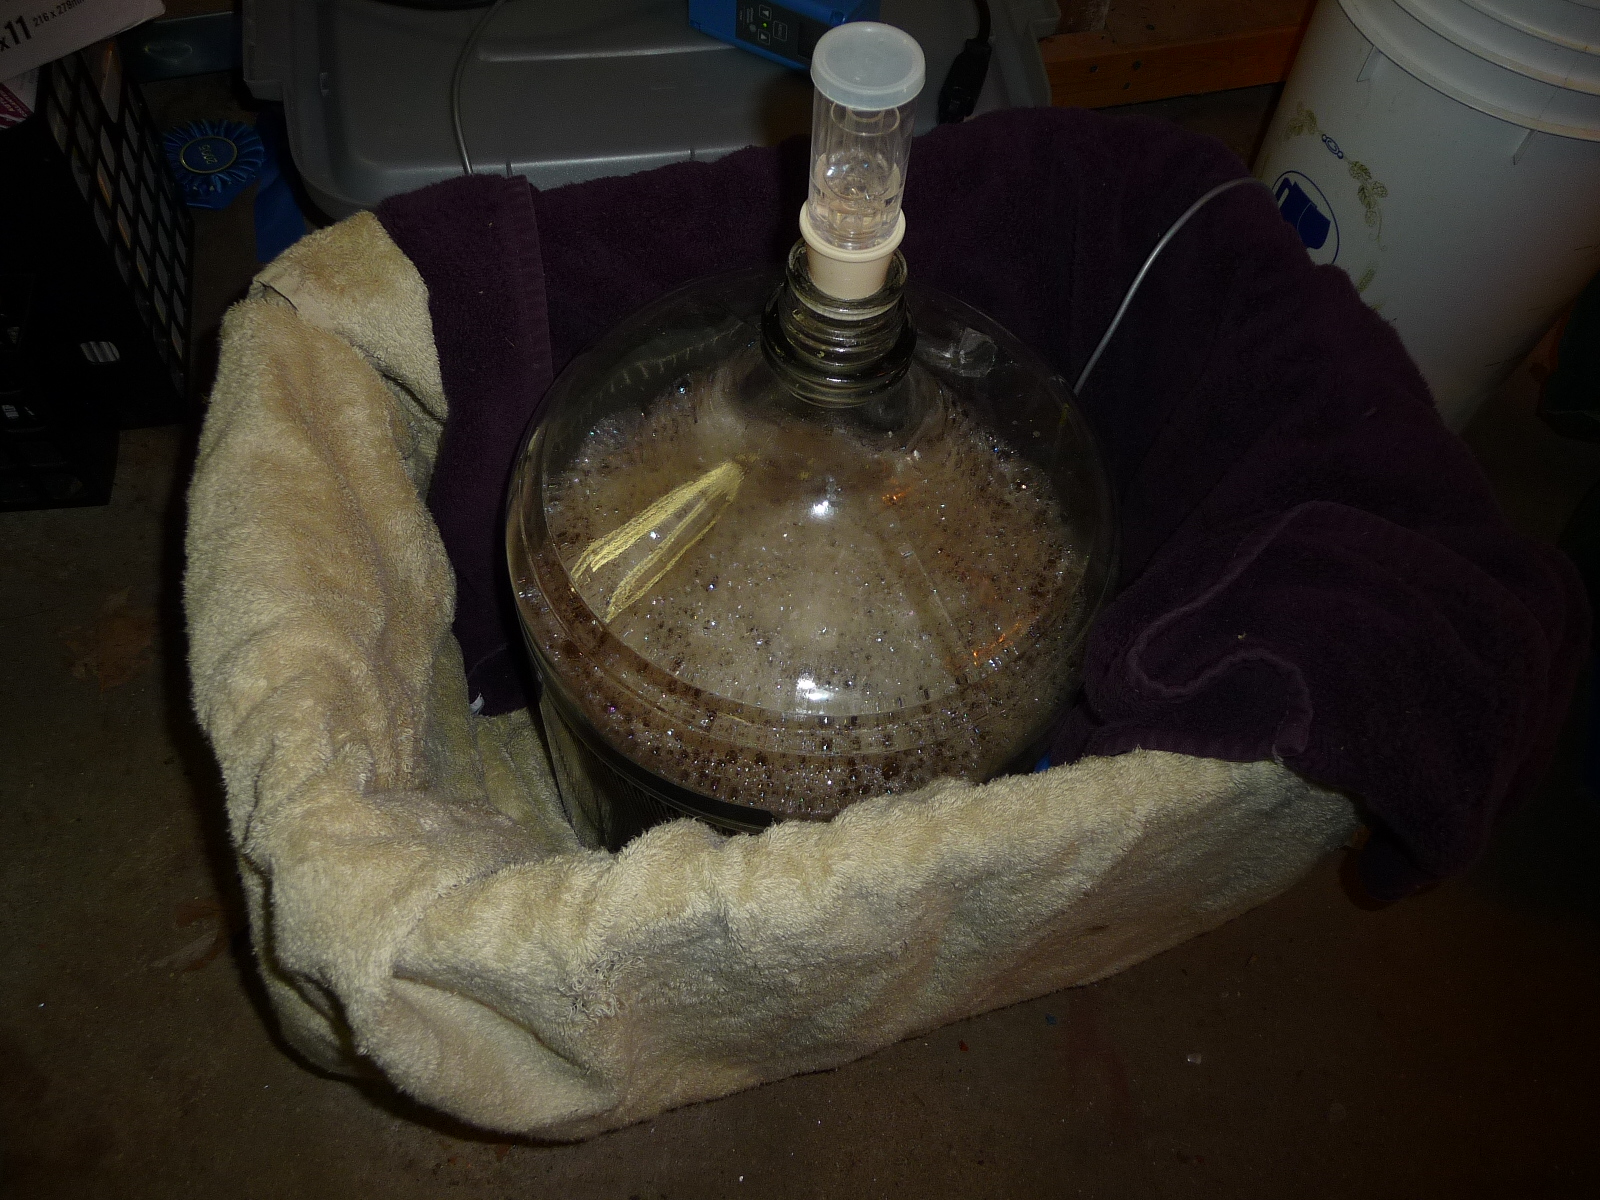
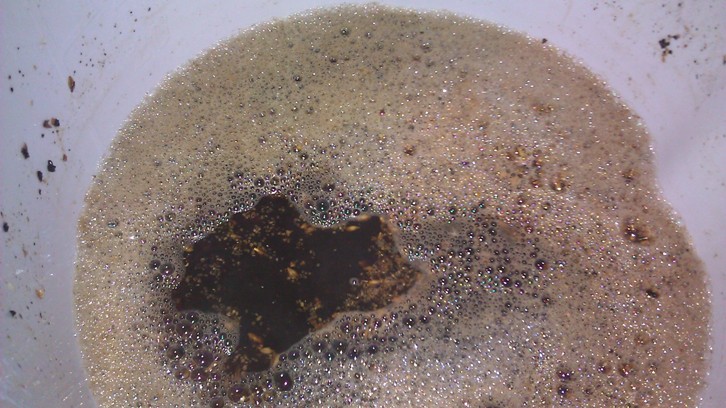
Well, I did add the fruit 5 days into the ferment as I had planned. Thinking that the majority of fermentation should have been passed I hoped that by adding fruit to the primary would prevent a vicious blow-off. Well that part of the experiment was a failure. I ended up coming home the next day to an airlock dislodged from the carboy and it was full of fermentation goo. Not a problem though because I still had a bucket of sanitizer and an airlock already in there ready to go. The fermentation had already gone through its blow off phase apparently, because the fresh airlock hasn’t gotten gummed up yet.

I’ll have to edit this post with a link to tasting notes after the beer is done (in another week) to decide if the fruiting in the primary is as good as doing it in secondary.

BREW ON!
Dry Hopping With Whole Hops

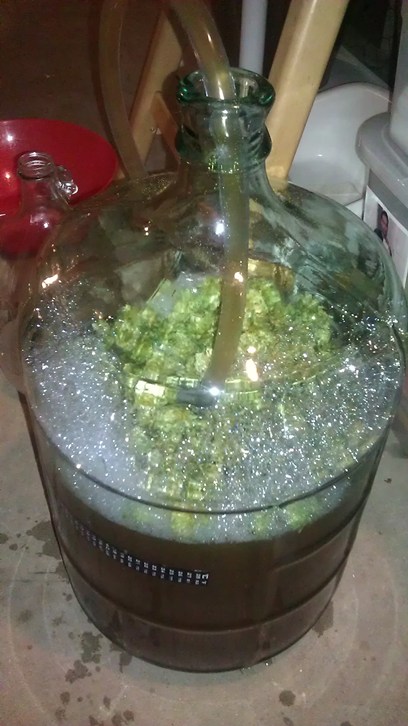
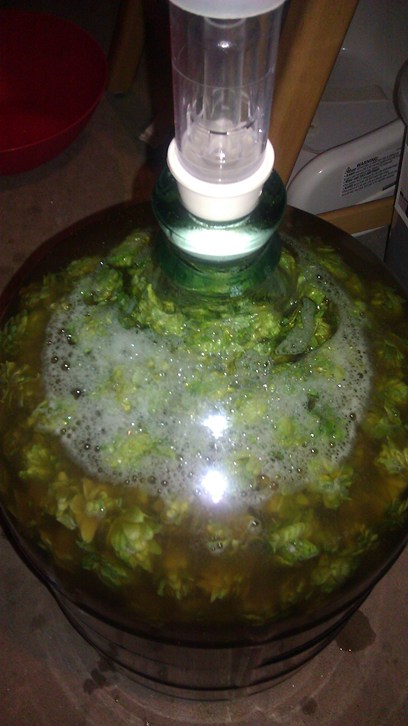
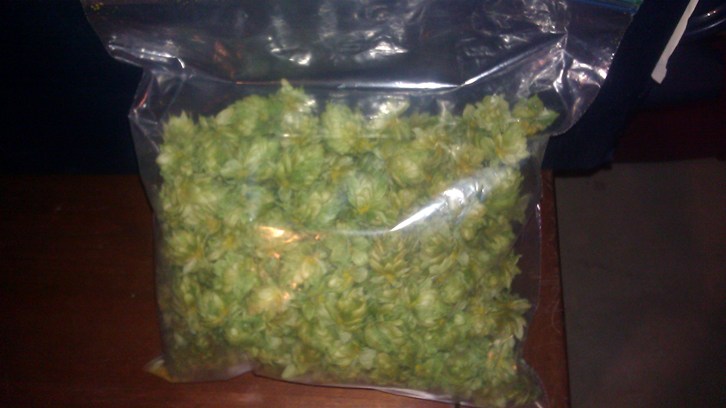
For the harvest ale, I dry hopped it using my home grown hop cones. I know using whole cones are going to make it difficult to clean out the carboy, but not impossible. For this brew, I wanted to stay true to the concept of the harvest and only use hops that were grown by me.

I transferred the beer from my primary fermentor to a secondary carboy. I kept it in the primary for two weeks. I probably could have dry hopped a week ago but I didn’t get to it until last night.

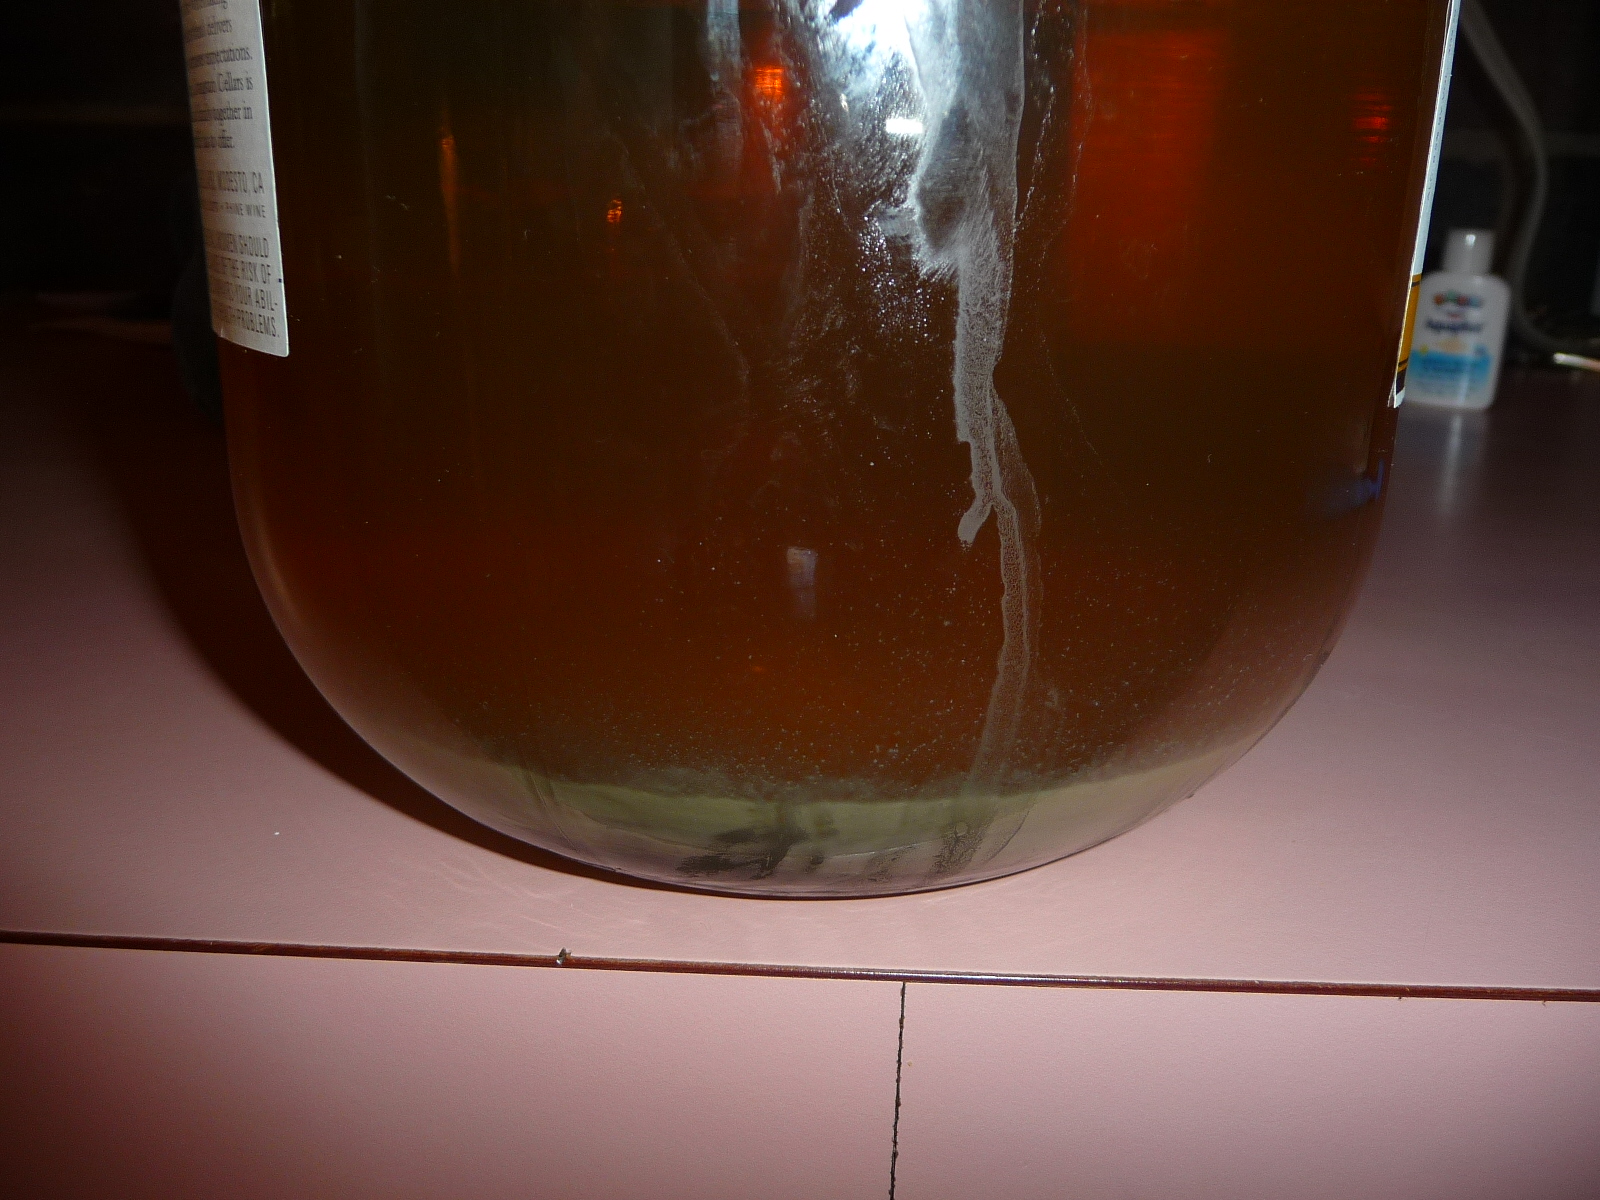
Anyway, I put the hops in the bottom of my sanitized carboy and I racked the beer on top of them. Here are some photos of the process:

Cherry Wheat Brew Log

I am getting an early start to the new brew calender… or a late finish depending on your perspective (or a previous post).

On New Years day I started my first brew of 2012, a Cherry Wheat.  My plan to squeeze this one in was to perform the mash the night before, do an actual mash out to “lock in” my mash profile and I’d finish with the boil in the morning.  I had done a couple overnight mashes in the cooler in the past with decent results.  But I have been upgrading my equipment during the later past of 2011, as a result I no longer mash in my cooler.  Hence the mash out rather than letting it sit overnight. (If you’re curious about my equipment upgrades I’ll highlight them here with a couple pics, but I’ll write up some posts in the near future). Overall, I hit my numbers pretty well.  I as a little short on my volume in the fermentor, but its primarily because I am still dialing in my equipment for volume losses and performance.  I only wanted 5 gallons in the fermentor (I usually shoot for 5.5 gal) because I’ll be adding two 3lb cans of cherry puree after 3 days of fermentation.  If the fruit addition kicks up fermentation I wanted the extra head space to avoid a big messy blow off.

Here’s the recipe:
Est OG 1.052
Est IBUs 32

5lbs Pilsner
5lbs Malted Wheat
2lbs Munich (10L)
0.5lb Rice Hulls

2.0oz Tettnanger 3.5 AA 60min
1.0oz EKG 4.5AA 60min

WLP001 from 2L starter

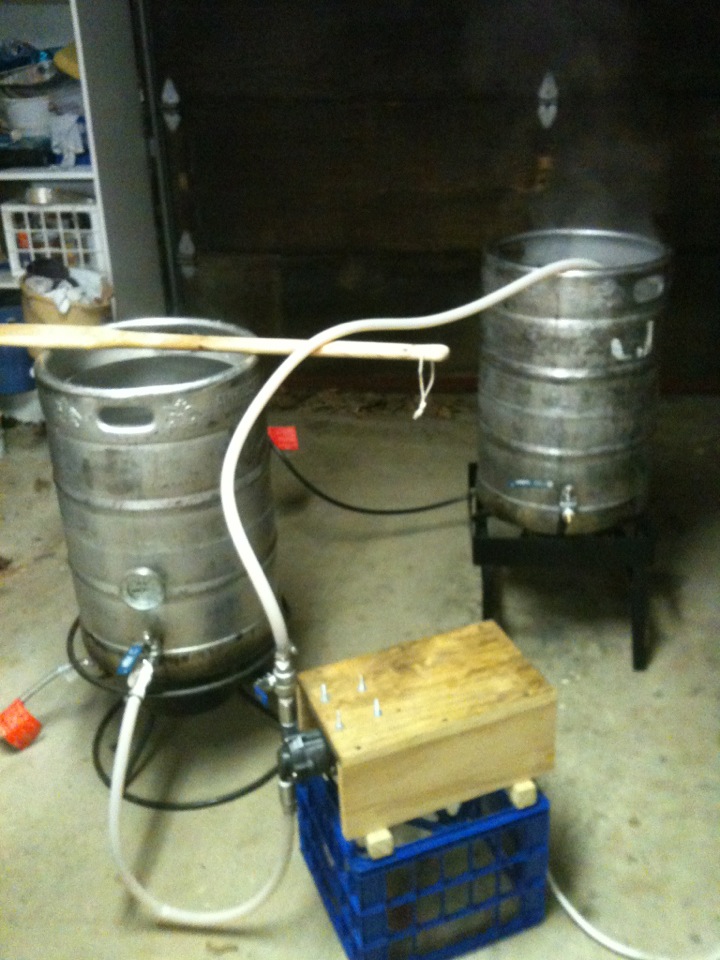
Here is my overall setup.  In this shot the wort is being pumped from the Mash Tun on the left to the kettle on the right.

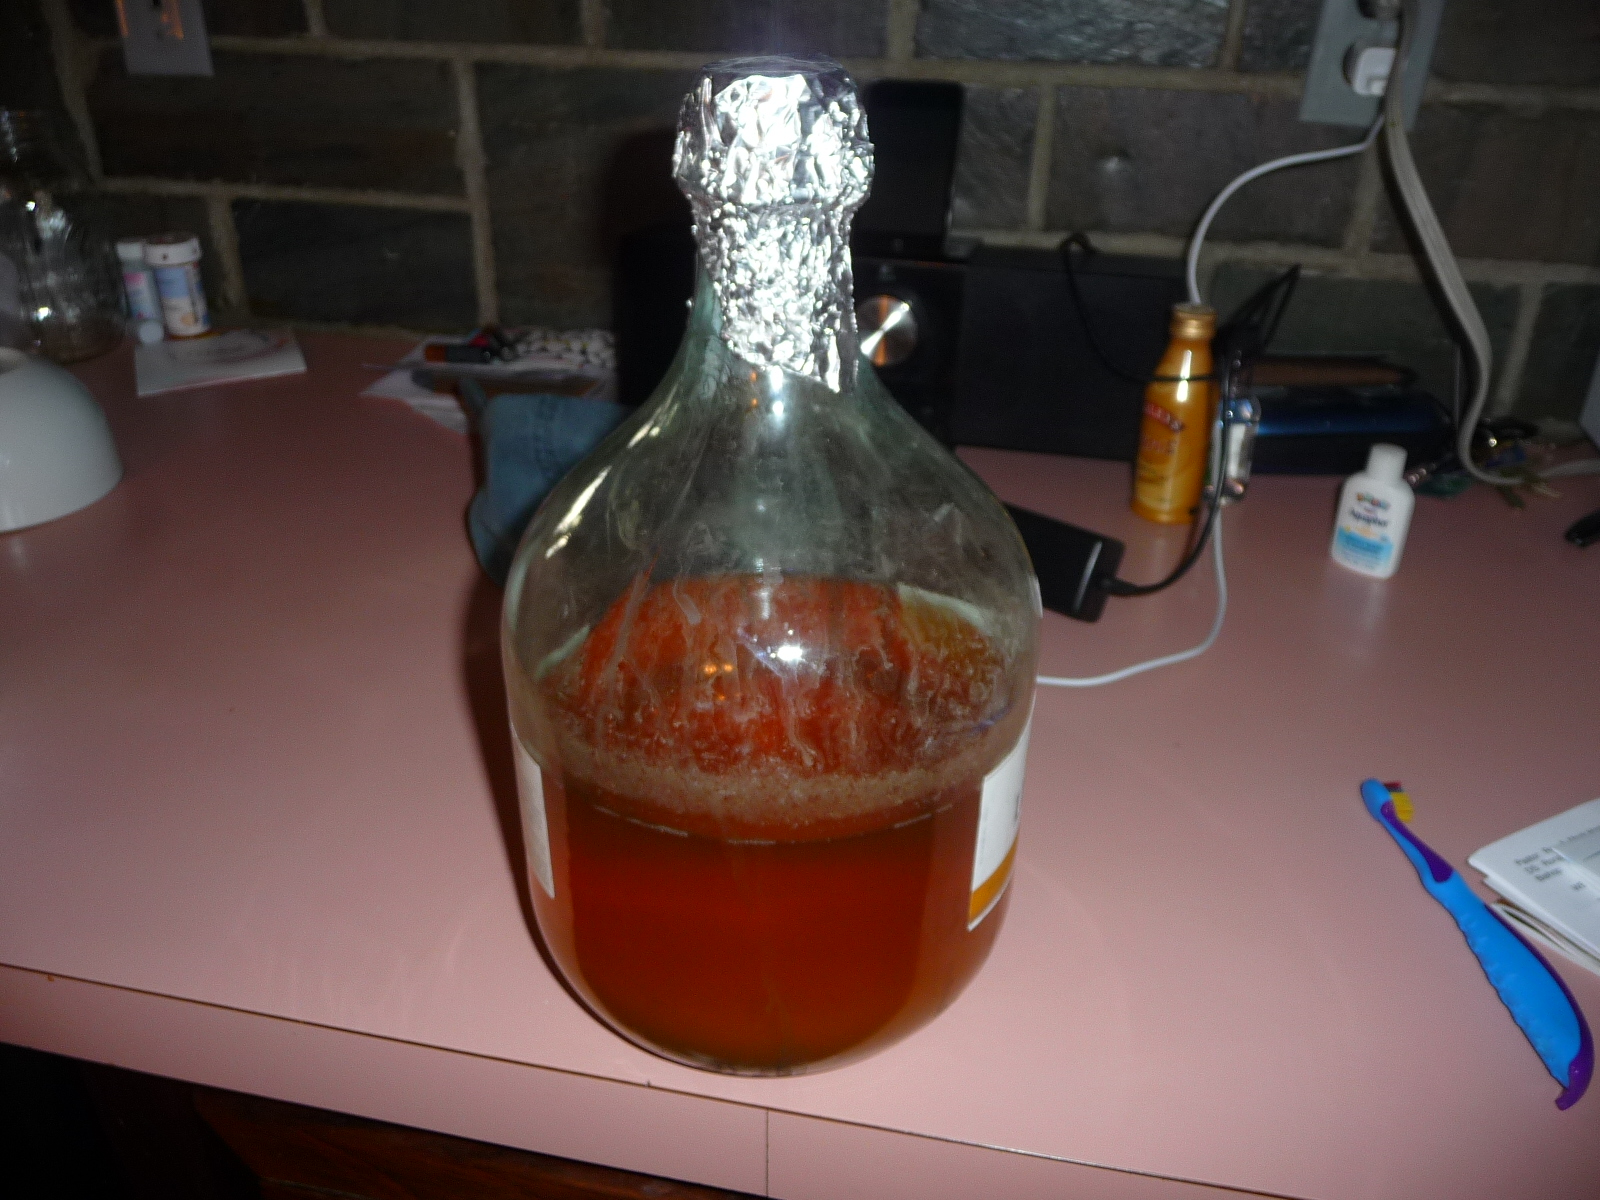
Yeast Starter


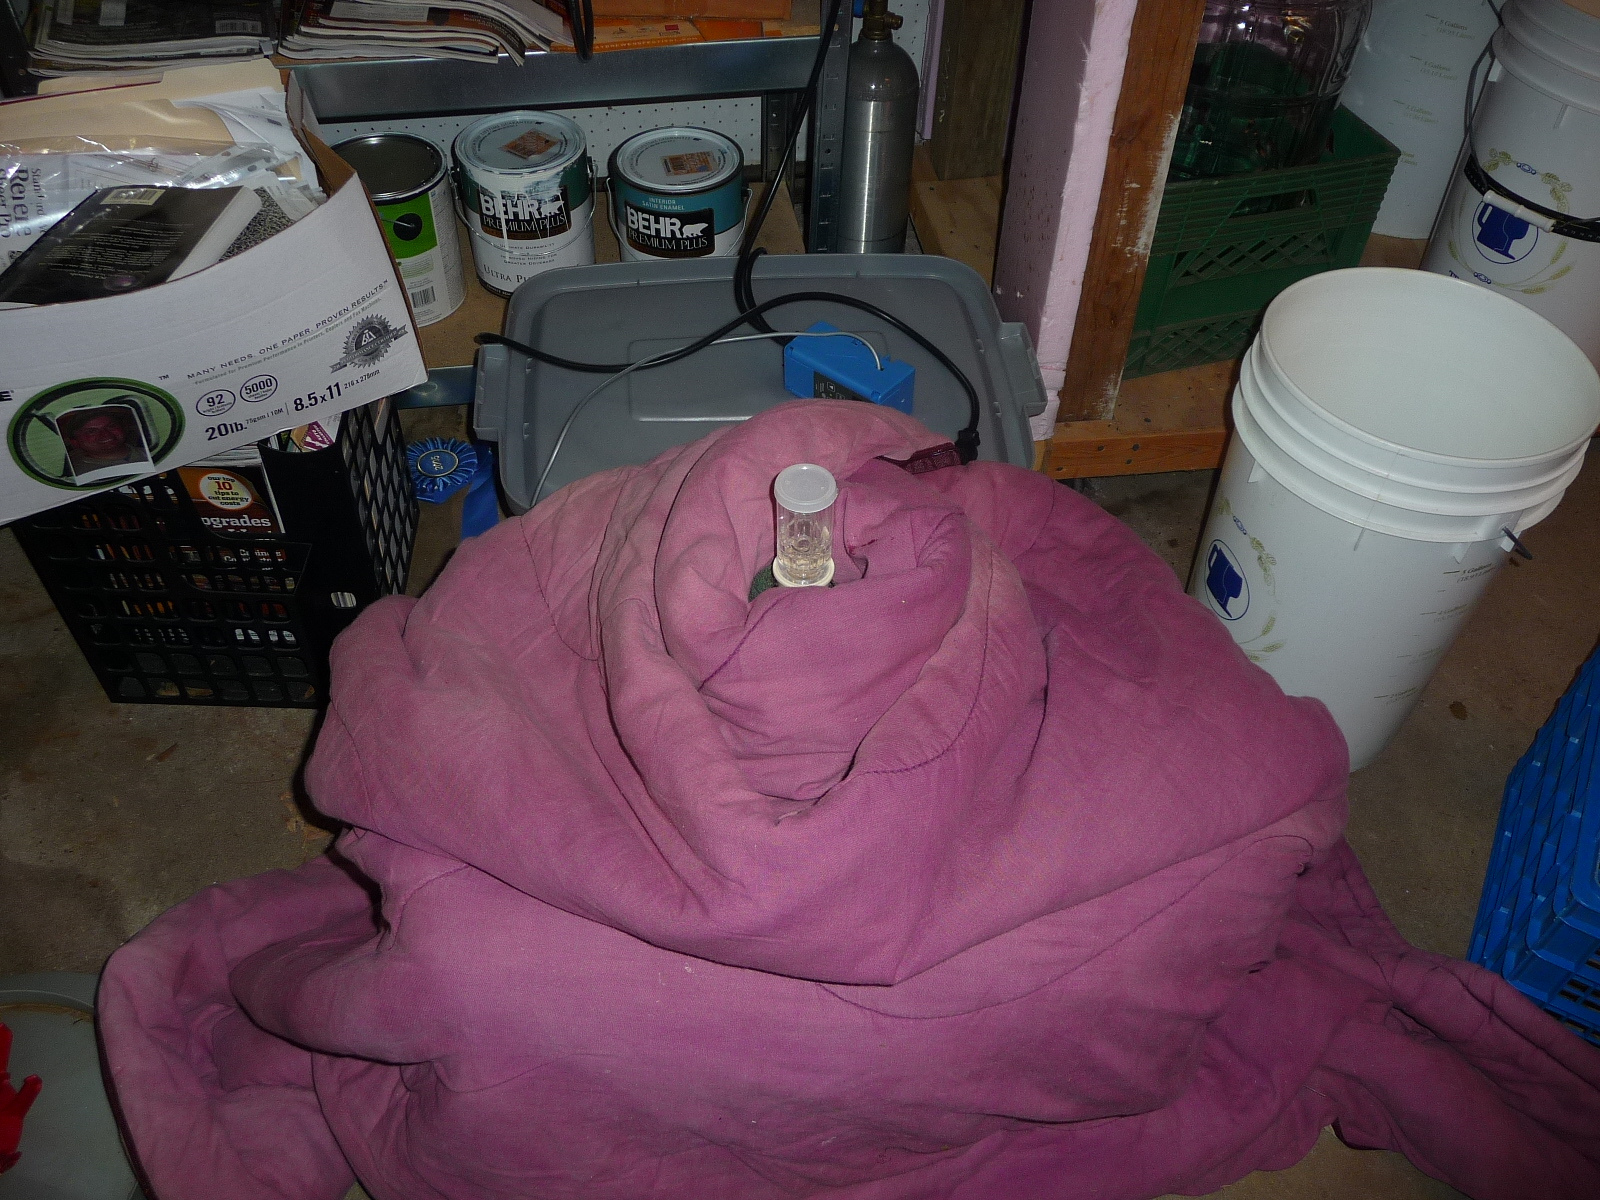
Fermentor set up in a bin with FermWrap heater and towel/blanket insulation.

Sweet Cherry Puree Cans

Brew Year Resolutions 2012

With 2011 coming to a close, I revisited the goals I set for the year:

Brew my APA again and see if I can replicate it. It’s been a while since I brewed it so I may need to brew it twice this year to see if I have consistency.
Make a mead and a cider – I think I can do those both this year.
Figure out fermentation. I am going to leave that open ended, but there are learnings about the fermentation process that I need to gain this year.
This short list should be easy to accomplish in 2011.

So I didn’t brew my APA again but I did brew a Harvest Ale that was similar to the one I brewed before. Maybe I can pass that along to next year.

I did make a mead and a cider. Done and done.

As for fermentation, I applied two things to my process that I think have helped my brewing over all. The first thing was making good healthy starters before the brew day and the second thing was getting the aeration process down. I have seen a big difference in my beers since I have done that. Fermentation temperature is the next challenge I have to lock in. When making lagers, it is easy since I can put the fermentor in the fridge and lock in the temperature. For ales, it varies wildly based on the air temperatures each season brings. Winter is too cold and summer is too hot. Spring and Fall are hard to predict.

For 2012, here are my resolutions:

  • Brew 3 lagers as a part of the Masters of Lagers project.  As a part of it, I will upgrade my wort chilling equipment.
  • Brew some recipe twice to see if my process can replicate beers.
  • Get a system to maintain fermentation temperatures for all beer types and for any season.

Brew On Brew Dudes, Brew On!   See you in 2012.

Sweet Stout Brew Day

Two brews in three days.  This is the recap of the sweet stout brewing day.

The weather wasn’t the best this morning.  The cold rain turned over to big snowflakes and then back to rain.  This brew dude plowed through with a rigorous boil and a winter coat with a hood.

Stout Mash Tun

The dark grains mashed well with the Maris Otter malt.

Mash Out

The black gold poured down from the mash tun.  The 60 minute boil met with some snow and rain during the hour but I covered it up while it cooled.

Filling Up The Fermentor

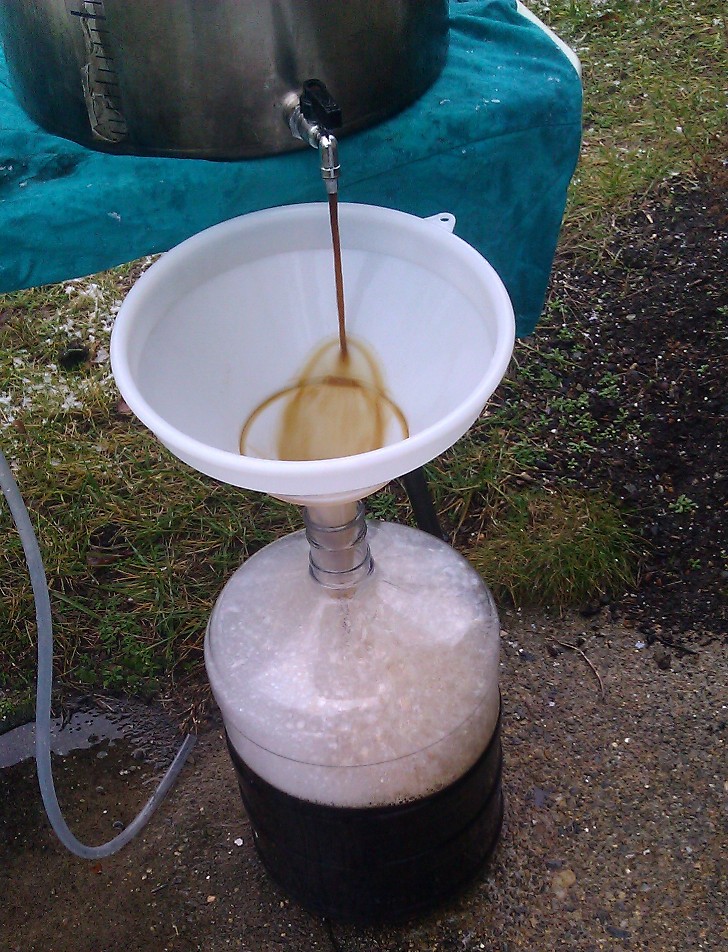
After it was chilled, the spigot of the kettle was opened and it poured through the funnel and into the fermentor.  I aerated and pitched my WLP002 starter.  I decanted some of the liquid off of the top of the yeast cake and swirled around the rest.  This strain is chunky!    It’s fermenting right next to the harvest ale and I’ll post more when we get to the conditioning phase.

Page 197 of 322

Powered by WordPress & Theme by Anders Norén