When I started to homebrew, I visited a lot of forums to get tips about how to make the best beer possible. What I keep reading in posts was the advice of “make a yeast starter”.
It seemed like making a yeast starter was the solution to a lot of problems. I definitely understand the importance of pitching a sufficient number of healthy yeast to your wort. What I never got out of those form posts was how to make a yeast starter.
Well, here I am to let people know how to make a wort starter.
I got these instructions from John Palmer’s How To Brew:
Boil a pint of water (that’s two cups) in a pan.
Pour in a 1/2 cup of dry malt extract.
Boil the mixture for 10 minutes.
After 10 minutes, cover the pan and put it in an ice bath in your kitchen sink.
After the wort has been cooled to a temperature that is ideal for your yeast, pour the wort into a bottle like a growler. I poured mine in a nalgene bottle.
Pour the yeast into the bottle with your cooled wort
Shake the wort to aerate it well.
Cover the top of the bottle with aluminum foil, plastic wrap held down with a rubber band, or a rubber stopper with an airlock.
Put the bottle in a place out of direct light. Make sure this place stays around the temperature range that is optimal for your yeast.
After two days, it should be ready to be pitched into your larger wort on brew day.
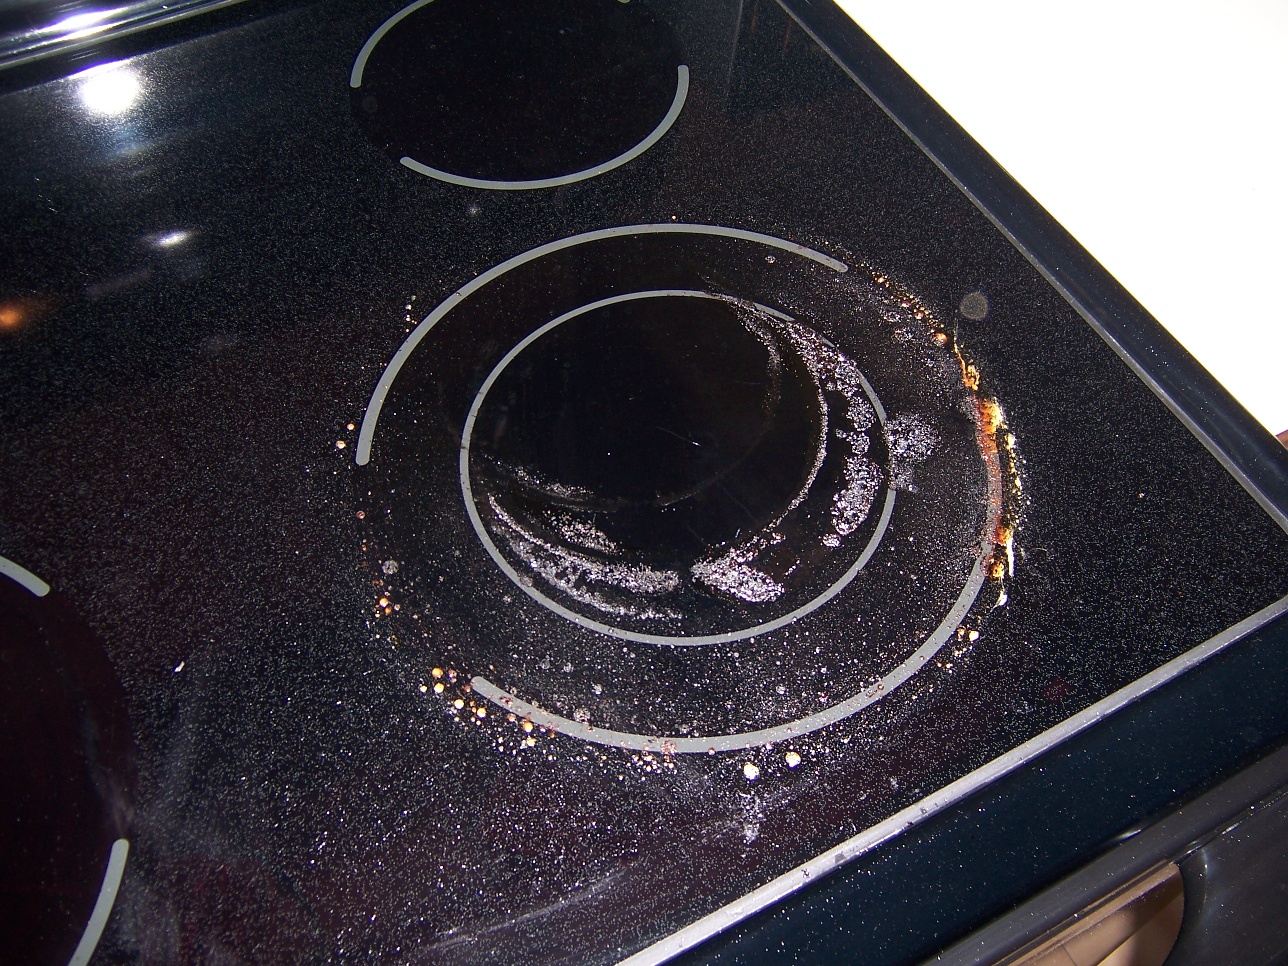
Here are some pictures from my yeast starter night. I tried to cover my wort for the last few minutes of the boil like John Palmer tells you to do in his book. Total boil over. 🙁 (See picture 2)