Brew Dudes

Homebrewing Blog and Resource

The hobby of homebrewing beer

American Pale Ale Brew Preparations

Hey there,

The Brew Dudes have been busy this week. There weren’t many posts but there has been a lot of activity behind the scenes. After some pseudo-careful planning, I headed off to my LHBS (did Mike originate the initializing of Local HomeBrew Shop? – just wondering) and bought some ingredients for my American Pale Ale. Then, I stopped by the closest Mega Warehouse/Box Hardware Store (I’m not initializing that) and bought a picnic cooler.

It’s my first mash tun…aw!

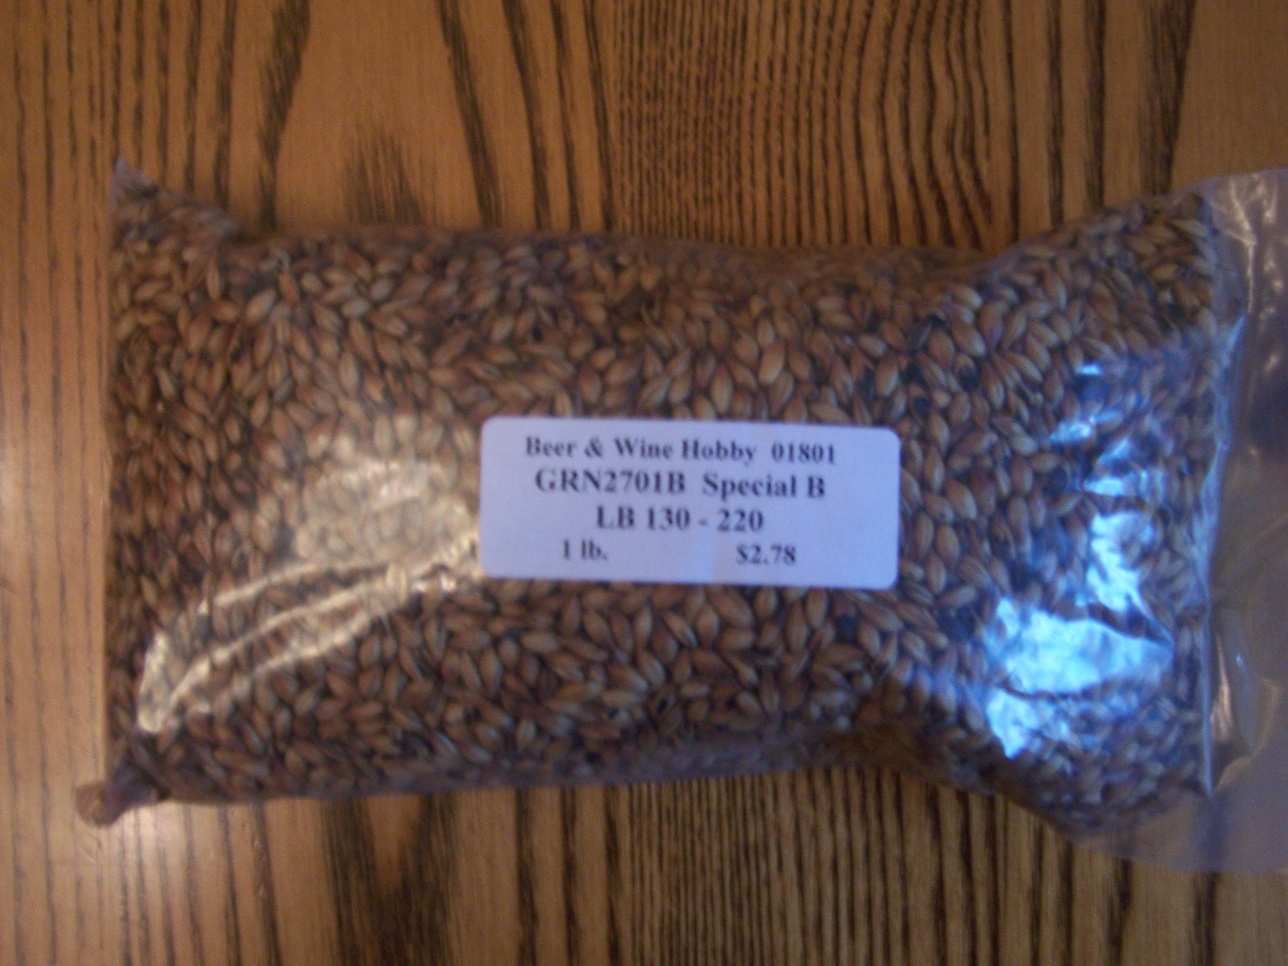
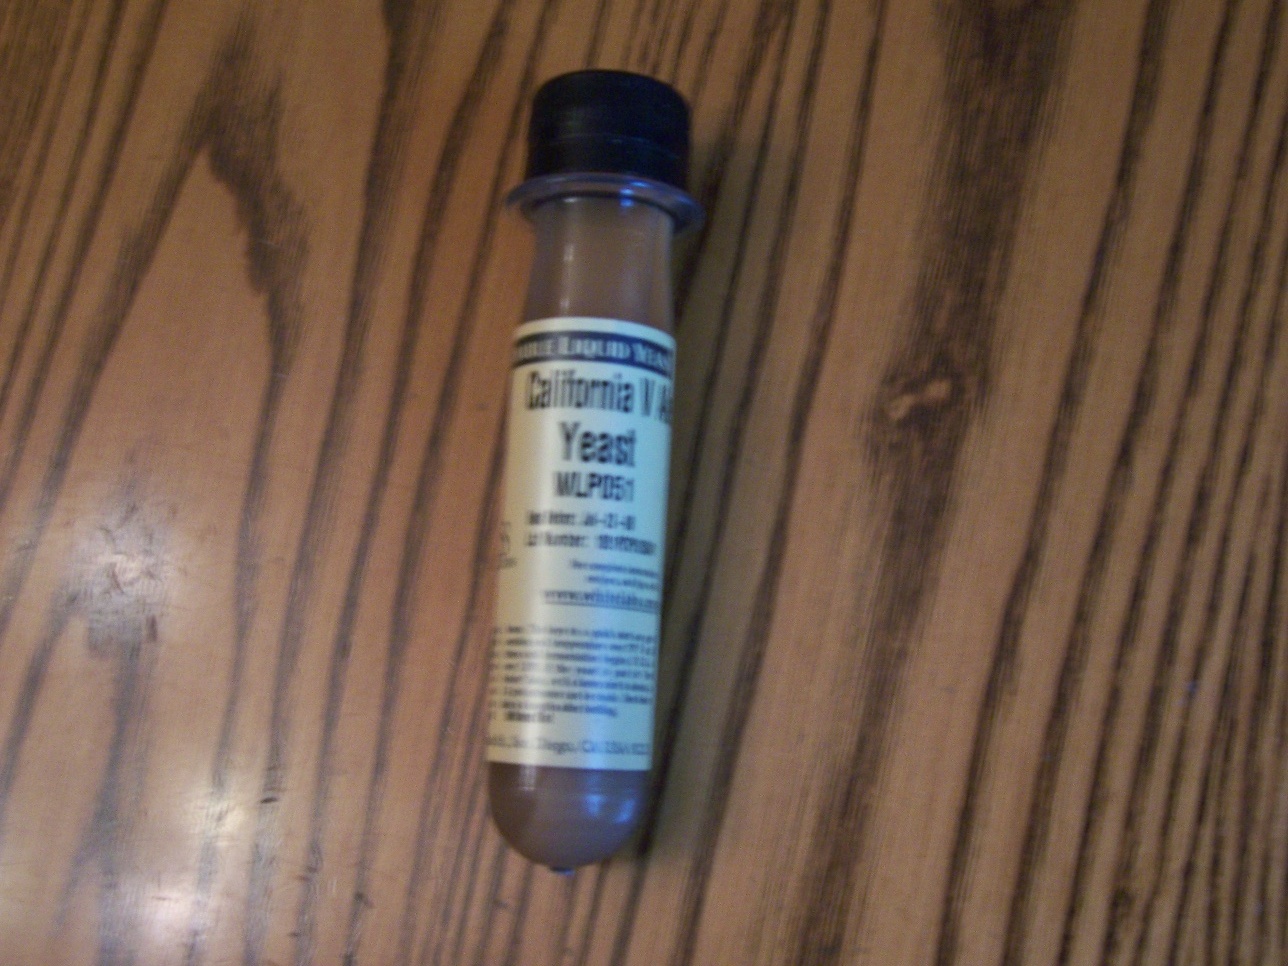
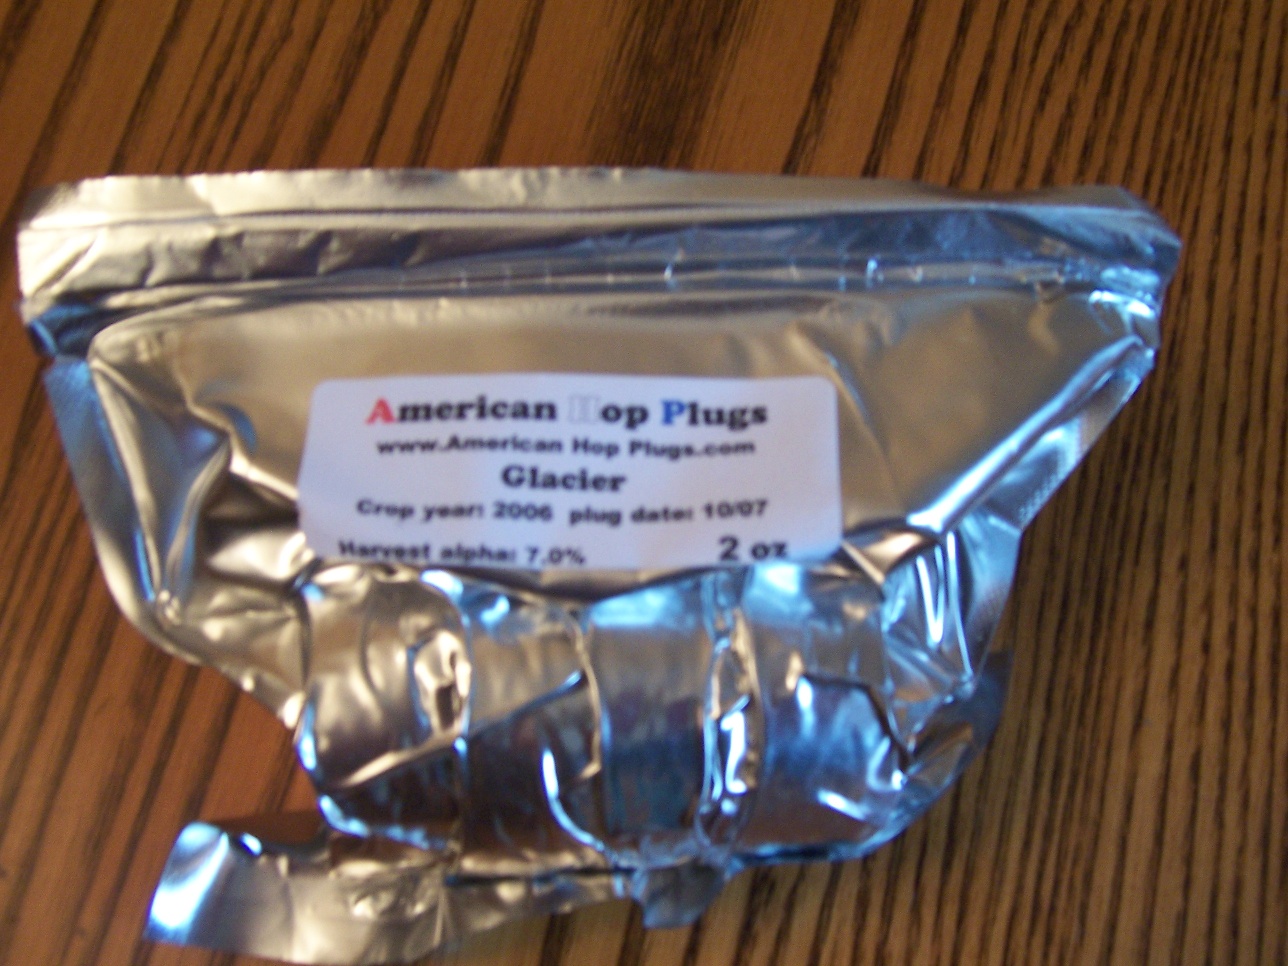
I took some pictures of my purchases.

Mash Tun Victory Malt
Honey Malt Special B Malt
California V Ale Yeast Glacier Hop Plugs

These ingredients are for my American Pale Ale recipe and this post is a part of my first attempt at a brew log…I am going to document the whole process. Please tag along if you like. I would say I am an intermediate homebrewer, so hopefully this brew log will allow me to teach as well as open it up for me to learn from more experienced homebrewers.

Brew on!

Secondary Fermentation

Secondary fermentation is a tricky term.  It is used many times to describe a conditioning phase for beer, wine, cider, etc. but a true secondary fermentation would happen only if a new fermenting microbe was added to the beer (for example, brettanomyces) or more fermentable material is added to the beer for yeast (for example, honey) to consume.

Tips on Starting a Secondary Fermentation

  • Anytime you open up your fermentor, you want to be careful not to introduce any microbe that may cause off flavors or other problems
  • Make sure you sanitize any packet or instrument that you are using before you open the fermentor
  • Check the manufacturer’s instructions of any packet of yeast or cultured bacteria to ensure your addition will be successful
  • If you are adding other fermentables like fruit, honey, or other sugars to the fermentor, plan your process so that you can add it as quickly as possible
  • Once the addition is complete, monitor the progress of you secondary fermentation as they can be more vigorous than the primary one so check on it often to avoid messy situations

If you are not attempting to trigger a secondary fermentation, you are most likely looking to add a conditioning phase to your brew. This phase isn’t necessary for many beer styles but let’s discuss when you should follow this procedure.

Should you use a secondary fermentor?

If you are asking this question and you are not adding anything to the finished beer, you are asking if you need to condition beer in a separate vessel before bottling or kegging, not if you need to have a secondary fermentation.

For most ale styles that do not have a high starting gravity, a secondary conditioning phase in a separate vessel is not necessary. In our experience, it does not improve the quality of an ale with a starting gravity less than 1.070.

Some sources state that one of the reasons to have a conditioning phase after primary fermentation is to get the beer to clear.  The truth is, there are many things you can do to increase your chances for non-hazy beer before primary fermentation.

These steps include:

  1. Adding Irish Moss or Whirlfloc during the boil, using as directed
  2. Employing a 75-90 minute boil as lengthening the boil time beyond 60 minutes ensures a really great and complete hot break to denature many haze forming proteins
  3. Using a wort chiller after the boil to chill your beer rapidly to coagulate haze producting proteins – this coagulation is called a cold break and when the proteins bind and fall out of your wort, you can rack clearer wort into your fermentor

By following any if not all of these techniques, you will be well on your way in your quest for clearer beer without the need for a conditioning phase.

Another point to keep in mind after primary fermentation, the beer is ready to move to the next phase – kegging or bottling.  Either phase can have a condition element to it to help you get to clear beer nirvana.

If you are kegging your beer, after the transfer from the fermentor, chill the keg down in your fridge or keezer and then start your carbonation process with pressurized CO2. In a week or two of conditioning and force carbonating, you will be drinking clear beer.

If you are bottling your beer, prime and cap your beer and keep it somewhere where typical room temperatures last all day long.  After two weeks, your beer should be carbonated.  Once it’s carbonated, you can condition the beer in the bottle by storing it in the fridge for another two weeks if you want to have clear beer.  If you don’t want to be patient, you can start drinking it then.

So for most ale styles, you can skip the secondary and still get clear beer.

For lager styles, using a secondary condition phase is a necessary step.

Secondary Fermentation

Read this post about how and how long to lager your beer.

Check out our post on primary fermentation as well.

We hope you learned something from this post about secondary fermenation and secondary conditioning phase. There is more information about this topic around the internet but we hope that our little slice of it helped you out.

Leave a comment below and Brew On!

Democracy’s Drink

The Brew Dudes just signed up on a social network called Democracy’s Drink. It’s a network on the Ning platform that is geared towards people who celebrate beer.

We put up our Brew Dudes profile and customized it a little bit. I’m not one for pretty design, so it still needs some work.

Maybe I will put up some scrolling text or something?

WHEEEE!!!

Anyway, check out Democracy’s Drink. There’s more information about the site on Rich’s MySpace blog.

Hope to see you there.

Democracy’s Drink

.

Brown Malt

I got a William’s Brewing catalog in the mail today and I was looking at the ingredients and the prices. I did come across a malt that I wanted to profile. From what I have read, Brown malt is a historical malt that was used in England two centuries ago. It appears that only a few maltster make true Brown malt today.

The catalog had a nice description about the malt. Back in the day, porters were brewed with brown malt exclusively. As time went on, Porters evolved. Because brown malt was being roasted to get its flavor and color profile, the roasting also reduced the amount of fermentable extract the malt could produce so brewers needed to use more and more of it. Porter were then made with black patent, chocolate, and pale malts since it was more economical to do so.

Flavor: Because it kilned over a hardwood fire, Brown malt imparts a smoky flavor. Biscuit and nutty were also mentioned.

Color: Ranges from 38 to 70 °L from site to site. William’s Brewing has it at 53 °L

Body: It adds some body because of the non-fermentables it brings to the party.

Use: Brown ales and porters…makes sense, eh? You can roast your own malt at home to make something similar to Brown malt. I may give it a try.

Phoenix Hops

As Mike mentioned in his post about the lack of a hops shortage at the Modern Brewer (Cambridge, MA), Phoenix hops were available for purchase there. This variety seems pretty new since there doesn’t seem to be a lot of information online about it. So, I pulled together what I could from sites and I did some research offline too. Yes, information does live offline.

Origin: UK – specifically Wye College in Kent.

Aroma: Many sources did not have a description for Phoenix hops aroma. One said it had a pleasant English aroma. Other sources stated this variety is similar to UK Challenger, which has a mild to moderate aroma but quite spicy.

Alpha Acid: There were some discrepancies in the alpha acid levels. Some claim it has a range of 4.2 to 5.5%; others claim it was higher (9 – 13%). From the descriptions I read, I would say that the alpha acids were in the higher ranges

Typical Usage: Because it was bred as a replacement for Challenger (it is early-ripening and wilt resistant), it is a true dual purpose hop with bittering and aroma properties although a source claimed that “late hop additions for aroma have tended to be disappointing with only very mellow aromas coming through”.

Beer Styles: English Ales including porters, stouts, ESBs, and bitters.

Page 302 of 322

Powered by WordPress & Theme by Anders Norén