Brew Dudes

Homebrewing Blog and Resource

The hobby of homebrewing beer

Homebrewing Water Chemistry Experiments

At the end of last year, we put forth that one of our goals this year was to experiment with water chemistry to improve our brewing process.

While we were sitting around sipping on the New Albion Ale, we got to talking about SMaSH brewing and how that style of brewing would be good for a number of experiments including water chemistry.

Here’s a video with Mike explaining what his process will be:

To outline:

  • Share our town’s water report as a post
  • Work out a few experiments to test deliberate mineral additions to our water
  • Share details of the experiment process
  • Report on results

With an ultimate goal of brewing excellent beer, it’s getting more clear what tactics you have to master before you can reach that ultimate goal.

I don’t know if it is a linear process.  Certainly I had to master cleaning and sanitizing before I mastered pitching enough healthy yeast to mastering fermentation temperatures.

With our (these Brew Dudes and the larger homebrewing tribe) collective homebrewing beer experience, I think we’re really honing in on what tactics really make a big difference in the final product.

Stay tuned and brew on.
Musing on Rye Malt

I have been dreaming up recipe combinations and thinking of ingredients I haven’t worked with yet.  That has brought me to rye malt.  I recently had some Harpoon Rye IPA and really enjoyed it.  Perhaps that was a kick in the memory bank that I’ve never brewed with rye, for I know I have had other beers brewed with rye as well.

Well here is a rough sketch of a recipe ideas, not a defined recipe as of yet.

Certainly I am thinking of going to 25-35% rye malt in the base, with a simple US-2 row to compose the rest of the base.  I am not looking to make a traditional Roggenbier. More of an American inspired Rye Pale Ale.

For an initial attempt I might shy away from 50% or more rye to avoid body and lautering issues.  To complement that rye I was thinking of  perhaps 5% Special B, mainly because I love the color and second the flavor I’d expect from it.  Maybe a 2% or so addition of crystal for some backing sweetness, or 2% victory or biscuit malt to drive a more bready character home.
For hopping I was thinking some combination of NortherBrewer and Chinook.  These two might play together nicely to help drive home that anticipated spicy character one expects out of rye malt.
I’d expect on the first run to go with a neutral American ale yeast, or maybe one of these new “San Diego” or “West Coast” type yeast strains I randomly see popping up.  No matter the yeast choice I think its best to work hard to drive attenuation to its max, get that beer as dry as possible to wring out the rye flavor…I guess that might exclude the idea of crystal malt in there, eh?

Well, that’s a snapshot of the inner workings of my mind on recipe generation.  This will be one to revisit once the promise of spring really starts to rear its head.

BREW ON!

Gelatin Fining Beer

Normally I don’t care too much about the clarity of the beer I am drinking. However, when presenting homebrewed beer to family and friends that are only used to drinking super clear beer, sometimes a clearer beer might make it easier to swallow.

I use Whirfloc in the kettle to assist with break formation and protein co-aggulation during the chill. But there is a further level of fining to be tried post the kettle.  A common fining agent to use would be gelatin.

Gelatin fining beer post fermentation helps to remove some of the other haze forming molecules. Specifically, gelatin can remove some of the yeast, but also poly phenols that can come from the grain and the hops.  These things all contribute to haze, especially in chilled beer.

Here’s the general process for trying gelatin fining:

Straight up plain gelatin from the grocery store that is non-dyed and non flavored is just fine to use.

Heat a cup of clean water to 180F, sprinkle in 1-2tbs/5gallon to be fined, into the water.

Let the gelatin sit for 15 minutes or more to get it to “bloom”.

Then slowly stir the gelatin solution until it dissolves.  Reheating may be needed to get dissolution, but avoid boiling the solution or you’ll lose the fining potential of the gelatin.

Add the gelatin solution to the top of a carboy or keg of finished beer that is uncarbonated and chilled to serving temps.

Let the gelatin solution sit for 2-3 days in the beer.

Rack the beer to a new keg or to a bottling bucket.  (If you are going to bottle a small amount of dry yeast added back may be necessary, but that might negate the point of doing this.  Obviously, the technique would work best in the kegging environment.)

So that’s what I have read about the process. I am going to gelatin fine my Falconers flight IPA and then my Irish Red Ale as well.

I’ll be sure to mention the results in future posts and tasting vids.

BREW ON!

Scottish Ale Brew Day

While Mike was brewing up his Irish Red ale last Saturday night, I was brewing up a Scottish 70 Shilling ale.

Not sure of the political ramifications of these coinciding brew sessions (they both don’t like the Brits English, right?), but let’s relax and read a blog post.

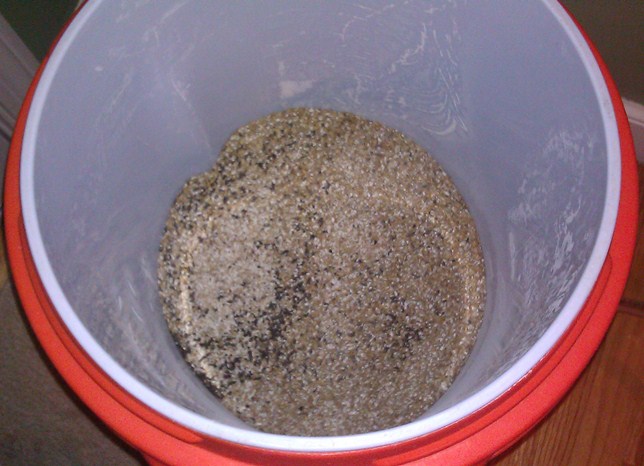
Golden Promise Malt

Instead of Maris Otter, I selected Golden Promise malt for my base malt. I decided to go with a Scottish malt for a Scottish beer. In the photo above, you can see the flecks of black from the small amount of roasted barley.

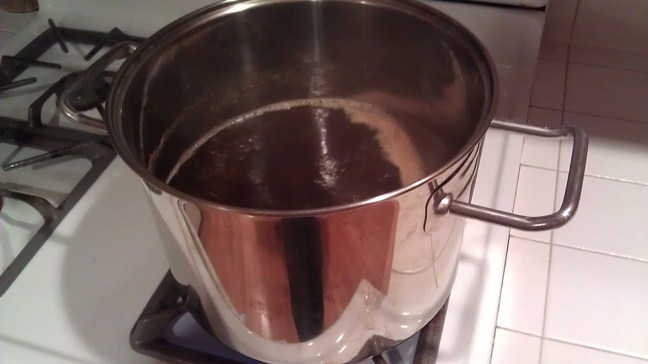
Once the mash was done, I took the first gallon of running into a separate pot and boiled that on the stove top.

Scottish Ale Mini Boil

It was the first time I was brewing on the stove top in many years. Even with the extract brews that I have done in recent years, they have all been fired up outside. On a frigid February night, it was nice to have the warmth of the kitchen.

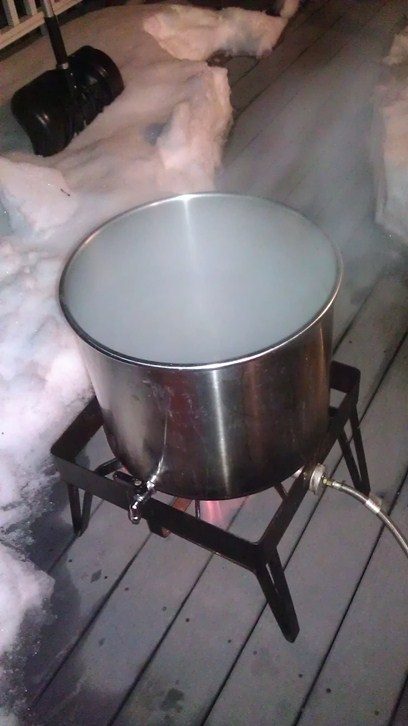
Meanwhile, out on the back porch:

Scottish Ale Boil

Like the mist off of a Scottish Loch, the main boil was roaring away on the recently cleared, snow covered porch. Once both boils were done, I added the small boil’s content to the large pot and chilled them down to fermentation temperature.

Mike asked me if I boiled the first runnings down to a syrup like consistency. I wouldn’t say the end result of the boil was that thick but it was reduced down to 3/4th of it’s starting volume.

After I transferred the wort to the fermentor, I only had four gallons worth. Once I took a gravity reading and saw that it was way high, I added a gallon of filtered water to the fermentor, took a reading, and was happy with the scene: a full fermentor and a target starting gravity of 1.038.

After this brew is done, it’s on to the next brew. This Scottish ale is going to be my starter for the Braggot so I will be bottling and brewing on the same day.

New Albion Ale Tasting

Stay with us – this post is a little off topic.  We are probably in violation of our contract to publish not only text but a video about something other than homebrewing.  At least it’s still about beer.

Maybe I shouldn’t be so harsh. We read about this beer (among other sources) in BYO magazine so the homebrewing roots are still strong.

This beer is a SMaSH beer or a beer with a Single Malt and Single Hop variety as components of its recipe.

For homebrewers, if you are looking to learn more about a base malt or a hop variety – brewing up a SMaSH beer will allow to to taste those single ingredients with clarity since there won’t be anything other ingredients to get in the way.

Mike and I sat down last night to taste this beer and we got to talking about a good number of things.

Well, three things really.

The first thing is presented in this video and we’ll preview the next subject at the end of it.

So we made a sort of video series in one sitting. We’ll post the videos over the next two weeks so come along for the ride.

As for the tasting, it is interesting to note the timing of the hops as they were used in the boil. It certainly had an effect on the final beer.

Page 173 of 322

Powered by WordPress & Theme by Anders Norén