Brew Dudes

Homebrewing Blog and Resource

The hobby of homebrewing beer

Clearing Mead – Gelatin or Bentonite?

Sometime last week, I wanted to speed up the process of clearing my mead using some agents. I had bentonite and gelatin on hand so I used them separately in two different carboys.

One was a gallon that I had racked off the larger amount a few months ago to condition on oak.

The second carboy was the rest of the medium show mead that hasn’t been altered in any way.

Well, the results are in and here are some photos to show you what the mead looks like today.
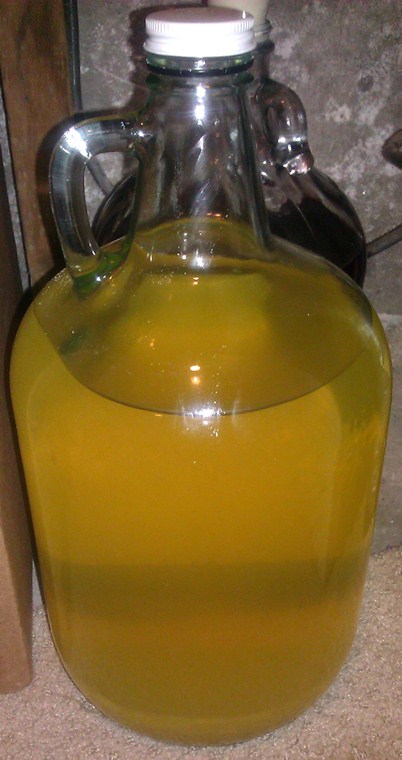
Bentonite results

The bentonite worked great. The mead is not only clear, but appears to be a different color. In the matter of a few days, the mead went from an amber color to a light yellow color.

The gelatin results did not fare as well.
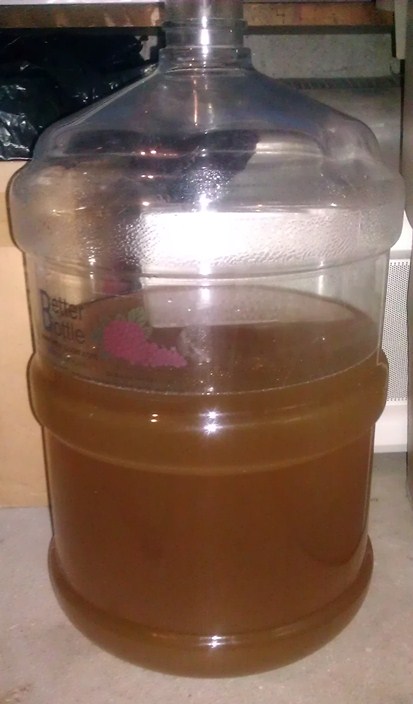
Gelatin results

It looks pretty much the same as it had before I added the gelatin. The clarity and the color are similar if not exactly the same as they were before I added the gelatin.

If you would like to the what the meads looked like before I added the agents, you can see pictures of the start of my mead clarifying experiment on this post.

So what does this mean really? Does this mean that gelatin doesn’t work as a clarifying agent and bentonite does in all cases of mead? Well, I can’t say that for certain. I can say in this experiment, there is no comparison. The bentonite really worked and the gelatin really didn’t.

It is interesting to note that bentonite removes positively charged particles as gelatin removes negatively charged particles. Maybe the cloudiness in my meads was caused specifically by positively charged particles and that is why the bentonite worked so well. I know Mike has used gelatin in fining his beers and it has worked wonders when he has used it. Again, there may be a difference between the particles in mead and the particles in beer.
Midwest Supplies Recipe Kit Review

– Updated –
Do you get those homebrew shop catalogs in the mail, flip through them, and drool stare at all recipe kits descriptions?

Well, I do.

Now it has been a while since I brewed up a recipe kit from a homebrew shop but when a representative from Midwest Supplies wrote to our blog email address and asked us if we wanted to write up a review of one of their kits, I said we would be happy to do one.

Sticking with their homebrewing calendar as it existed in late 2012, I asked them to send me the Wurtzburger Maibock kit.

This post will serve as the depository for our entire experience brewing this beer rather than writing different posts for the brew session, fermentation, first tastings. etc. for each segment of the review.

The first segment of the review is the unboxing of the kit itself.

What I didn’t reveal in the video was that I was expecting an all grain kit. In my conversations with the rep, we agreed to review an all grain kit but I got sent an extract kit instead.

No matter – I will review what they sent me. I made a mighty yeast starter with the vial they sent me and it will be ready in plenty of time for the brew session.

We shot a video for the brew session.  I found the kit’s instructions easy to follow and provided a good brewing experience.

Check out this post to see this beer lager in a cold slumber in the beer fridge.

I let this beer lager for a pretty long time. Have you ever had the fear that you let your beer lager too long?

After all this time, the beer was ready to drink in May as planned. Here is our official tasting video:

Overall, this was great experience. It had been a while since we last brewed a kit recipe. We want to thank Midwest Supplies for the opportunity to brew their kit.

Sorachi Ace Wheat Beer Brew Day

This morning I got up early and got the brew session going.  The first of the summer beers has been brewed.  Here is the recap of the Sorachi Ace Wheat Ale brew day.

The grain was ready to go in the mash tun.  I heated 4 gallons of water and hit my mash temp like it was my job.  After the hour, the temperature was still at 152°F.  How is that possible?  I don’t know.  I went with it.

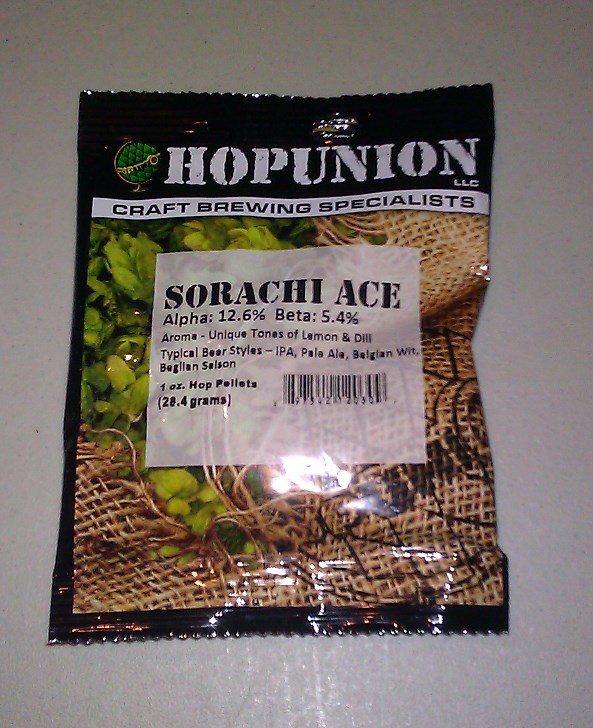
My scale which I use to measure out hops was showing me the dead battery message.  I did not know that it was low on batteries until I went to use it.  Just my luck.  The good thing was that the recipe called for one quarter of an ounce of hops for each stage in the boil.  Because of that simple measurement, I was able to improvise and divide the one ounce packet into 4 equal piles and use the pellets that way.

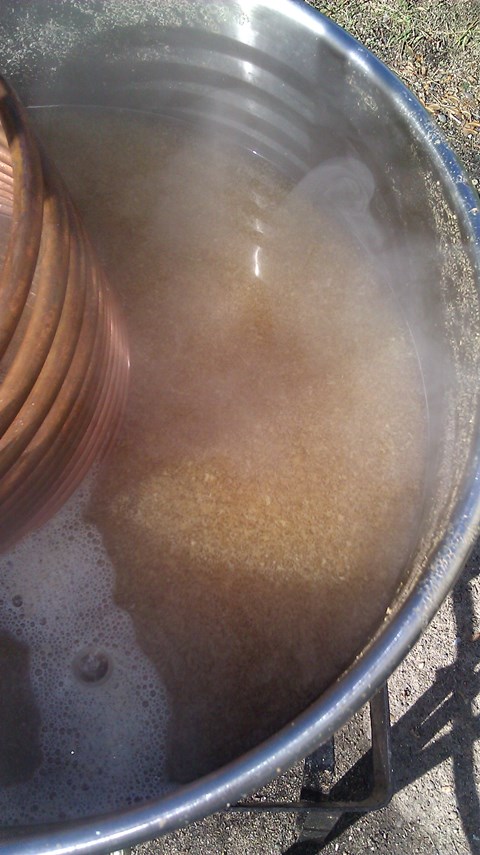
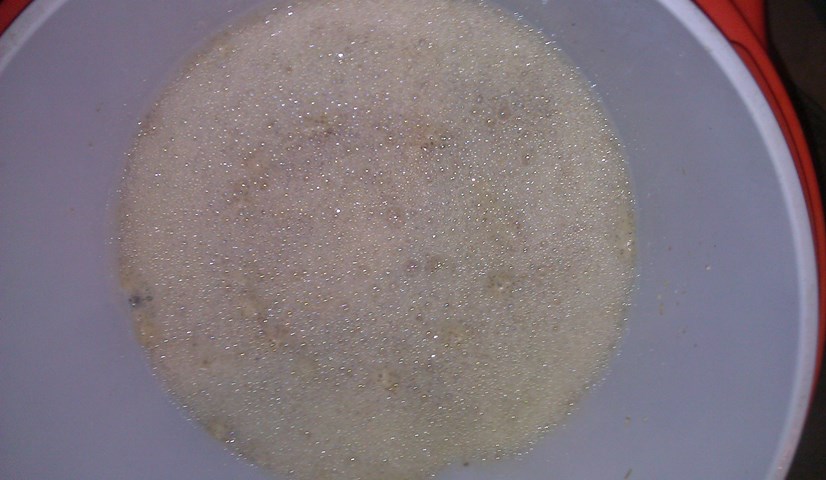
The boil went well.  The hot break from the wheat malt was interesting.  It looked like drop egg soup.  The wort was really light in color through the boil and when I transferred the wort into my carboy, there was a ton of foam that pushed through the top.

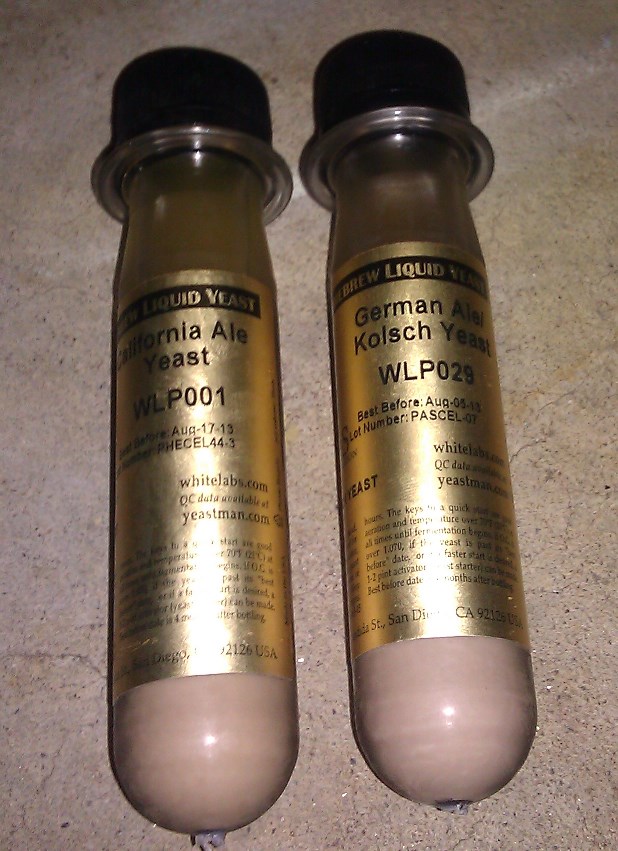
I dumped two vials of yeast into the fermentor after I thoroughly aerated the wort.  Both vials gave me a little bit of trouble.  I let them come up to room temperature after being in my fridge for a few days.  In the morning, I tried my best to shake them so they would be easy to pour.  The WLP 001 was a big clump that came out in one big motion.  The WLP 029 Kolsch yeast was much harder to get going.  It sort of trickled out eventually.

12 hours later, there is just the hint of fermentation.  Not much krausen so I am hoping to see more signs of life tomorrow morning.

Here are some photos:

Sorachi Ace hops packet Wheat Beer Mash Wheat Malt Hot Break

Mixing Beer Yeast Strains

It’s experiment time! How about we do some mixing of beer yeast strains? Let see how a beer turns out if we mix it up in the yeast department, huh?

Now we have done some yeast blending before and the results were good if not exactly what we were hoping for.

For the Sorachi Ace wheat beer that I am going to brew this weekend, I bought two vials of different yeast strains. I have a WLP001 vial from White Labs and a vial of their Kolsch or German ale strain as well.

I bought both strains because I was debating which one to use. Yesterday morning, I got up early and I was going to make a starter with one of the vial. I started to boil the water when it hit me that I should just use both of the vials.

We’ll see if I get the crispness of the Kolsch yeast after the fermentation is done. I am hoping that the hop flavor and aroma of the Sorachi Ace are accentuated since both strains are supposed have that effect on the finished beer.

The biggest issue with mixing yeast strains is making a beer that may not fit the BJCP guidelines of the style you are brewing. For an American Wheat, it seems to me that the style just needs some clean yeast strain characteristics in the finished flavor. No clove or phenolic flavors that are produced from a German wheat beer strain. Both the California and the Kolsch yeast strain are clean. They don’t produce any funky flavor so maybe this mix won’t be profound.

I do think that there may be the chance that I will get the crispness from the Kolsch yeast with the softness of the California strain. Look for updates on this experiment in a future post.

Brew on!

Mixing Beer Yeast Strains

Brown Ale Tasting Notes

This weeks video we offer up some Brown Ale Tasting Notes.  I brewed this beer May 1st (not February as I thought in the video).  This beer comes out super clean, super smooth.  But has a rich chocolate and toasty note to it.

The success of this brew, the third iteration of brown ale brew sessions recently, is a testament to note taking in the brew house.  I have brewed Brown ale off and on over the years.  I recently really started to focus on this recipe starting last year.  After two decent but not just right attempts I was thumbing through old brewing notes of mine.  In those old notes I found a recipe and brew session entry that noted an excellent outcome with Brown Ale that I had apparently overlooked from the past.

The success of a much earlier batch had included the use of Special Roast.  So I used that info and combined it with the qualities of my last two attempts and VIOLA!  Brown ale #3!  Absolutely beautiful.

Now to be fair, I think that to make this more English in character a better yeast strain should be used.  Something in the WLP002 or WLP007 zone of English yeasts.  Also this beer could use about 10 more IBUs in bittering.  Right now I brewed it to ~25IBUs.  I think if I bumped it closer to 30 or 35 it would be more balanced.

Regardless of those slight tweaks as a Nut Brown this recipe could also be a great base for an American Brown Ale as well.  I think if you were to brew it with a more attenuative and clean American Ale Strain (WLP001) , bump up the gravity by 10 points to 1062 and load it up with some Columbus, Cascade and Citra Hops; you’d have a great American Brown Ale on your hands.

Maybe that’s for another time.
Check out the recipe LINK.
Enjoy the video as we ramble on about this beer.

BREW ON!

Page 165 of 322

Powered by WordPress & Theme by Anders Norén