Brew Dudes

Homebrewing Blog and Resource

The hobby of homebrewing beer

Rauchbier Ingredients Delivered

The rauchbier ingredients were delivered today in one piece.  Everything looked like it was in order.  Even the yeast looked like it survived the trip.

I was able to taste the smoked malt and was surprised that it wasn’t smokier.  The smoke aroma and taste was pretty subtle and yet smoked beers that I have tasted seem to have a bold flavor.  Interesting.

I also tried out the melanoidin malt to see what it tasted like.  It had the sweetness of a light caramel malt, but it seemed richer, stronger.  Good stuff.

I have my dry pilsner malt extra for the small beer yeast starter too.  Now I just have to plan a brew day.
Saison First Tasting

After two weeks in the bottle, I decided to try out the saison.

I could see some yeast had clumped up and had collected itself on the side of the bottle.  I also saw a thin layer of yeast floating at the top.

At least, I was hoping it was yeast and not some stringy bacteria.

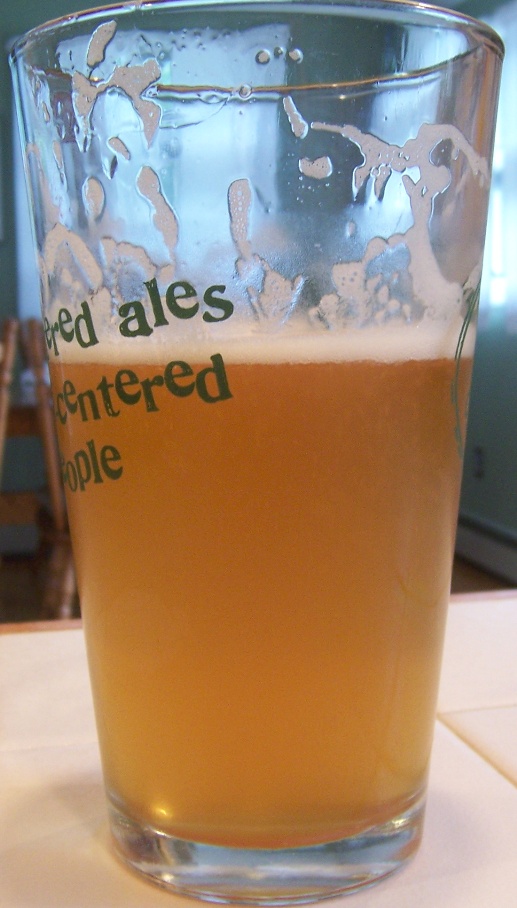
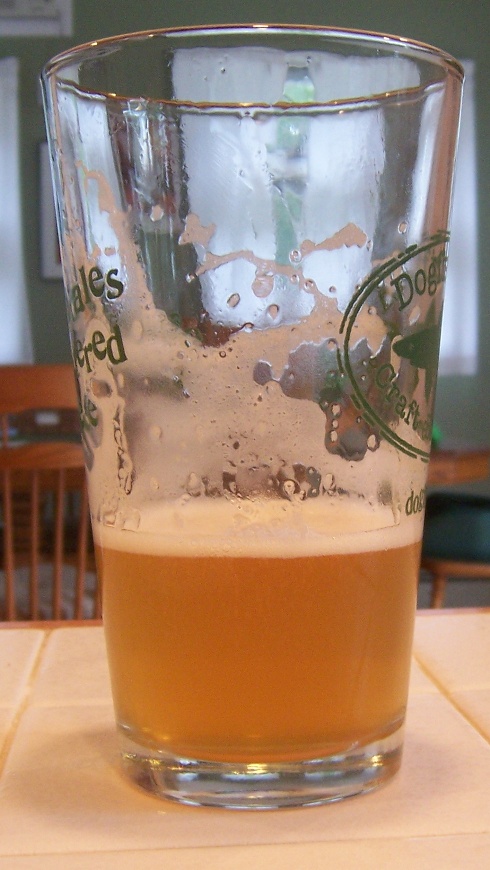
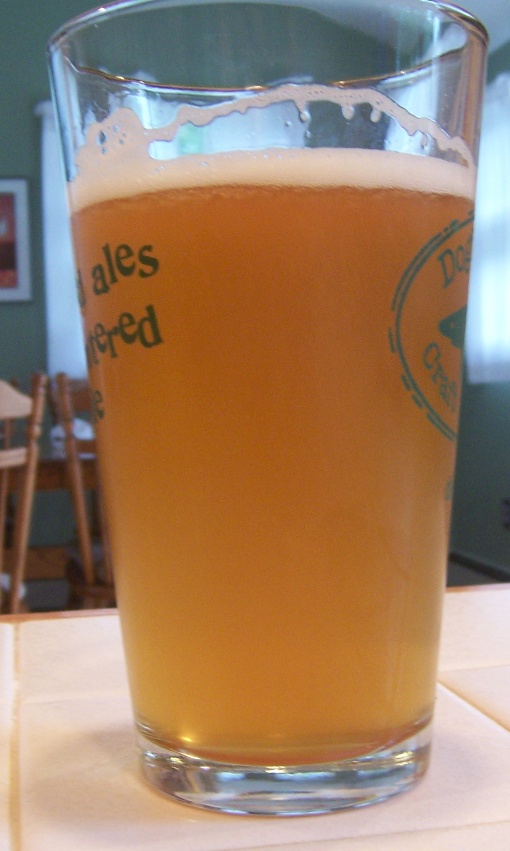
I poured the beer into a pint glass because I don’t have any fancy goblets or chalices.  It has a lighter color than I thought it would be.  More golden than orange and a bit hazy (although looking at the pictures, it looks darker 🙂 ).  The head is white and foamy.

The aroma was filled with phenolic overtones, some bitter spice, and a little fruit sweetness.

The taste has a few things going on.  The tiny bubbles dance all over the place.  I get some tangy fruit along with some peppery spicy bitterness.  Towards the end, you sense some graininess and then it finishes dry with some hoppy aftertaste.

The head laces nicely down the side of the glass.  Not that familiar with the style, but it similar to a Hennepin.

  Homebrewed Saison   Saison Home brew   Homebrewing a Saison

Rauchbier Ingredients Ordered

It’s the start of another homebrewing adventure and the start of another brew log.

This time, it’s project Rauchbier.  I have looked over my Rauchbier recipe and ordered my ingredients through Northern Brewer.

There’s a co-brewer who wants to be a part of it so I have to schedule a day this month where both of us can show up to the same place at the same time, namely my house.

Once the brew date is in place, it will be all systems go for the RAAAAAAAUCHBier (at least that is the way I am saying it).

Some interesting notes for this one:

  • I am planning to make a huge starter for this one (3.2 gallons worth of starter wort).  Basically, I am going to make a small beer from malt extract and put it into my fermenter.  I’ll pitch my yeast and let them do their thing.   On brew day, I am going to siphon the small beer off of the yeast and then introduce the rauchbier wort right on top of it.  Mike has done this with good results.
  • I have never tasted smoked malt before.  I have had smoked beers but never the raw ingredient that made them smokey. I wish I bought some cherry wood smoked malt to compare, but it will be cool just to brew with the beechwood smoked stuff.
  • Ok, not that interesting but I had to buy some more StarSan with this order.  I love that stuff.

Beer Time Capsule

I made a beer time capsule last year.  I wanted to see what a year’s worth of aging would do to the honey wheat ale with real honey in it.  So I took one bottle and put a note on it.


Honey wheat ale


I have kept this beer hidden away in the cellar and I am surprised it lasted this long. The beer had changed slightly from what I remember. It was light and dry but maybe a little more floral than it was when I first tasted it.

It was a good way to close out this Labor Day weekend.

Cheers.

Homegrown Hops Harvesting

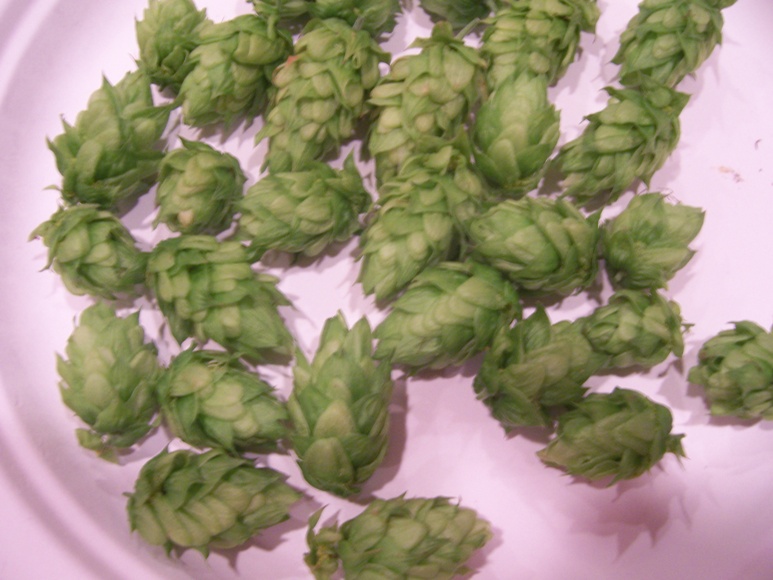
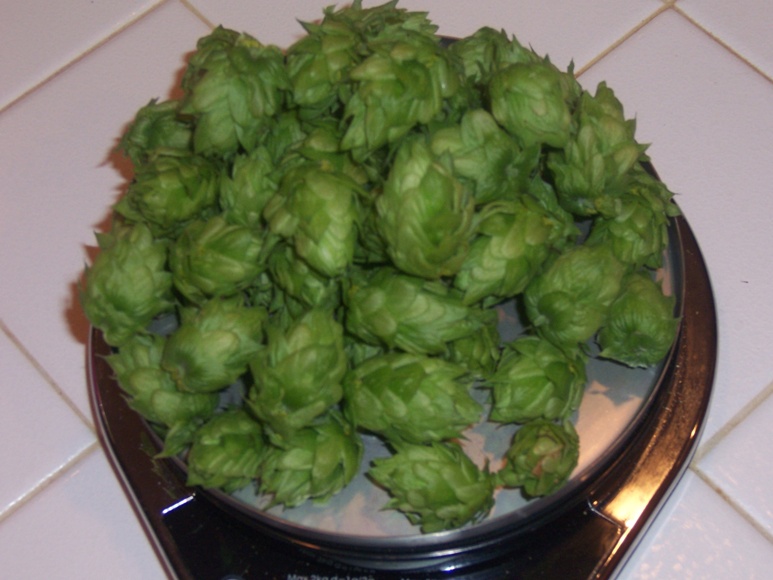
After 4 months of growing hops in the backyard, I was able to reap the benefits of homegrown hops.  All the spiny flowers transformed into cones very quickly and grew and grew until they started to dry out a bit on the bine.

Maybe I’m lucky, but I was able to get some cones from the first year of the bine.

Homegrown Hops Harvest Hops Harvest 2010

I have been picking the cones in batches.  I started with the ones that were are the top of the bines first.  They were pretty big and seemed to be more mature than the ones lower down…probably because they got more sun.

I still have hops on the bine to pick but I will get to them once they are ready.

Here are some things that I learned along the way:

  • I watered mine with a light sprinkle every day, especially in the early months.  My bines did pretty well with frequently watering.

  • I did use some plant fertilizer every couple of weeks.  The plant reacted well to it.

  • Get as much sun on the plant as possible.  Find a spot where it can get 8 to 10 hours of sun a day.  We had a really sunny, dry summer this year.  I think it was the biggest factor in the plant’s success.

  • Let it grow.  I did some pruning of the lower leaves in late July.  I am not sure it was necessary.  The more I just let the plant grow in all kinds of directions, the more flowers bloomed…and the more cones I got.

 If you like to follow along on this homegrown hops odyssey, start in May and work your way up:

May Hops Update

June Hops Update

July Hops Update

August Hops Update

Page 226 of 322

Powered by WordPress & Theme by Anders Norén