Brew Dudes

Homebrewing Blog and Resource

The hobby of homebrewing beer

Immersion Chiller Compression Fittings

We set out to diagnose a common issue with most copper immersion chillers. At some point the compression fittings that are the connection point between hose and coil become loose. The weight of the hoses once filled with chill water and normal handling can wiggle them loose. Eventually, water make seep or worse squirt out the back or side of the fitting. We show what it looks like and how to tighten the operation up for continued great service out of your IC.

Generally speaking as the fittings move up and down slightly over time they can become loose. All that’s needed to fix this usually is a pair of wrenches to squeeze the two opposing nuts together a bit more.

It should be noted that both copper and brass are fairly soft metals. It is certainly possible to over tighten these type of fittings and create more of a leak that you had before. (I have seen the same thing happen on rubber O-ring based bulkhead fittings on kettles and mash tuns.)

The worse case scenario fix for these things is to cut back the tubing some to where this is good, non-deformed tubing and place a new ferrel (compression sleeve) before the nut and re-apply the compression fitting. In John’s chiller it might have required cutting the tubing back so far that we might needed to go before the 90 degree bend. Bend a new section to 90 degrees (or keep it straight, which might be weird), and put the new fitting together there.

To keep these type of repairs from becoming a regular nuisance, handle this part of your chiller with care. Don’t pick up the chiller with heavy hoses attached without also supporting the hoses with your other hand. Don’t lift or carry the chiller by the fittings, carry it by the tubing. Of course, soldering on permanent fittings would also take care of this issue all together, but that’s a different tool set and for another video!

BREW ON!

BIAB Series – SMaSH Beers for Hops Learnings

Keeping up with plans for the Brew In A Bag series (BIAB), here is the rundown of the single malt and single hop (SMaSH) experiments that I have planned for the summer.

There has been one idea in the works for a few months but with the BIAB series, we need to add a few more varieties to the mix to lengthen the series and add to the fun.

The hops that will be a part of the series are as follows:

The Mosaic hops have their own SMaSH recipe so they will be the first ones to be brewed. The Equinox hops have been purchased and will probably follow the procedure as the Mosaic recipe. El Dorado hops need to be purchased, which should be done soon.

As I look over the SMaSH recipe for the Mosaic hops, it was built for 5 gallons. The leading thought for the BIAB series was brew small batches. I think these experiments would be good for 2 gallon boils/1 gallon beers. That way, we could brew them all on the same day, ferment them during the same time periods, and taste them for the same video in a few months. That would be pretty cool.

I will have to take out the calculator and figure out how to reduce the recipe from 5 gallons to 1. After I am done, I should put up an update – probably for the brew day post. The session could be worthy of an event.

Maybe we can set these brews for a homebrewing club meeting?

All of these hops are pretty new and are fairly hyped. To brew them all in the series would be a great way to really know from my own perspective how all of these hops taste.

The Red Wheat vs. White Wheat experiment is first in the series but soon after will be the brews for hops learnings.

Brew on.

Phase 2 Of The Wedding Mead Project

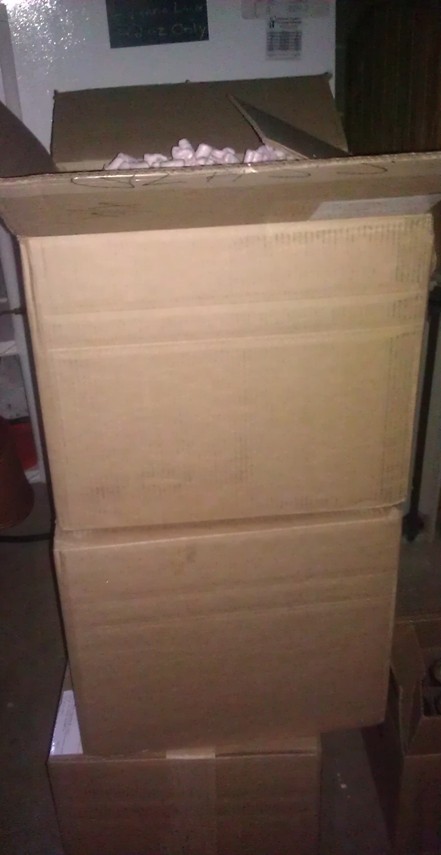
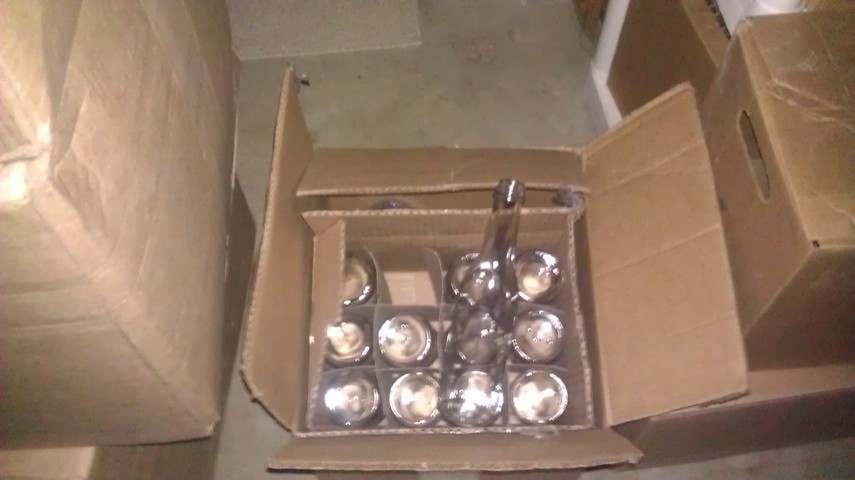
120 bottles got delivered to my house and things just got real. Has that ever happened to you?

120 bottles in boxes

Phase 2 of the Wedding Mead project have kicked in now that I have to find a place to keep all of these 375 milliliter bottles until we are ready to use them.

The bottles are clear so the mead will need to be clear. Since this is a simple oaked dry mead, it should appear golden yellow with brilliant clarity. At least, that is my opinion and I won’t be happy unless it looks like that.

Bottles for Wedding Mead

Some of the point of doing this project is to put myself to the test to see if I can make something spectacular with no margin of error. When I brew beer, normally I am the only one who is going to judge it.

If something goes wrong or it’s not quite to the excellent level that I was trying to achieve, I don’t lose sleep over it.

This mead is going to be given away as favors at a wedding so it has to be flawless It’s nice to have some pressure. You need to raise your game at times.

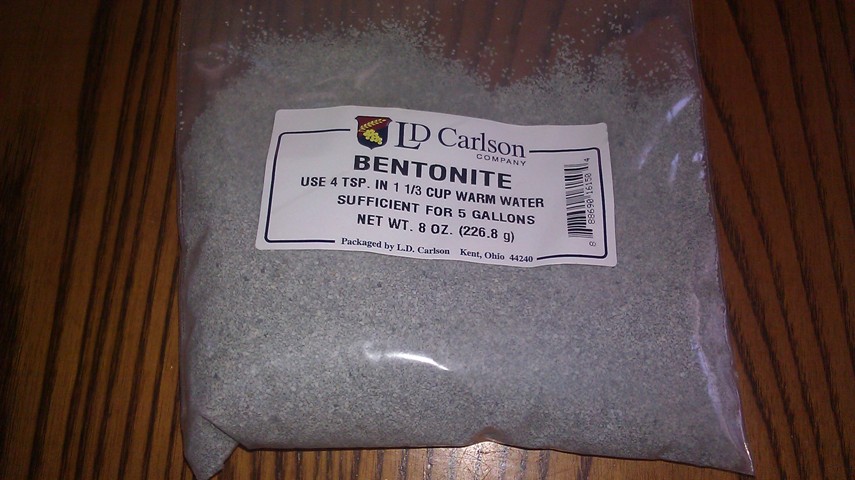
Since I ran an experiment a while ago to figure out if bentonite was a good mead clarifier, I know that I can use it to get rid of all the haziness and make all those proteins and yeast drop out.

Bentonite for wedding mead

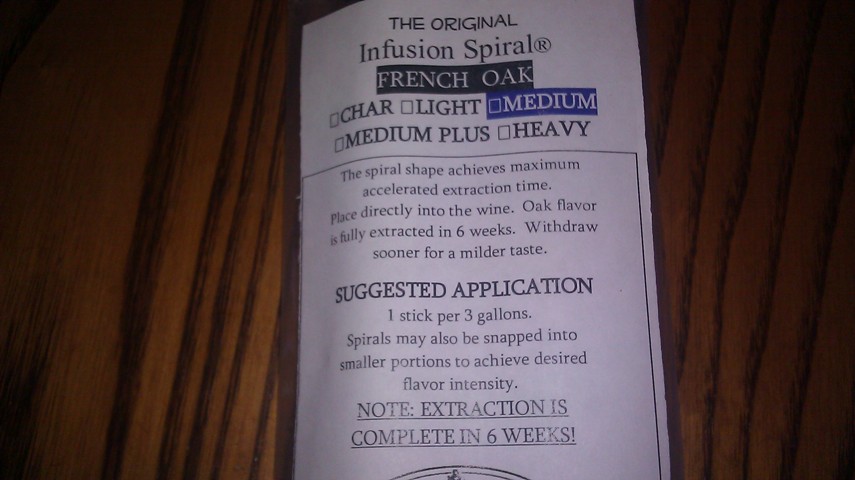
With a shot of bentonite, some time, and another racking, we’ll be good to go in terms of the clarity. Then, it will be time to add the oak. I bought some French, double the price of American, medium toast oak spirals to lend their flavor to it. The last oaked mead I made (I almost typed “mead I meaded” – could we make that a thing?) was great. If you handed it to someone and told them it was white wine, they wouldn’t know it was made with honey and not grapes.

French Oak Spirals for Wedding Mead

Is that the point? Should mead taste like honey wine and not like grape wine? Well, sure… and I’d tell you I taste plenty of honey flavors in grape wine too.

Anyway – that’s the latest update. I will put up some photos on Twitter and/or Facebook to show how well the bentonite clarifies mead.

See the related posts to the wedding mead project here:

The First Wedding Mead Update

The Making of the Wedding Mead

Rapid Force Carbonation

When you keg your beer some wonderful advantages become apparent. First and foremost, carbonation is generally much easier to dial in to your taste or to a certain style guidelines. Made possible by the regulator and physics you can literally dial in the level of carbonation that you want. The normal “set it and forget it” carbonation method is generally fool proof and takes about 7-10 days in my experience. But can it be done faster? What if you brew a beer for a party but your fermentation took longer than anticipated? Or what if you run out of beer and but you have a completed carboy of beer waiting on deck for that next empty keg? There is a way to get there faster. Its call the rapid force carbonation method, or the high pressure shake method.

When planning to force carbonate by any method its always best to have the beer chilled first. There is no way around that part of the deal. Cold beer absorbs CO2 better than warm beer. So plan for at least overnight, or the better part of a day to get the beer as cold as your serving temp at least.

In short to rapid carbonate a beer all you have to do is put the beer under pressure that’s 2-2.5X higher than your intended serving pressure, at cold temps and shake until done. But let me first say, its real easy to overshoot your preferred carbonation level so go at it in stages and taste as you go. OK disclaimer over, lets carb!

Hook up your gas line and purge that beer really well. The purging is super critical because rapid force carbonation requires that the beer get shaken around to expose as much of the beer’s volume to the head space of CO2. If the O2 isn’t all the way out of there the shaking will increase the rate of oxidation as well as carbonation… Not good.

Once the gas line is hooked up and keg purged (burped) you can dial up the pressure to 20-30PSI. I tend to like 20-22PSI. You can go to 30PSI but the process will go faster and you may over-carbonate. Next you simply hold onto one of the keg handles and shake it for 5 minutes. You’ll actually hear the gas flowing through the regulator if you are next to it. After 5 minutes I like to let the beer rest for 15 minutes. When I return, I’ll shake again and rest. After 3 cycles of that I’ll go ahead and draw a sample and taste it for carbonation.

At this point there should be noticable carbonation. Decide from there whether you want to shake for 3 more cycles or 1 one more cycle. Rest then taste again. I prefer to start slowing down to one round of shake and wait at this point and taste as I go. With practice you can do a pretty good job of gauging how close you are getting to your target and shake accordingly. Maybe only shaking for a minute each cycle as you think you are getting close.

Viola carbonated beer.

Now for the down sides. Some research tends to indicate that beer foam and foam stability is a one time deal. Meaning that when foam forms some small amount of foam stabilizing proteins are used up and will never contribute to foam again. When you shake the beer, even under pressure, some of those foam positive compounds may be getting used up. So if you have to shake quite a bit, you might be killing the ability to make foam. This research isn’t fully understood, nor have I really dived into the biochemistry of it. I will say from experience I think I get better foam and head from a pale ale that I slowly carbed vs. rapidly carbed. Your milage may vary.

Second down side. If you try and do this on a beer that has been uncarbonated but is still flat in the keg the shaking process will stir up any debris that had settled out of the beer. I have set beers aside for cold conditioning in the keg and forgotten to carb them in the process. I have drawn off a sample of crystal clear (but flat beer) only to be forced to pour well carbonated and cloudy beer because I needed to serve the beer for an event in a short timeline from rapid force carbonation. So if you want to carbonate flat, chilled and cleared beer; I recommend that you rack the flat beer to a new keg first if possible. Essentially, you are using the first get as a bright beer tank!

Lastly, be warned for the third or forth time… its easy to over carb. And letting the carbonation out is a slow process no matter what method you use. And be absolutely sure you have no O2 in there before you start shaking that beer up.

Good luck with rapid force carbonation.
BREW ON!

Equinox Hops

I have known about Equinox hops for a while now but they had a different name when I first read about them. The Hop Breeding Company developed the variety and before they branded it, it was known as HBC 366.  Now that they have a name and they are being sold at my local homebrew shop, I thought it made sense to write up a profile.

These hops have been hyped a bit for a year or so.  Again, it felt weird to me to post something that didn’t have its commercial name. Some breweries have brewed with them. There’s Brooklyn Brewery summer ale that is available now that uses these hops exclusively. You can surely try them out in that beer. As for me, I just order 4 ounces of Equinox hops so I can brew more fruity ales this year.

Read more about this special hop variety.

Origin: USA – a collaboration between Select Botanicals Group LLC and the John I Hass company. Originally planted in Toppenish, Washington State.

Aroma/Flavor: Lots of descriptors – lemon, lime, papayas, apples, cherries, mango, green pepper, citrus, pine.

Alpha Acid: 14.4 – 15.6%

Typical Usage: As of right now, these are definitely an aroma hop. I plan to use them in late boil additions and for dry hopping to get to know them. They do have a high alpha acid percentage so maybe you can use them in the bittering charge as well.

Beer Styles: IPAs, American ales, a modern interpretation of a pilsner

Equinox hops are a daughter of the Warrior variety. For my beer, I would bitter with the parent and have multiple additions of the child. With four ounces, I am pretty sure I can put together a simple pale ale with some clean bitterness to build that fruity hop flavor and aroma on top.

With a hop this complex, my mind starts to wander and it thinks about how it would taste in a braggot or an experimental mead (remind me to write up something about the new BJCP guidelines). Imagine a medium mead with a bit of honey sweetness at the forefront and the complex hop flavor of Equinox in the finish. It could be something someday.

Page 133 of 322

Powered by WordPress & Theme by Anders Norén