Brew Dudes

Homebrewing Blog and Resource

The hobby of homebrewing beer

What are Campden Tablets?

So many little things to learn and explore so little time to invest. Recently I mentioned to John that Campden tablets were a mystery to me. So a little research later and now we are discussing the differences between chloramine reduction and microbial shelf stability.

Campden tablets are metabisulfite pressed into a useful tablet format. Premeasured for convenience. I suppose that using the term Campden tablet is a little less intimidating to chemistry-phobes than potassium metabisulfite. Metabisulfite comes in two forms normally; as sodium or potassium salts. Most of the time we default to potassium versions because the addition of more sodium to our beer (and maybe our diets) is less desirable.

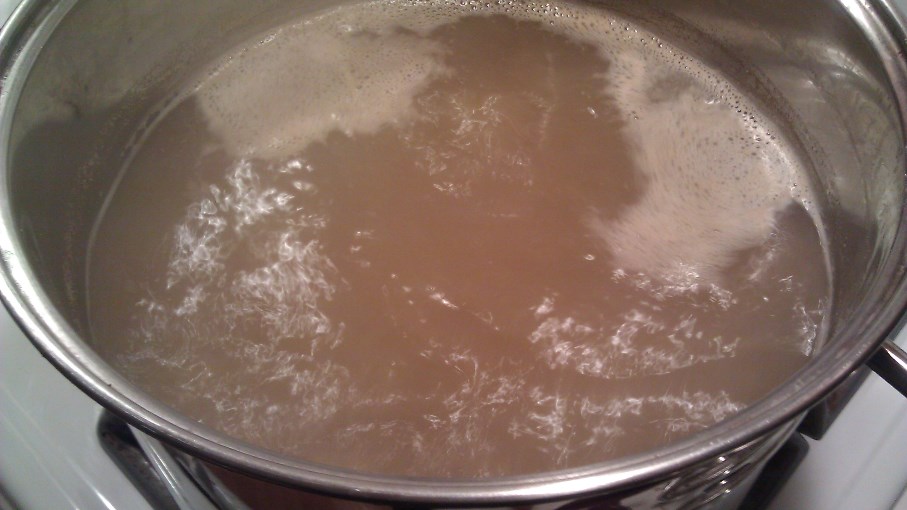
Metabisulfite can act as a reducing agent in water. When it reacts with chloramine the sulfite portion will displace the positively charged amine portion of the chloramine molecule. That leaves the chlorine anion to combine with hydrogens in the water. Free chlorine can then be left to dissipate when you leave a brew kettle full of water to sit overnight. Or you can boil it. But that costs fuel and energy and time to chill again prior to mashing. WOW, that was a lot of chemistry.

Metabisulfites are also useful for microbial stability. In short, sulfites serve to disrupt the metabolic processes that allows most yeasts and fungi to proliferate. However, they do not necessarily kill intruding microbes. When the metabolic rate begins to fail microbes will go dormant I order to prevent themselves from dying. Due to that fact sulfites are normally considered microbial static. Their success as a stabilizer depends on the initial microbial count (microbial load) in beer to must to be low. Low of course is a relative term and hard to define. Generally, you can add sulfite to a must to retard the proliferation of wild microbes and provided you pitch a substantially high enough amount of cultured yeast you’ll still get fermentation. Campden tablets can also be added to a finish wine after flocculation to stabilize it prior to back sweetening.

This works especially well when done in combination with sorbets. Another preserving agent added to musts and wines… But that’s a topic for a different video.

BREW ON!
Fresh English Brown Ale

It’s the Wednesday before Thanksgiving so first a cheers to you and your family. We hope you are drinking homebrewed beers or ciders. Pairing your favorite dishes with your best creations. What better beer could there be for me at thanksgiving? That’s right English Brown Ale!!!

First of this beer remains largely unchanged since I last brewed it. I use Maris Otter for base malt and the rest of the character malts are crystal 60L, chocolate malt (350L) and Briess Special Roast. I have settled on these three malt delivering the balance of caramel, chocolate and roast that I expect from a good Brown Ale.

This time around I attempted to lighten the color slightly by backing off the chocolate a bit. I usually use the three in equal parts but this time I wanted something lighter in color to be more English like. My normal recipe seems more like a dark Brown Porter or an American Brown Ale base.

I experienced an early temperature drop about 4 days into fermentation. I want using active temp control at the time and I fear the yeast flocked out early. More English yeasts will do that regardless of how much sugar remains. So my FG was1.017. This makes this brew about 3.5-3.7%ABV. Not what I wanted but for the family feast it will be good to knock several of these back and not be too inebriated to carve the turkey.

Speaking of which it’s time to quit writing and get back in the kitchen. That bird isn’t going to brine itself and there are still potatoes to peel.

BREW ON!

BIAB Series – Mosaic SMaSH Ale

Home brewing plans take time to come to be. Maybe in 2015 I will learn to execute quicker. The thoughts for the SMaSH beers as a part of the BIAB Series were put forth in July!

Better late than never – some plans never see the light of day.

Saturday night I had the time to brew in a bag (BIAB) and use one variety of hops throughout the boil. I have two more to do which I should get done between now and Thanksgiving.

Brewing one gallon batches using the BIAB method brought my brew session time down considerably. From heating up my mash water to cleaning up afterward, I was done in 3 hours.

I brewed right on my stove top for the first time in years. It was nice to not have to deal with the elements outside and the extra equipment. Everything was right there in my kitchen – what a concept!

With nearly 2 gallons in my pot, it took no time at all to get up to my mash temperature and hold it there for an hour with the grain in the bag.

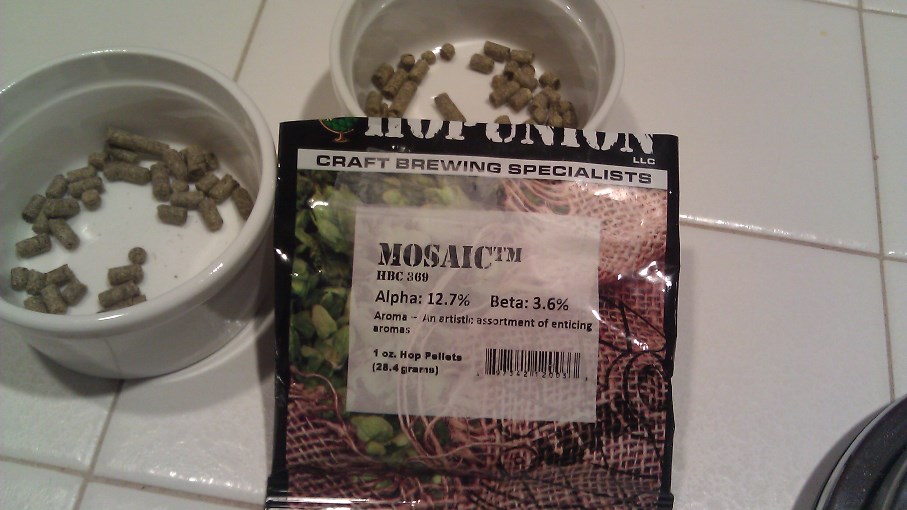
The recipe was a modification of the Mosaic SMaSH one I wrote up earlier in the year but what we’re trying to learn has stayed the same. We want to learn more about this variety’s flavor and aroma.

I am using just one ounce of hops – I put in a quarter of an ounce at the start of the boil, another quarter with 15 minutes to go, and another at flame out. The last quarter will be added with a few days left to go in the fermentation.

I did this schedule with for an experimental Sorachi Ace hops wheat beer last year and it worked well to get a full profile of the hops.

Here’s some photos of the session:

So Mosaic is done – El Dorado is next – and then Equinox will be last. Tasting videos will follow once the beers are ready.

Brew On!

Passion Fruit Flavor in Hops

This weekend, the plan is to get some of the one gallon, SMaSH hop explorations underway. These are the hawt new varieties that we have wanted to learn more about and brewing up small batches is a low-risk way to get that knowledge. If I were to brew five gallon batches and I don’t like the hop, I may be in the position of being stuck with a lot of beer I don’t want to drink. The one gallon batch presents a small yield of beer that may not be enjoyable and also keeps the costs low.

The hot hops that I am going to brew with are:

I also have a Down Under IPA on the calendar too. This recipe has a large amount of AU and NZ hops in them. One of the descriptors about the flavor and aroma of these hops that kept coming up was passion fruit.

I first saw it in the description of Simcoe hops. Back then, I was ignorant of what the fruit tasted like. I think I had it in some juice at some point but it was mixed with other flavors.

The Pursuit of Training Your Taste Buds

Beyond training to be a beer judge, it’s good to know what things taste like that are being used to describe beer flavors. Keeping a mind that is open to learn and is always in the pursuit of gaining knowledge led me to buy a passion fruit at the grocery store.

When I brought it home, I had to look online how to eat it. From what I found, I learn that it’s all about scooping the pulp out of the skin and slurping it up.

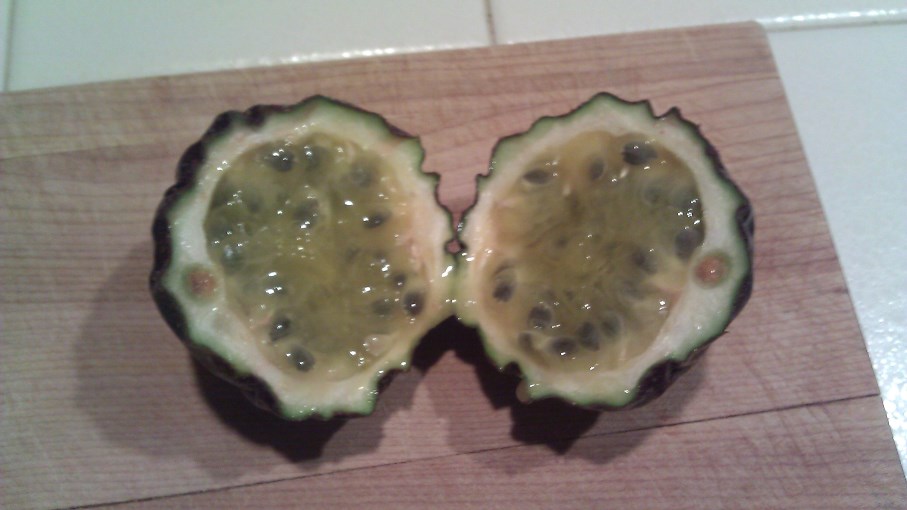
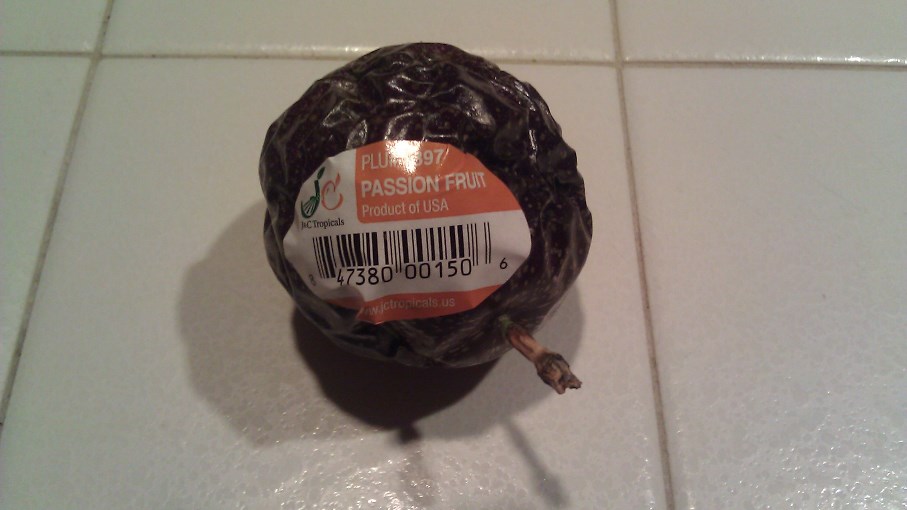
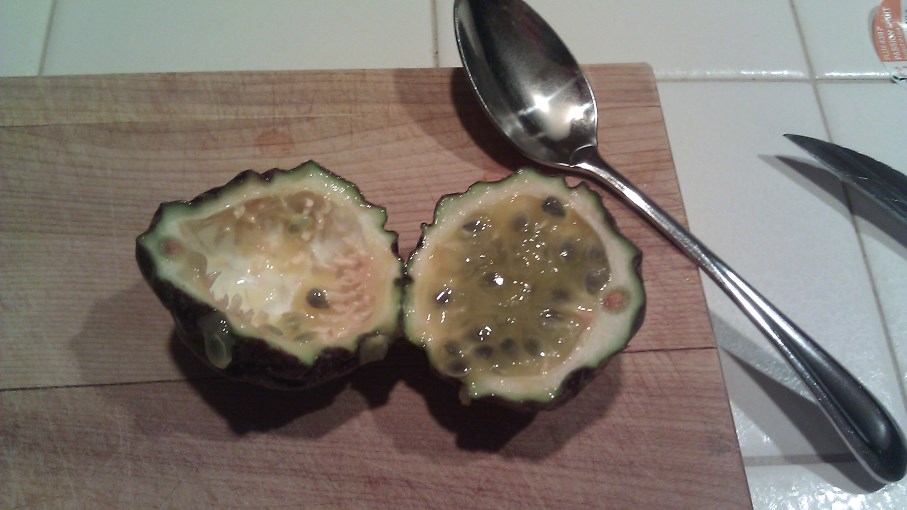
Here’s some photos of the first tasting:

Split open passion fruit

Passion Fruit

Scooped passion fruit

The fruit is easy to cut open and the pulp was easy to spoon out. A few tastes and I got a good understanding of the flavors. The fruit is pretty tart, it’s got the lemon taste without the lemon scent. There are some notes of melon in there, mostly in the aroma. If you were to take a mild honeydew aroma and match it with some tart lemon flavors, you would have a passion fruit. I can see how this fruit would be used as a way to describe how a hop would smell and taste. It has a very bright tartness that if there is no citrus elements in the finished beer’s hop profile, then you would use passion fruit to describe it.

Let me see if I can commit this flavor to memory and pull it out later when I am tasting beer.

Brew on!

Acetaldehyde Off Flavor Tasting In Home Brewed Beer

I recently brewed up an English Best Bitter. I enjoy these session style pale ales quite a bit. English bitters in general have plenty of malt character balanced by earthly slightly spicy English hops. My favorite is the classic East Kent Goldings. Brewing English beers is fairly straightforward the trickiest part is managing the fermentation. English ale yeasts are well know for a couple off flavors if not treated right. And that’s what we discovered when we tasted my latest brew.

This beer has a subtle but noticeable acetaldehyde character. Namely it comes across as an apple quality. At lower levels acetaldehyde may seem like another fruity ester. Esters are actually a pleasant and welcomed flavor common to English ale yeasts.

So where did this acetaldehyde flavor come from. Well production of acetaldehyde is a normal part of the fermentation life cycle of all yeasts, not unique to just English strains. Normally at the end of fermentation yeast will re-absorb acetaldehyde and convert it to ethanol. They metabolize it as a carbon energy source after the sugars are all consumed. However this takes some time.

In my case, I think the garage was starting to chill down as late fall started to transition into pre-winter like temps. English ale yeast is notoriously finicky to changes in temperature. Especially a drop in temperature. If the yeast sense a drop in temperature they begin to flocculate. English yeast strain are normally the highest flocculators of most brewers yeasts. This creates a situation where the lower temp signals a time to go dormant, flocculation happens and you end up with either incomplete fermentation or a lack of cleanup.

I suspect that’s what happened here. I wasn’t using active temp control and my yeast flocculated out too soon leaving me with some unused acetaldehyde. Thankfully I didn’t get a double disaster with some diacetyl as well! To prevent this in the future, or in your own beers, I would ferment cool for the first three days then I’d start ramping the temp two degrees or so a day until I got it to 72F. Then I’d hold the beer there for another 7 days or so. Of course this changes somewhat strain to strain,wort to wort, and recipe to recipe.

Page 125 of 322

Powered by WordPress & Theme by Anders Norén