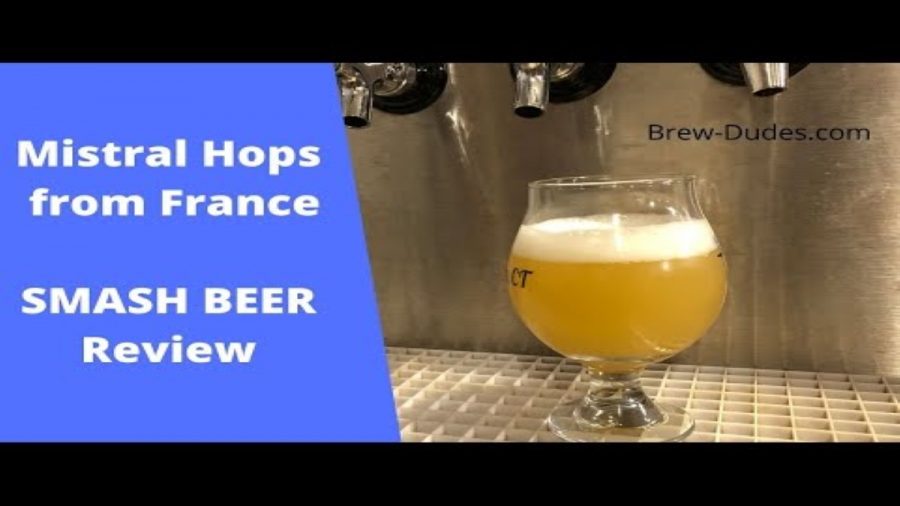
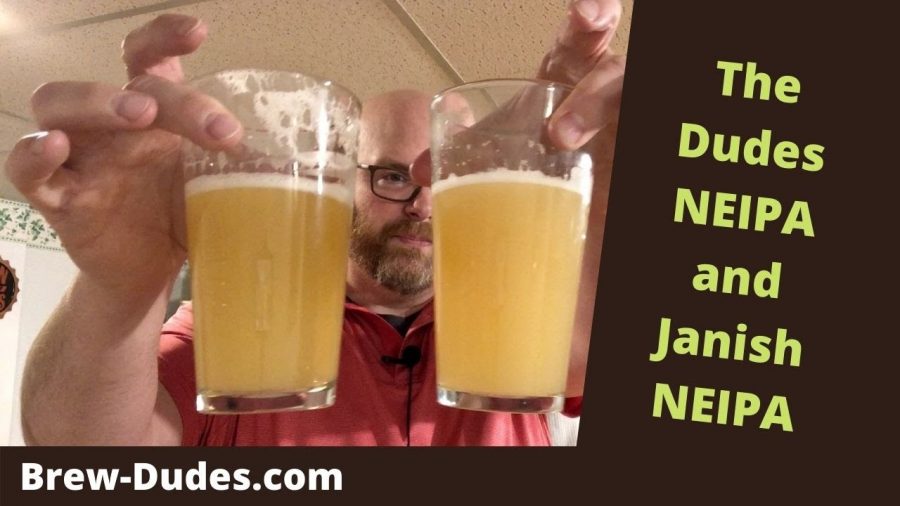
Brew Dudes

Homebrewing Blog and Resource

The hobby of homebrewing beer
BrewFirm No Boil Kits

BrewFerm No Boil Beer Kit Review

Hey there, you fans of saving time and energy while brewing beer at home. We have the post for you right here. We were sent a bunch of kits to learn more about and we brewed one for all to see. Take a gander at this BrewFerm no boil beer kit review, won’t you?

No Boil Beer Kit Benefits

So, certainly this method of brewing is not the typical one for these Brew Dudes, but we are always open-minded when it comes to homebrewing. We did write a book about extract brewing back in 2019 When BrewFerm reached out to us, we accepted their offer to send us a few kits to try out.

For your understanding, these beer kits include pre-hopped, malt extract, yeast, and an instruction sheet. You will need a fermentation vessel that holds more than 3 gallons of wort and you’ll need to have the ability to sanitize your equipment. Besides those items, you’ll need a clean water source and sugar.

The big benefit that these kits provide homebrewers is the time savings. As you’ll see in the video, I brewed this kit in 15 minutes – 20 minutes if you count clean-up time which was minimal. If you’re someone who is just starting to homebrew or you’re someone who likes to brew quickly, these kits are for you.

One note we got from the manufacturer, you’re supposed to condition these beers for 6 to 8 weeks after fermentation. We didn’t mention that in the video, but if you’re patient and following the instructions to the letter – do that.

We do have a few to give away so if you’re so inclined, leave us a comment below and we’ll add you to the group of people who are eligible for some free beer (please be in one of the 48 contiguous US states).

Hope you enjoyed this post. You can use our discount code brewdudesbogo for a buy 2, get one free deal at BrewFerm.com.

BREW ON!

Homebrewed Irish Red Ale Poured Out Of A Keg

St. Patrick’s Day Irish Red Ale

Just in time for the holiday, posting on the 17th of March, we have an Irish Red Ale. Mike was going for something that he thoroughly enjoys – a malt forward beer with a little roast flavor that makes you want to have a pint or two. Hey, if you can’t go to your favorite pub again this year, brew it at home! Watch this video about our Saint Patrick’s Day Irish Red Ale.

That Elusive Red Color

First, let’s lay down the details of this beer:

3.7 lbs or 167 kg Briess Pale Ale Malt (3.5 °L)
0.33 lbs or 150 g Weyermann CaraRed (17 °L)
0.33 lbs or 150 g Briess Caramel malt (120 °L)
0.09 lbs or 40 g Chocolate Rye (175 °L)
2 oz or 57 grams of East Kent Goldings hops for a 60 minute boil (5% AA)


Fermented with LalBrew Windsor Ale Yeast (half packet)

Mash 152° F or 67° C for 60 minutes
Fermented for 2 weeks at 70° F or 21° C

Irish Red Ale Tasting Notes

We have brewed this style before so we’re experience with the style. This beer was tasty but the color was more brown than red. I think the malt notes were there with some caramel backgrounds. The beer finished a little higher than Mike’s target (1.015) but the ferment was clean and it left a soft impression in the aftertaste.

Overall, I think the beer was young. To me, the yeast was still in suspension and because of that, the color and flavor was affected. With some time in the keg, the yeast will drop out and the beer should become clearer. Then, that color should shape up to what Mike was going for.

I don’t think I have brewed an Irish Red Ale that has nailed the color. If I were to brew this style again, I would use a little caramel malt like Mike has in his recipe but replace the Chocolate Rye with 70 grams of Roasted Barley. Then, I would use some finings in the kettle and if the beer was still cloudy after fermentation and a 2 day cold crash, I would use gelatin at kegging.

The ruby highlights shine in a clear beer, I think. I will try that next time I brew this style.

What’s your take?

Let us know and brew on!

American Pale Ale Beer Swap

Brew Dudes Homebrew Swap – Exchange #42

We have another homebrewer send us a few beers. One didn’t quite make it as I found out by the mushy mess of the box left on my porch (sorry, delivery guy). One of the beers that survived was a classic American Pale Ale that we tasted and talked about on camera. Here’s the video for these Brew Dudes Homebrew Swap – Exchange #42.

What Did We Think?

Appearance: First off, the color was beautiful. It had the copper hue that defines the style. Lots of wonderful memories from our times in craft brew pubs. Nice head and good lacing.

Aroma: Good American hop aroma. Piney with some citrus notes.

Flavor: For a beer with a calculated ~100 IBUs, it had a strong bittering punch but with some hop flavor layering that revealed itself in the aftertaste. We found some nice notes of orange and grapefruit in the beer. The beer was well attenuated and the fermentation character was clean. The malt supported the hop character.

Mouthfeel: Medium. Not too thin.

Overall Impression: A great version of the style from a relatively new homebrewer. The care Joe took to brew this beer didn’t go unnoticed. It was one we would gladly go and pour another pint.

Thanks Joe – appreciate the beer.

BREW ON!

Mash pH and Temperature Experiments

Mash pH and Temperature Experiments

Sometimes Mike throws down a challenge for himself and brings the science to the Brew Dudes’ audience. He’s been brewing since 1998 and there’s been some nagging questions about the rules of mashing that he has wondered about but hasn’t taken the time to really test, until now. This video explores the effects of acidity, basicity, and “too hot” and “too cold” temps to the process of mashing malt. Take in these Mash pH and temperature experiments:

The Experiment Setup

So Mike wanted to know what effect different pH levels and temperature extremes would have on the starting gravity of these mashes.

There were four experimental mashes along with one control. The control was a mash that follow the recommended pH and temperature for the mash. We’ll call that The Perfect Mash. The next mash he discussed was one with a pH of 4, but in the ideal temperature range. We’ll call that The Acidic Mash. Then, he made a mash with a pH of 8 (ideal temperature range), which will be known as The Basic Mash. Lastly, he made mashes using water that was “too cold” (35°F/1°C) and “too hot” (180°F/80°C) but within the ideal pH range. Let’s call them The Cold Mash and The Hot Mash.

The Experiment Results

Since gravity readings were the collected data point of the experiment – just dissolved solids into the water (he tasted the mashes too to see if they were sweet), here are the numbers:

  • The Perfect Mash – 1.055 starting gravity (tasted malty sweet)
  • The Acidic Mash – 1.048 starting gravity (tasted tart but weakly sweet)
  • The Basic Mash – 1.030 starting gravity (tasted awful and no sweetness)
  • The Cold Mash – 1.016 starting gravity (no sweetness)
  • The Hot Mash – 1.070 starting gravity (tasted robustly malty sweet)

Interesting results for sure.

Mike took it a bit further to see what conversion happened with each of the mashes:

  • The Cold Mash – no conversion
  • The Basic Mash – no conversion
  • The Acidic Mash – weakly converted
  • The Perfect Mash – conversion
  • The Hot Mash – conversion

So, the best result outside of the Perfect Mash is The Hot Mash. If you’re mashing at a too hot temperature, you’ll probably be able to brew a good beer. Wacky pH levels will prohibit your ability to brew good beer.

Hope you enjoyed this video as much as we did making it.

BREW ON!

Elixir Hops SMaSH Beer

Elixir Hops SMaSH Beer Tasting

Just like Barbe Rouge, we try another French hop variety. This time, it’s Elixir hops. We have been hearing so much about these hops from France, but we don’t know if they are any good. Watch this video for our hot takes on this hop.

What An Interesting Profile

First off, this hop is a low level alpha acid variety, around 5.5%. I probably should have added more to the beginning of the boil as I typically do with these types of hops, but I didn’t. Maybe next time.

Elixir hops have some interesting descriptors that include Cognac, tobacco, and leather with some fruit notes. Mike thought there were notes that were difficult to identify. He stated it seemed to have an savory or umami flavor type component to it that was hard to describe.

There was some fruit character in the flavor that fell in the citrus-range. John identified the fruit to be ruby red grapefruit in character where Mike found the citrus component to be more orange maybe Kumquat like.

A peculiar hop for sure. This hop would be good in a saison or another farmhouse beer style where you’re looking to bring out an earthly quality in the beer from the hops.

Have fun trying this one out. Brew ON!

Page 53 of 317