Brew Dudes

Homebrewing Blog and Resource

The hobby of homebrewing beer

Yeast Inoculation

This is a follow-up from the adding yeast to bottled beer experiment that we revealed last week. Although the video we shot will show you the results of the experiments, here are the details of what I did and how I did it.
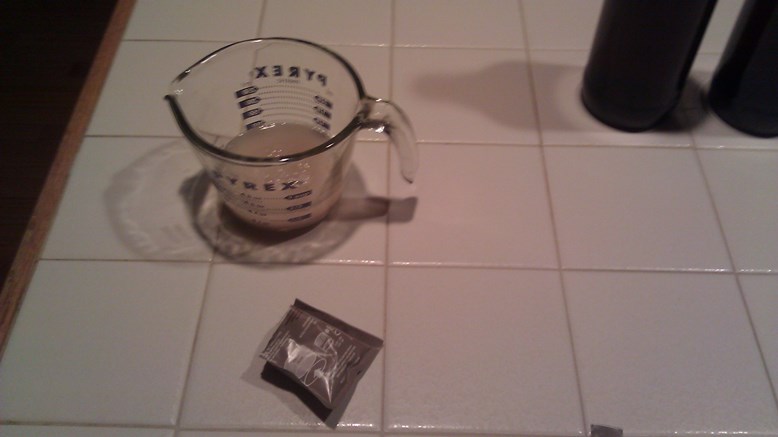
Champagne yeast

I bought a packet of champagne yeast and proofed it following the instructions on the package. While the yeast were waking up from their dormant state, I worked on other stuff.
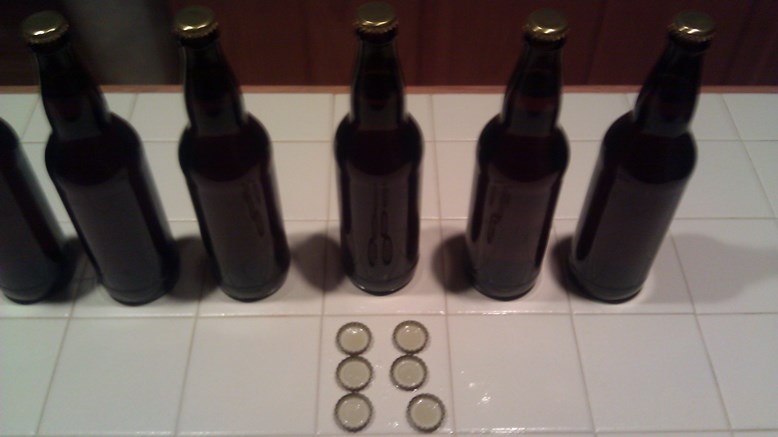
Braggot bottles and caps

Of the 18 plus bottles I have left of the braggot, I chose six bottles to inoculate. With six bottles, I got out six bottle caps and sanitized them with a few sprays of Star San solution. While the caps were drying, I opened up a new box of children’s cold medicine and took out the syringe.
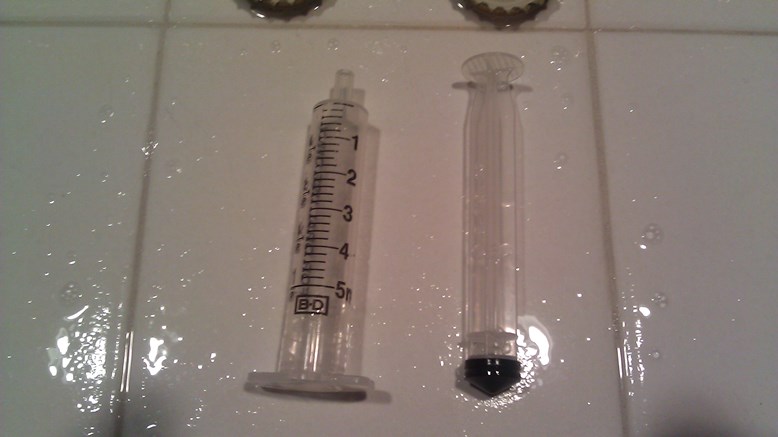
Syringe

I sanitized these two parts and let them dry while the yeast was in bloom mode. After 15 minutes, the yeast was showing some signs of life.
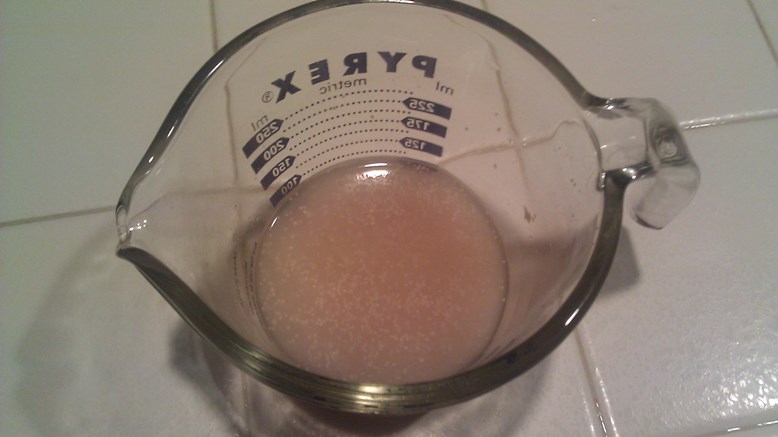
Yeast Bloom

Champagne yeast, in my experience, does not foam up like other yeast strains. For instance, Nottingham yeast blooms to double its volume. You can’t miss it. Champagne yeast sorta gets a little plumper but it is a bit underwhelming. After the fifteen minutes are over, you are left wondering if you have a bad packet of yeast. Now that I have used champagne yeast three times, I can say with confidence that this yeast isn’t a show off when it comes to blooming. It gently awakens but once you add it to something fermentable, watch out. These critters can eat.

With everything sanitized and the yeast bloomed, it was time to inoculate.
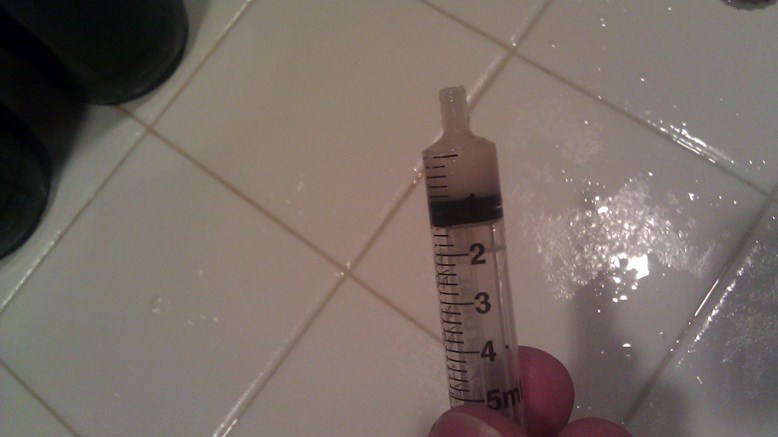
Yeast Dose

Speed was crucial so I created a step by step process to follow for each bottle.

1. Uncap a bottle
2. Draw a 5 milliliter yeast dose from the measuring cup
3. Introduce the yeast into the opened bottle
4. Recap the bottle
5. Give the bottle a gentle swirl to get the yeast mixed into the braggot
6. Repeat

By the end, the process left the bottle only open for 10 seconds. We videoed the big reveal if this experiment worked or not last night. Watch the video at the top of this post to find out if it was successful or not.
German Pilsner Bottling Day

I know what you’re thinking – another bottling day. When am I going to start kegging this stuff? Good question. I need to get on that. Until then, I am bottling my beer.

After five weeks in the refrigerator so it could clear and mellow and all the other stuff that comes from lagering, the German pilsner was ready to move to the next step. The next step is getting in my belly but maybe two more weeks from now that can happen.

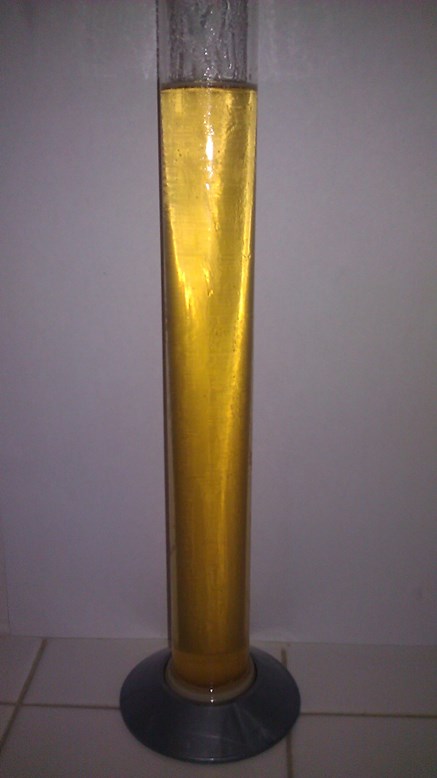
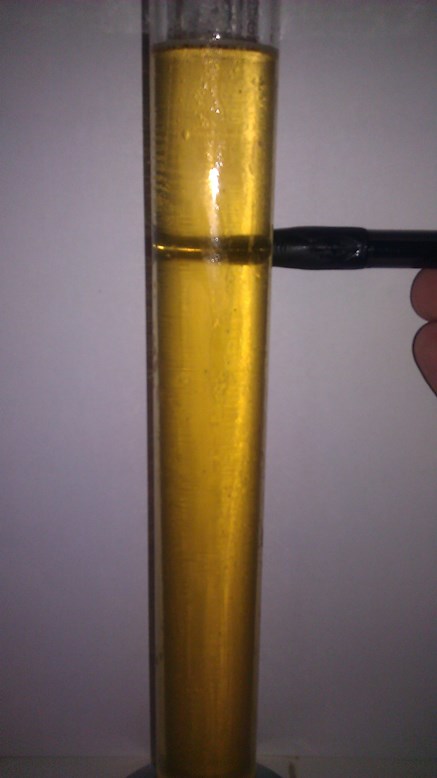
Oh this beer cleared well. I could tell by looking at it in the fridge. By week three, I could see light shining through it. I took a few readings, also known as sips, during the lagering process. It was clear and flaw free from what I could tell during the lagering process.

Just look at the color. Take a gander at the clarity.

German Pilsner Clarity German Pilsner

This bottling I did a little different from other ones. I took the carboy right out of the fridge at the time I was ready to siphon. With other lagers that I have brewed, I have let the beer warm to room temperature before I bottled it.

Because I am used to priming ales, I felt more comfortable priming lagers at the same temperature. Now, with the low temperature of just above freezing, I didn’t need to use as much corn sugar as I would at a higher temperature. I thought that was a good thing since I used a lot for the honey saison bottling last week.

According to different calculators, I only needed to use 2.5 ounces of corn sugar (boiled in 2 cups of water for 15 minutes, naturally). Because of the low temperatures, there is more CO2 dissolved in the beer so there is less of a need for the yeast to produce more.

I felt funny using that little amount of corn sugar but the beer itself did have some bottles to it when I tasted it. I am sure every little thing is going to be all right.

Brew On!

Honey Saison Bottling

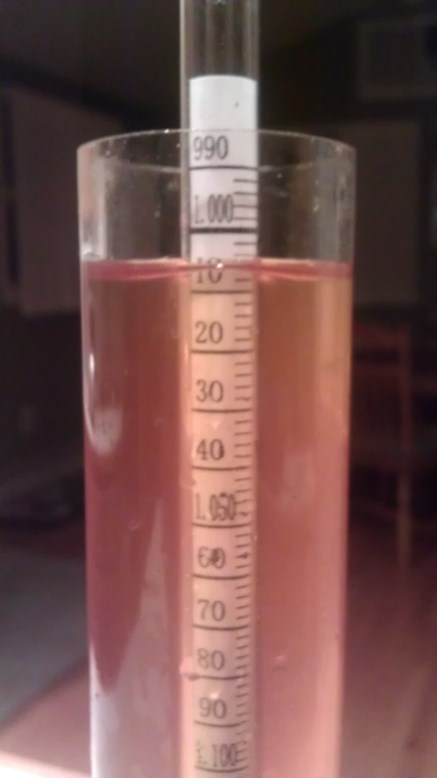
After two weeks in the fermentor, the Honey Saison was ready to be primed and bottled. Taking that last gravity reading made me happy.

Honey Saison Final Gravity Reading

I was looking for 1.007 reading and I got a 1.006 reading instead. No issues there. The drier the better.

Reflecting on the fermentation, I didn’t push the temperatures as high as I could have. I was using ambient room temps to push the fermentor temp, which got the fermentation to the high 70s.

I could have used a heating pad to warm it up to the 80s and beyond, but with the yeast strain I was using was a blend and I didn’t think I needed to push the temperatures to higher than where I pushed them.

Tasting the hydrometer sample led me to believe this beer will finish dry. It also tasted more clove-y than pepper-y but that’s coming from a warm, non-carbonated sample. We’ll see.

Since this style needs to be highly carbonated, I calculated the amount of corn sugar I needed to be 6 ounces based on the temperature of the beer and the final volumes of CO2 I wanted in the beer. I don’t remember how much sugar I primed with when I brewed my other saison but it must have been a lot. I remember that beer having a nice lemon-y acidity to it and a thin body which was pretty refreshing at the end of a long day.

So the saison throwdown is on. Mike has been on vacation this week but that doesn’t stop his main competition from getting his submission ready to do battle.

As of the time of this posting, the beer has been in the bottle for 5 days. I hate drinking beer before it is ready, but I might have to chill one and see how it is coming along.

Adding Yeast To Bottled Beer

I brewed a braggot earlier this year using Scottish Ale Yeast.

The primary fermentation was extremely strong.  The yeast seemed to be in good shape after it was done.

What I didn’t realize was that after a long conditioning phase, counting on those yeast for bottle carbonation was not a good idea.

We have written about the subject of uncarbonated beer before and some of the steps to take before trying options to get it to carbonate.

Enough time had gone by (over two months) at warm temperatures (over 70 degrees F) that the yeast weren’t going to work their magic one last time.   So I decided to do something about it.

With one packet of champagne yeast, a small syringe that comes with OTC children’s cold medicine, and a number of new bottle caps, I tried to give my braggot a shot in the arm.

I picked out six bottles to use.  I thought that was  a good number because it left plenty of bottles to try something else if I am not successful and if I am successful, well, that’s 6 bottles of quality braggot to be consumed at a later date.

Here was my thinking:

1. Use champagne yeast since it is a clean tasting yeast.  It has a high alcohol tolerance.  Braggot is a beer/mead hybrid so using a wine yeast is all right in my book.

2. Use a syringe so I can measure out small but standard amounts of yeast to put into each bottle.  The kids’ medicine syringe dropper thing was perfect.  It was easy to clean and sanitize too.

3. Be quick about it.  Open up the bottles, add the yeast, and cap them.  Move them to a warm place and check one in a few weeks.

The amount of yeast I used was a guess on my part.  I used 1 milliliter because I could measure that amount easily and it seemed like a good amount for a 22 oz bottle.

We’ll see.  Maybe next week we’ll post a video of the results.


Smaragd Hops

Although the name looks like a typo in our language, Smaragd hops are named after the German word for emerald. It makes sense since they are green like the jewel.  Not that other hops are not, I am just saying that the color green may have been on their minds when they decided to name it.

The variety comes from the Hull Research Institute and is grown primarily in Germany. It’s another variety that was bred to have the same aroma and flavor profile as Hallertauer Mittelfrueh but with better resistance to wilt and other diseases that can ruin hops crops.

Another variety that was developed and released around that same time (c. 2002) is Saphir hops, which is now being used as a showcase hop in a number of different beers.  With Saphir as their companion variety, maybe jewels were the naming theme that week (See note about emerald above to make the connection).

There are a number of US hops that are bred from Hallertau and are available as substitutes for that noble variety. Mt. Hood, Liberty, and Vanguard are a few of these hops and you should pick them up if the German versions are not available for your homebrewing needs.

Before you go out and buy a few ounces, read these details about Smaragd hops:

Origin: Germany

Aroma: Floral, fruity nose, maybe spicy, woody, and herbal. These are “noble” hop descriptors. The one that stands out to me is the fruity nose one, which could be the key differentiator.

Alpha Acid: 4 – 6%

Typical Usage: Aroma

Beer Styles: Pilsners, other German ales and lagers, some Belgian styles

If you are looking for a little different hop profile for your next pilsner, pick up a few packets of this hop if you can find them.  Try brewing up a SMaSH beer to really get a sense of what these hops could bring.

Page 158 of 322

Powered by WordPress & Theme by Anders Norén