
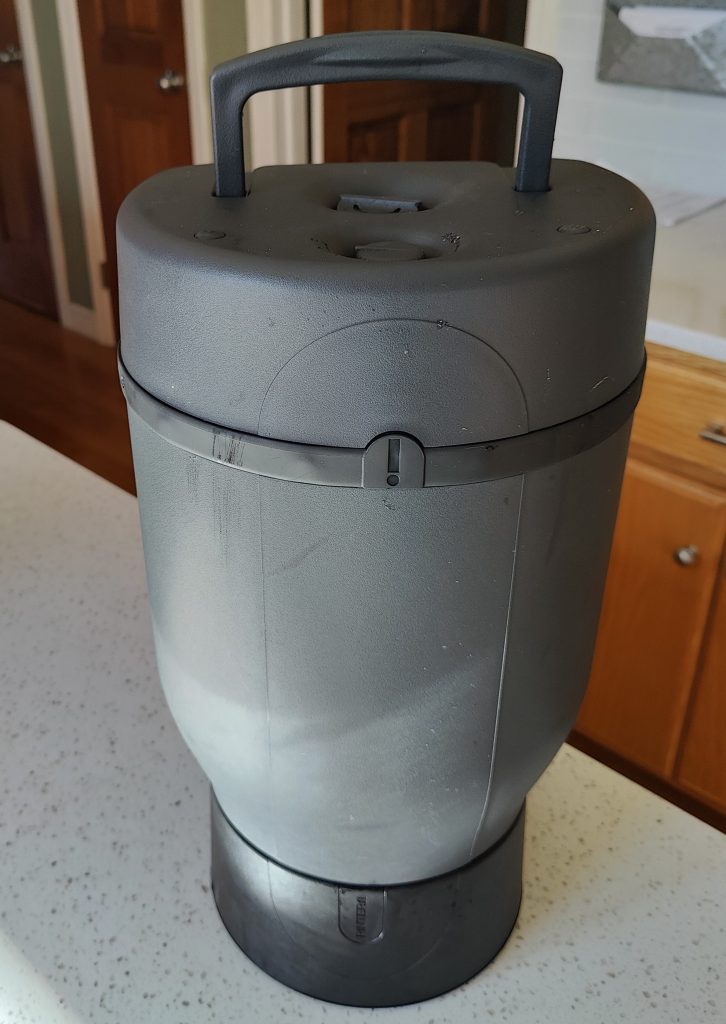
We’re back with a full review of the Pinter Brewing System. We did the unboxing videos but this time we document the step-by-step experience of brewing with the equipment. Check out the different stages of the Pinter process and see what we thought of the Dark Matter Stout. Let’s roll!
The Process
For experienced homebrewers like us, we evaluate these systems by following the directions closely. The first runs are by the book so we can understand if a decent beer can be brewed as directed.
The Pinter comes with an app that takes you through 5 phases of the brewing process. It also provides notifications when different phases are over and you should move to the next phase.
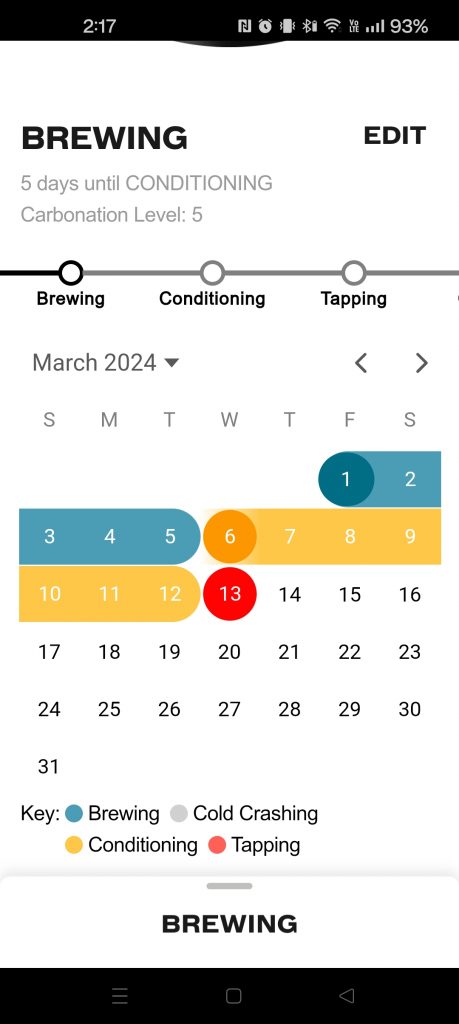
The Brewing (Fermenting) phase is scheduled for 5 days by default. Although beers can ferment completely in that number of days, we would rather extend the phase to 7 days at least. After cold crashing, we tapped and we tasted.
Pinter Dark Matter Stout Tasting Notes
Appearance: The matter is dark indeed. Thick tan head and opaque near black color.
Aroma: The aroma is malty with hints of cherry-like sweetness. There is also a subtle suggestion of something wine-like.
Flavor Profile: Strong dark maltiness, with a smooth and drinkable quality. The Pinter Dark Matter Stout has a lack of intense roastiness, resembling more of a Schwarzbier than a traditional stout.
There are notes of grapefruit pith, indicating a possible influence from the hop extract used. The bitterness from the hops is present in the aftertaste along with a lingering acidity reminiscent of green apple, suggesting a potential fermentation issue.
Mouthfeel: There is a noticeable coating on the mouth, with a medium to light body.
Overall Impression: This stout is enjoyable for its smoothness, moderate bitterness, and approachable flavor profile. Despite some minor observations regarding fermentation and flavor nuances, it’s a good first try for the Pinter.
Remember, you can get $50 off your purchases from Pinter.com when you use our code: BREWDUDES50
BREW ON!