Brew Dudes

Homebrewing Blog and Resource

The hobby of homebrewing beer

Freshness Matters

Extract brewing is easy, quick, and convenient; sometimes I miss the good old three hour brew-day.  But I don’t miss the increase in freshness that all-grain has over extract.

A recent discussion I had with a couple other brewers yielded these ideas which help extract brewers bring more freshness to their brews:

  1. Dry malt extract is generally more shelf stable and gives a fresher flavor than canned liquid extract.  I tended to use DME exclusively over LME before I switched completely to all-grain.  A possible exception to this would be if your local shop carried bulk LME in a drum, that is routinely purged with nitrogen instead of air, and has a high turnover rate.  I have a local shop that used to have the drums but their turnover wasn’t so good because more and more folks started doing all grain batches, so then “canned” the barrels (no pun intended).  Not to mention that the barrelled LME can get pretty messy with all those people trying to fill a 1 gallon container with 1.2 gallons of extract for that little extra value!
  2. While it is a common practice for some, I think the use of steeping specialty grains is under-valued for its freshness contribution.  For the most part all your caramel/crystal grains, your toasted and roasted grains, and some of your other wacky grains (acid malt and melanoidin malt) do not need to be mashed.  Using them for your color and flavor will bring a much fresher taste and value to your wort than using amber extract alone.  Not mentioned in part 1 but praised quite a bit by us here at Brew-Dudes, we always recommend the lightest extract you can get.
  3. Don’t be afraid to ask your local shop folks how long any product has been on the shelf.  Don’t just go to the store and grab a 6oz bag of any old thing.  It’s tough to tell from sight how fresh a little bag of black patent is, so you have to ask.  It’s like purchasing beef at the market with a blindfold on, only to get it home and see that it’s all gray and nasty.  With brewing ingredients, you may not realize freshness issues until the beer is brewed.  You can taste a few kernels on any malt and they should have a clear crunch in your teeth.  If not, they are likely a little stale and you should find another source.

Ingredients are expensive and so is your time.  If you want to make beer that you can drink and pass out on, then I encourage you to go get the discounted extract cans at your LHBS.  However, if you are interested in making a beer that rivals your favorite commercial beer for flavor and freshness follow those practices above!

BREW ON!
KreamyX

So, I saw this stuff earlier this year in a pile near the pile of plain ol’ corn sugar at Beer-Wine.  Muntons KreamyX.

It primes!

It increases head formation!

It increases head retention!

It washes windows!

Ok, it doesn’t wash windows… but KreamyX claims to be a beer kit primer with heading powder.  Its ingredients are dextrose, spray-dried malt extract, and propylene glycol alginate.  I am pretty sure what the first two ingredients are.  I looked up the last one and found out it was an emulsifier, stabilizer, and thickener used in food products such as ice cream and salad dressing.   How it works in beer remains to be seen.

I would say I am trying Kreamyx for experimental purposes.  I don’t think I would have shelled out the extra cash if we didn’t have a blog to report on the results of certain ingredients or techniques.   Ok, I was curious for myself too…but I am debating in my head if adding chemicals to my beer is a short cut.

I asked people on Twitter if they had ever used Kreamyx.   A couple of people replied with “No” answers.

So, what say you?  Have you used this stuff before?  Do you have a pseudo-moral dilemma about adding stuff to your beer that you really don’t need to add?

I’ll be using it and we will let you know how it turns out in a few weeks.

WLP005 Yeast

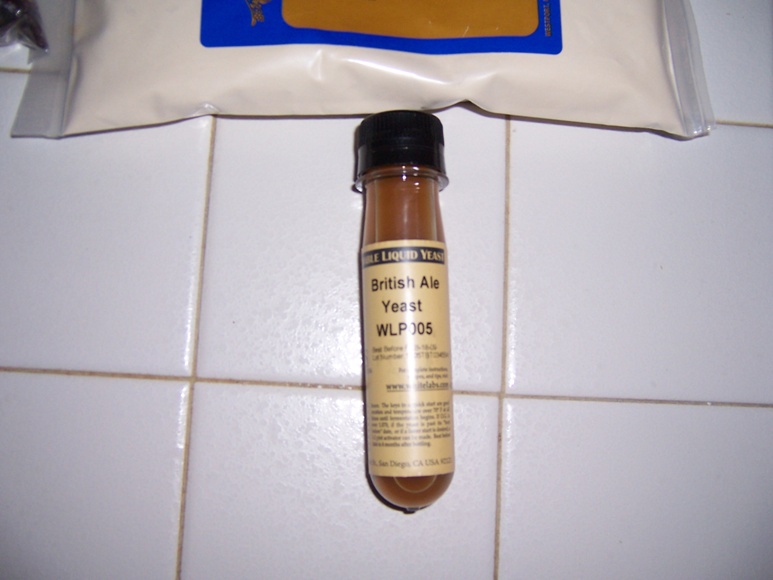
I  used White Labs’s WLP005 British Ale yeast for this brown porter and here’s my report of how the fermentation is going so far.

First and foremost, I did not make a starter.  I know, shame on me.  I did have enough time to make one.   I also used the OG to justify my action…or lack of action.  With an original gravity of just under 1.050, I felt confident that ‘straight from the vial’ would be ok.

I am happy to report that a strong fermentation was in progress when I woke up on Monday morning, 12 hours from the pitching of the yeast.   It has been going strong for the past 2 days.

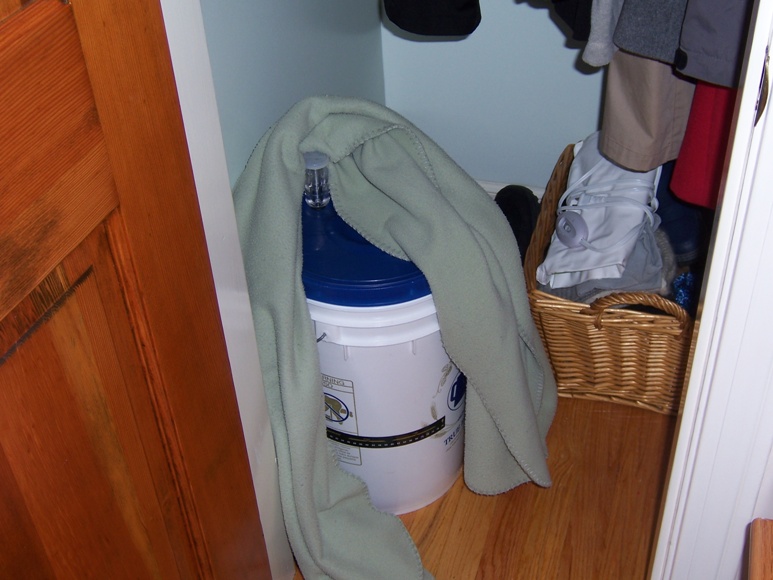
I kept it at 72 degrees to get the fermentation going.  I had a blanket wrapped around it to keep it warm. The optimal temperature for this yeast strain is 68 degrees so this morning, I removed the blanket and I am hoping that will bring the temperature down a few degrees.

I read that this yeast settles to the bottom fairly quickly and actually ferments from the bottom.   A few people on the boards we talking about how this strain does funky things.  I may gently rouse the yeast from time to time.

I plan to rack this beer into bottles after 2 weeks of being in the fermenter.  We’ll let you know how it turns out.

See other posts about this beer:

Brown Porter Brew Day

Brown Porter Recipe


Brown Porter Fermenting

Note to self: Don’t tell Mike WLP005 is the Ringwood strain.

Brew Day – Brown Porter

As my contribution in teaching a friend to homebrew, I invited my friend Lyle over for the Brown Porter brew session.   With some passing showers in the morning and colder temperatures rolling through, it didn’t look like great homebrewing weather.  In the afternoon, the clouds broke a little bit and the winds were tolerable…so the brew was a go.

I read Chris Colby’s article in BYO about partial mashing dark beers and treating your water with baking soda to keep the pH in check for optimal mashing and brewing.  From what I read, the dark grain make the wort more acidic and it could affect your mash efficiency and mouthfeel.  So, I followed some of the tips in the article.

I did not mash my dark grains.  I steeped them in my brew kettle while my lighter grains were mashing.

One thing that I am embarrassed to admit, but because we set out Brew-Dudes.com to be truthful and a place for learning I will admit, is the fact that you cannot mash a small amount of grain in a 5 gallon cooler.  I bought a 5 gallon cooler with the notion that I would be all-grain brewing soon enough.  The purchase was a mistake in terms of using it for partial mashes.  There is too much head space in a 5 gallon cooler to maintain mash temperatures.  I insulated my cooler this time with a really big blanket.  I still lost a lot of heat in the hour mash time….so please…learn from me:

  • Use a 2 gallon cooler if you are going to follow a partial mash procedure in your homebrewing endeavors.

I poured the liquor from my mash tun into my boiling pot.  We did have a bit of a boil over after the first edition of hops, but we pulled the heat down in time before a huge mess was made.  The rest of the boil was fine.  We drank Wachusett Black Shack Porters while we kept an eye on the pot.

The chill went well.  Visible cold break appeared and I was happy with that.

Here are some pictures:

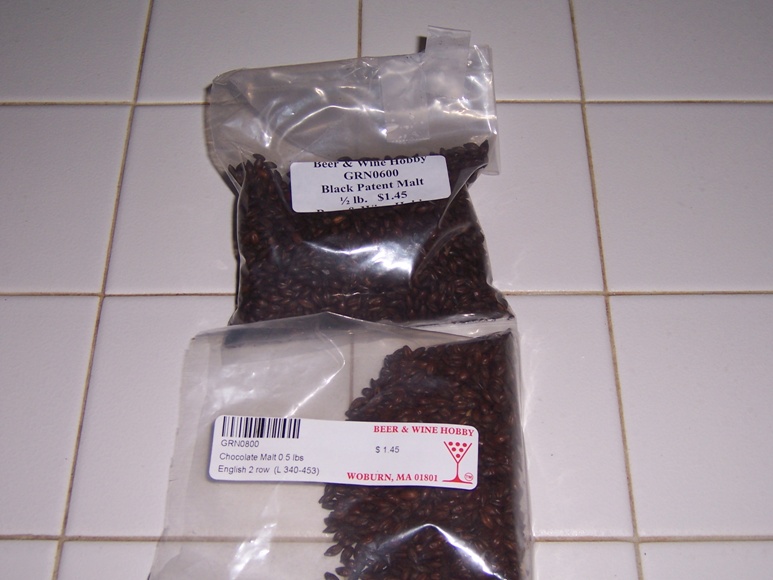
Chocolate and Black Malts

British Ale Yeast

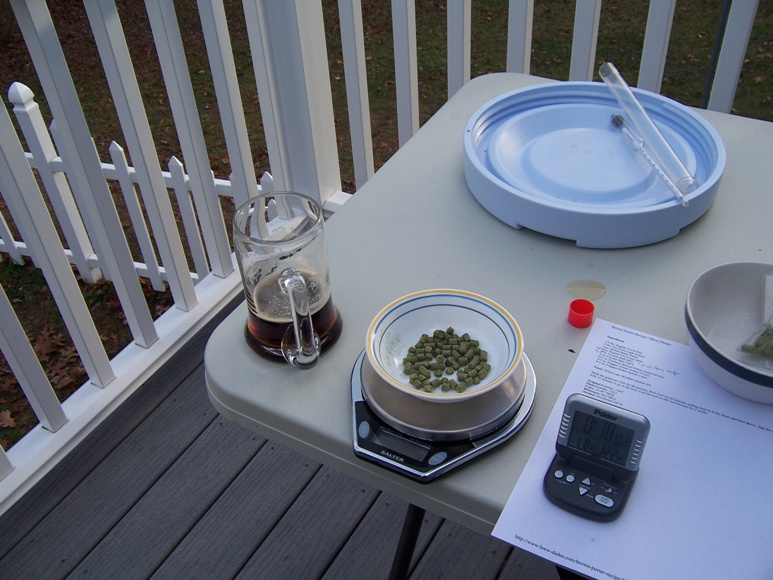
Northern Brewer Hop Pellets

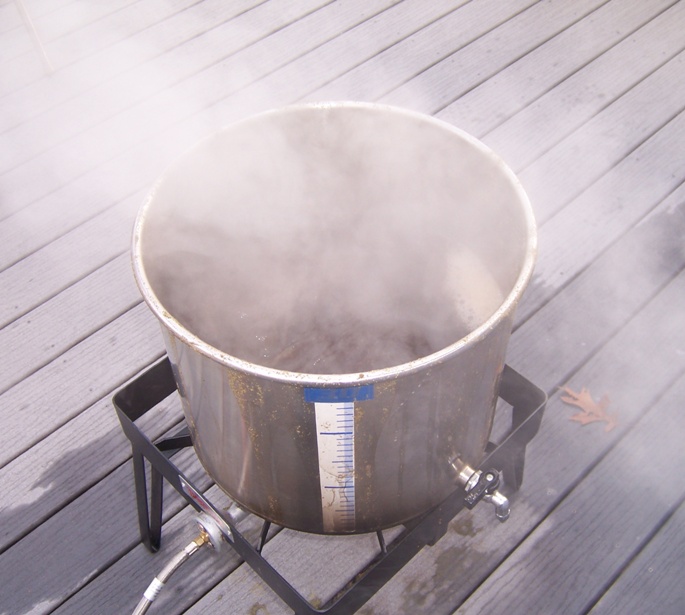
Brown Porter Boil

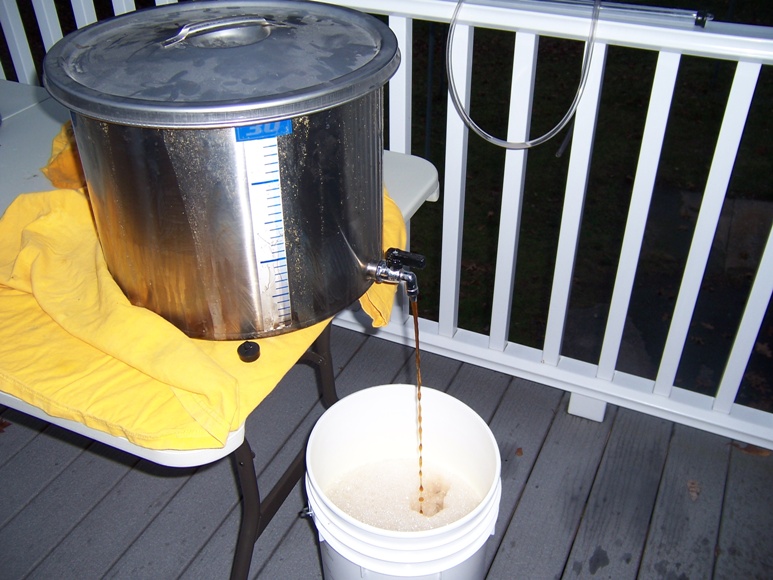
Aerating Wort

So, I am hoping the brew comes out ok.  Lyle is getting half of it.  I hope it’s worth his time and effort.

The move to all grain is next.  I need to modify my cooler a bit and then I will take the plunge.

Brown Porter Ingredient List

I am heading to the homebrew shop today to pick up a few things.  For the most part, they are ingredients for the brown porter I am going to brew.  The brew day has been selected and it is happening this Sunday (11/16/08).

I need to pick up all the specialty malts, the hops, and the yeast for the recipe.   If you are following along at home, you can check out my brown porter recipe.

Plus, I need to pick up some Star San.   I think it’s the best sanitzer out there.  No need to rinse, no fear of weird flavors, and as their site says, it is not affected by organic materials which means it keeps its sanitizing ability for longer.

Since the homebrew shop I am visiting today does not have Brown malt, I might try to make some of my own.  That’s my latest hair-brained scheme for this beer.  I found some instructions online and I will give it a try.  It consists of toasting pale malt in the oven to get the targeted color…which I guess is brown.

I will taste it before I use it.  If it tastes bad, then no go. If it tastes all right, then caution will officially be thrown to the wind…yet again.

We’ll throw some pictures and maybe some video up of the brew day.

Brew on.

Page 279 of 322

Powered by WordPress & Theme by Anders Norén