Brew Dudes

Homebrewing Blog and Resource

The hobby of homebrewing beer

Belgian Dubbel Recipe

Here is a recipe for a Belgian Dubbel. The aspect to nail down for this style is to keep the solvent-y alcohol flavors out of the beer. With a good healthy pitch of yeast and keeping fermentation temperatures on the cooler side of the range, this beer will be a good sipper on a crisp Autumn day.

If you are at the mercy of ambient temperatures during your fermentation, it makes sense to brew this beer in the early spring and have it ready for colder days on the other side of summer.

Belgian Dubbel

Brew Method: All Grain
Boil Time: 60 min
Batch Size: 5.5 gallons (ending kettle volume)
Boil Size: 7 gallons
Efficiency 75%

Ingredients:

10 lbs – Belgian Pilsner Malt
1 lbs – Munich 10° L
0.25 lb – Belgian Special B
0.5 lb – Abbey Malt
0.5 lb – Cane Sugar
1 lb – Belgian Candi Syrup – Dark 90 °L
1.25 oz – Tettnang Hops boiled for 60 mins. (AA 4.5%)

Yeast: White Labs – Abbey Ale Yeast WLP530

Ingredients:

Ferment at 66°F for two weeks raising the temperature if necessary towards the end of the two week period to 70°F to ensure proper attenuation. Bottle or keg as usual to carbonation levels of 3 to 4 volumes. Store at fridge temperatures for at least one month before serving.

Stats:

Original Gravity: 1.069
Final Gravity: 1.016
ABV: 7.01%
IBUs: 18.73
SRM: 13.69

This beer should not be hot with alcohol flavors but should have a nice dry finish.
Yeast Harvesting

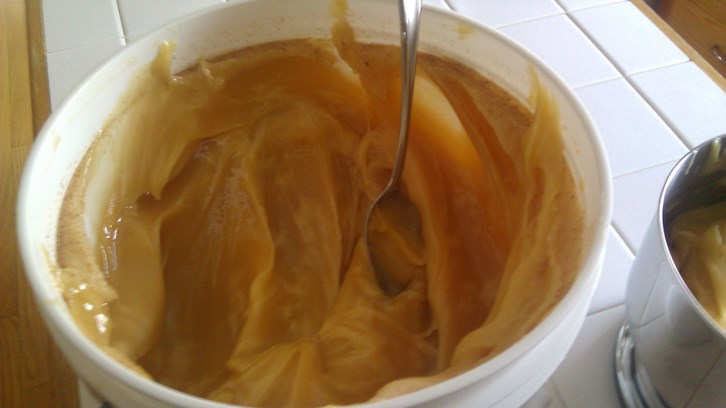
Not to long ago I had a carboy full of Irish Red Ale and I took the opportunity to collect some of the yeast for a future batch or more. I shot some video of the process so you can see how John and I collect yeast from a primary fermentor and save it for pitching into a new beer. This is a straightforward way of collecting yeast. I don’t bother with trying to “wash” yeast when I collect it. I find that diluting it with some water and capturing it in some Mason Jars is all that’s needed. Just remember to pay extra attention to your sanitation and you’ll be repitching great yeast and making great beer as a result.

Enjoy!

Mead Making Day

I dug into the raw local honey I bought back in November to begin the second honey-based fermented beverage.   The first one was a braggot which is now conditioning.  The second is a medium show mead.

The thing a homebrewer needs to appreciate is the amount of time needed to make a mead.  I think I was done in less than an hour including cleanup.

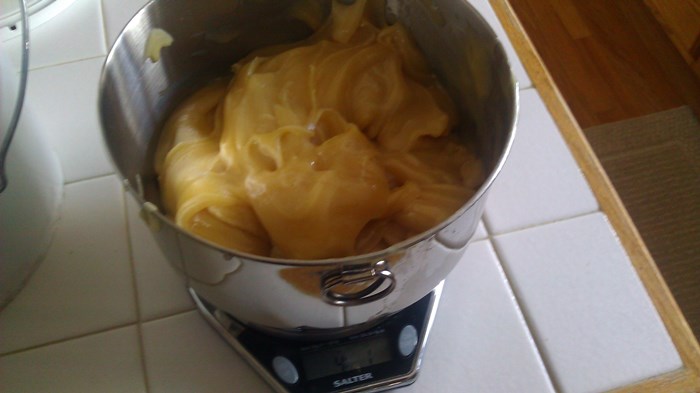
If you had some free flowing honey,  you could be done in less than 30 minutes if you were efficient.  I was working with raw  honey and a scale that had a max weight limit of 5 pounds and I need to measure out 13 pounds of honey.

I measured it out in a few batches and then moved it into a stock pot filled with a gallon of water that I heated up to about 90° F (32° C).   The raw honey was in a waxy form.  It was a little difficult scooping it out of the plastic bucket it came in and certainly would have been near impossible to get into the carboy.  With some heat and some water, I was able to get it into liquid state and poured that into my empty, sanitized carboy.

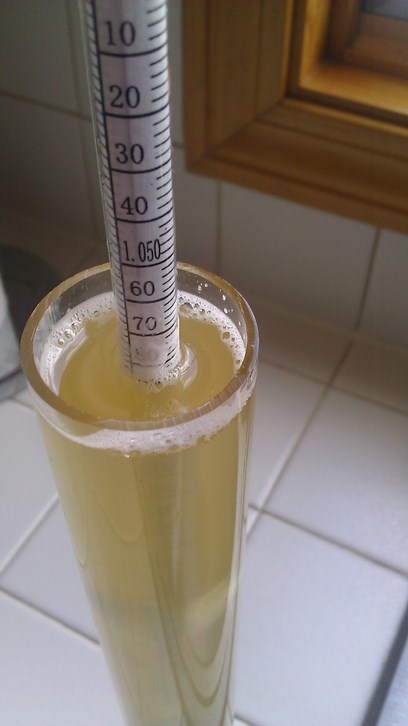
The water/honey mixture came up to the 2 gallon mark and then I poured 3 gallons of water on top of that.  Took a reading and found that the gravity was around 1.086.  I was expecting around 1.096 so I went back to the honey bucket, scooped out a pound or so of honey, mixed with a smaller amount of water – probably around 2 to 3 cups – and worked into a liquid state.

Once I added that addition, I was pushing 1.100 which is where I wanted to be.

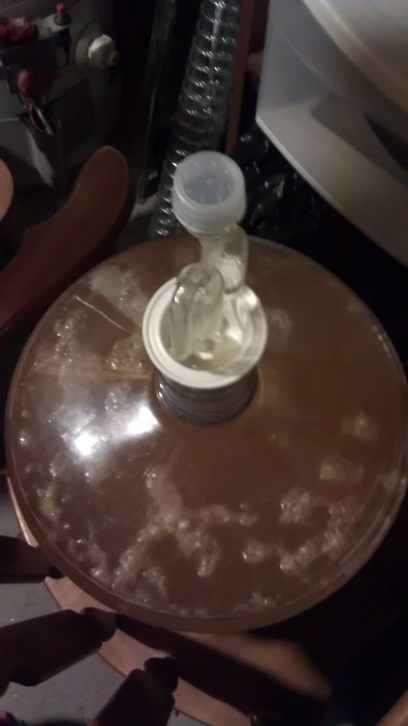
Pitched two packets of proofed Lalvin D-47 yeast along with some nutrients and energizer and we were off to the races.

Here are some photos of the festivities.

Raw Honey For MeadMeasuring Honey For MeadMedium Mead Starting Gravity Fermenting Mead

Chlorinated Brewing Water

While we have talked about checking out our water chemistry, I stated previously that I didn’t think Chlorine was a big issue in my town’s muni water supply. My town’s report listed the Chlorine at 4ppm. On first pass I stated that I can’t taste or smell chlorine in the water so I figured it wasn’t a problem.

However, yesterday I had a change of thought.

I boiled about 2 quarts of water on the stove for something I was doing in the kitchen. I got called away from the stove by the kids as the water came to a boil. I turned the burner off and left. I came back to the stove an hour later. When I removed the lid from the pot, the chlorine aroma was strong and obvious. I think that the out-gassing chlorine collected under the lid and held it there so that when removed I could get a good whiff of it. To be sure, I put some fresh water into a similar pot and smelled it from the tap… no chlorine smell. (It could also be a trick of the eye, but I swear the boiled water had a slight green tinge to it.)

It’s well known that you can off-gas chlorine by boiling first (or using a carbon filter, like John uses). It might be interesting to see what pre-boiling my brewing water is like the night before I brew, leaving the lid off for the chlorine to escape.

Boiling the water will also reduce the alkalinity somewhat by reducing my temporary hardness in the form of CaCO3, but that’s for another post. I am anxious to see what my Ward Labs report has to say about chlorine in my water now.

Braggot Racking

After nearly 3 weeks in the primary, I racked the braggot to a secondary carboy for a long conditioning phase. My initial thoughts are to let it sit for a couple of months while it matures a bit.Racking the braggot I am hoping it clears up while it sits, then I plan to bottle it and let it condition for another period of time. The first tastings will probably be when the leaves begin to turn color in 2013. That’s seems to be a very long time away since we really haven’t finished winter yet.

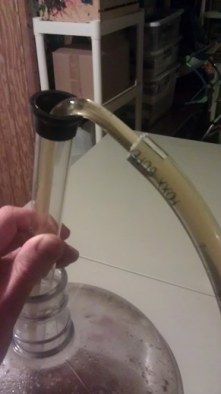
The racking went well. Although the braggot appeared to be dark amber in carboy, it looked light golden in the tube. I envision a straw colored beverage with a long lasting head and a strong kick that will go well with a crisp autumn night.

The hydrometer had the final gravity at around 1.008. That was lower than I anticipated. The carboy gave off a nice blend of honey and malt aroma as it filled. The sample I pulled for the gravity reading was bitter from the Centennial hops. I started thinking that maybe 2 ounces was too much but I hoping it will mellow in time especially with the advanced aging this beer-mead combo is going to go through before I serve it.  But who knows, the braggot is so young right now that it is hard to get a real understanding of how it will taste six months from now.

The cake of Scottish ale yeast was substantial.

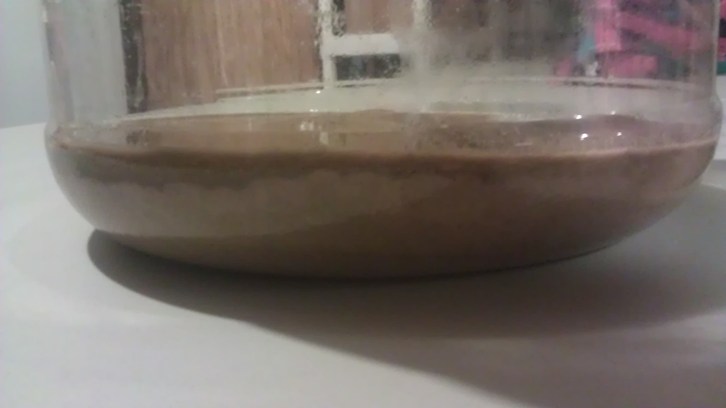
Yeast cake from braggot

It was about two inches thick at the bottom of the carboy and I was glad that I was able to rack the braggot while leaving the majority of the cake behind. This strain is pretty clumpy but takes a while to settle out. My Scottish ale seems to be taking some time to clear out. I had a bottle last night and got a bunch of yeast bits in my pour. Some time will help both of these concoctions clear up and become more enjoyable.
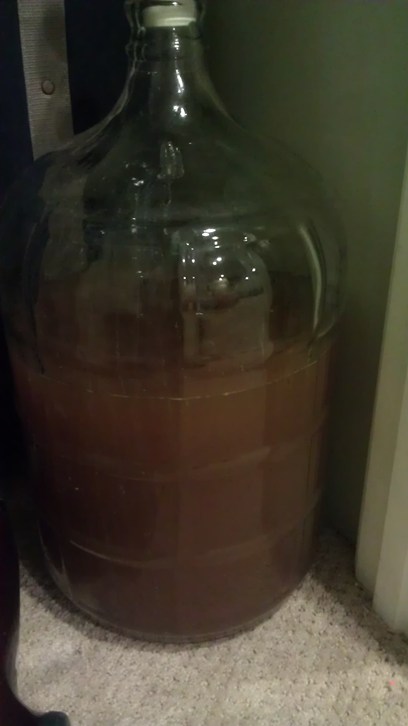
Conditioning of the braggot

So until May or so, I will try to forget I have this carboy in the basement closet. I may check on it every once in a while to see if it is clearing up, but I believe a two month resting period will be the minimum before I bottle the braggot.

Powered by WordPress & Theme by Anders Norén