Brew Dudes

Homebrewing Blog and Resource

The hobby of homebrewing beer

Agnus Hops

The Czech Republic has been working on expanding the number of hop varieties that they grow since the mid- 1990s, which is a bit late to the game as compared to other countries.

The hop growers and the government were reluctant to cross-breed and develop new hops since they thought that their first order of business was to put all their focus into maintaining Saaz’s signature spicy aroma and flavor. Times change, profits are sought, and one of the varieties they developed was Agnus hops.

The name of the hops is a tribute to one of the hop breeders at the Hop Research Institute Co. in Zatec that developed the variety; a guy named Frantisek Beranek. If you translate his last name to Latin, it would be Agnus, which happens to be the word for “lamb”. I haven’t tried this out using Google Translate but I will take what I have read as the truth.

Agnus hops were bred from a number of varieties including:

  • Bor
  • Sladek
  • Saaz
  • Northern Brewer
  • Fuggles

The hop was released in 2001 and it was the first one that was bred to be a high alpha acid variety.  Here are more details of the hop variety that you should know before you brew.

Origin: The Czech Republic

Aroma/Flavor: Lots of good descriptors for this one: thyme, lychee, orange zest, green, grassy

Alpha Acid: The range that I saw was from 9 to 15%

Typical Usage: Lagers and German ales. Many sources said that it was a dual purpose hop, but it seemed to have more comparisons to other clean bittering hops like Magnum or Target. I could see this hop being a bittering hop for a Czech (Bohemian) pilsner. You will not have to uses as much as you would using Saaz because of its high AA%.

With all those great descriptors, maybe it would be worth brewing up a single hop brew.
Honey Saison Brew Day

Yesterday was my honey saison brew day. The grains I selected for the beers had been shipped in time.

For hops, I had a good stockpile of them from over the last few months. I was buying packs from the local homebrew shop near works for when I needed them. It turned out that I used them for the saison.

The yeast starter I had ready at room temperature and looked good when I inspected it before I lit the burner to get the brew session going.

One thing I decided to try was pre-packaged brew salts that were measured and combined by the homebrew shop to be added to Boston municipal water. The measurement were derived so that after adding the salts to the water, the profile of water chemistry would match that of a famous brewing area’s water source. I choose Munich since it was close to what I wanted for brewing the saison.

Other things of note from the brew day were the low mash temp. I kept it in the 148° F for 60 minutes although I could have mashed for longer. I felt confident that I would successfully convert enough of those starches to sugars within the hour.

I also didn’t brew for 90 minutes to take the extra step to prevent DMS in the final beer. Man, I was living on the edge yesterday.

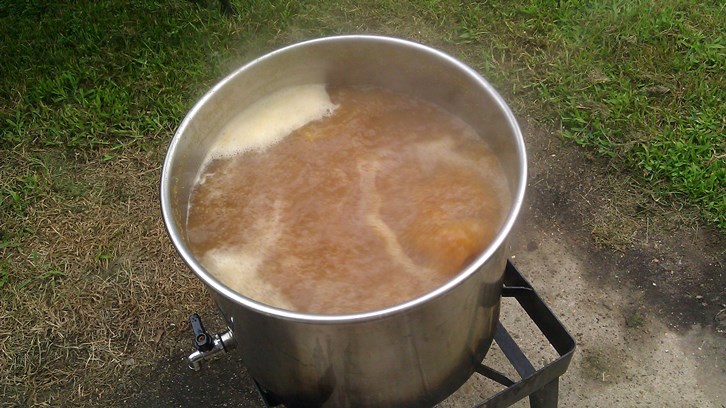
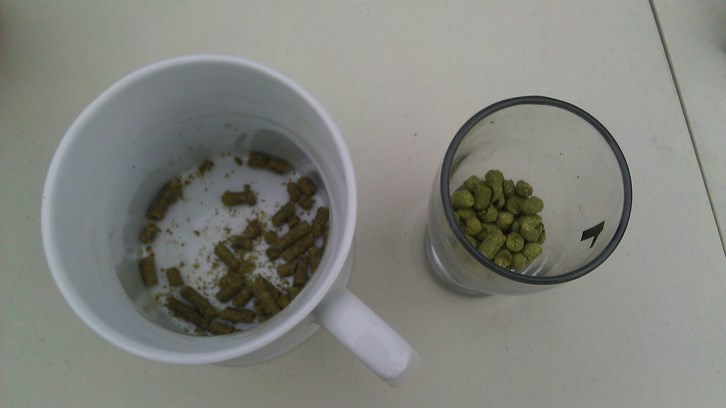
Local honey for the saisonHoney saison boilingMeasuring hops for saison

Since this was a honey saison, I did measure out a pound of honey for the boil. I added it with 15 minutes to go. It probably won’t be much of factor in the finished beer from an aroma or flavor standpoint but it should help the finish to be dry.

There may have been an added ingredient to the brew that I haven’t officially announced yet. Hey, this is a throwdown. You need to bring something special to the party.

Saison Throwdown Preparations

This weekend, I plan to brew my entry into the Saison Throwdown so I had to make some preparations.

As we have discussed before on this blog, yeast management is key to brewing great beer. With saisons, yeast is very important to the flavor profile of the beer so you need a good amount of healthy yeast for fermentation.

I made a yeast starter a few weeks ago. For the most part, I don’t prepare so far ahead for brews. My yeast starters tend to be made a few days before I am going to brew. Because of some vacation time I took and some free time I had prior to it, I was able to get the starter going.

It was a 3 liter starter and made the wort with enough dry malt extract (DME) to make that volume of a starter. Using the 10 to 1 rule, I measured out 300 grams of DME for a 3 liter starter.

After a few days of fermentation action, I stored the starter in the fridge until today. The long cold storage allowed most of the yeast to settle to the bottom of the gallon bottle. It was nice to see a thick ban of yeast in the bottle’s lower half.

If a starter is 2 liters or less, I usually don’t bother with this step but since my starter was chilled and I thought I could siphon the excess “beer” off of the yeast cake without disturbing it.

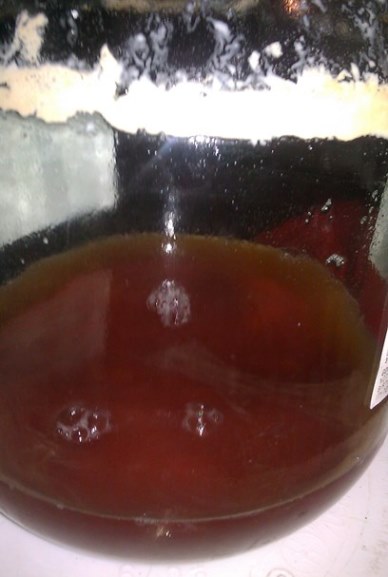
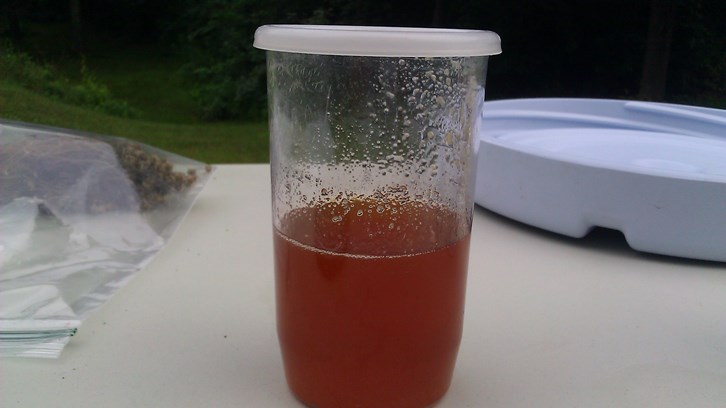
Saison Yeast Starter

After the siphon, I have a thin layer of beer that is hanging out over the yeast cake. It’s enough to keep the yeast from stressing out and enough to help me get all of the yeast back into suspension for when I pitch. The bottle is now sitting at room temperature and will slowly get up to fermentation temperature over the next couple of days. I am focused now on making sure the yeast and the wort are at the same temp when I pitch.

Brew day should be Sunday. Stay tuned as the throwdown begins.

Perfect Pilsner Brewing

This week, we started to discuss performing a diacetyl rest on John’s most recent Pilsner. Instead, we sort of side track ourselves and really get into some good lager brewing tips as a process towards perfect pilsner brewing.

To open, John discusses how he relies on using the abundant higher house temps in summer to move his pilsner as it nears completion to achieve a diacetyl rest. Looking for a good 70-72F spot in the house, John will move his fermentor there and let it sit for a couple days. This effectively “livens’ up the yeast so they have a chance to reabsorb and metabolize any diacetyl made during ferment.

But diacetyl precursors can be minimized through a good vigorous boil and a big healthy pitch of yeast. Making his starter in advance, John then usually tempers his starter the night before to what he anticipates his pitching temp to be. Generally that’s in the mid- to upper 40s. Then by letting the temp naturally ramp up to the lower 50s the yeast tend to really keep ester and diacetyl formation to a minimum. Maybe to the extent where the diacetyl rest isn’t really needed. However, doing on isn’t a detriment, but helps drive the beer to final gravity.

John also discusses an additional step of let the wort sit in a sanitized fermentor overnight and pitching the yeast on the second day. This achieves two things. First, you don’t have to stress over trying to chill the wort on brew day to pitching temps, which can be hard to do for a lager and any chiller equipment relying on ground water temps. The overnight rest happens in the fermentation fridge set to pitching temp. So you can chill your wort to the mid 70s, call it a day and let the fridge do the rest of the work overnight. Second, during that long sit more break material and hop debris will settle out. You can go ahead and rack off that material and ferment a really clear wort. This helps keep the yeast on task and leads to clearer beer.

Several other nuggets of wisdom come out while getting towards perfect pilsner brewing.

Watch the video and let us know how you handle your lager brewing process.

BREW ON!

Growing Casade Hops At Home

At least in my backyard, it’s about two thirds of the way through the hops growing season. Not sure if that is true of all hops growing in New England but around the middle of August, sometimes late August, my hop cones will be ready to be picked and dried.

This year, I have a Magnum hop plant that is in its fourth year of growth and I also have a Cascade hops plant in its second year of growth. This morning, I took a few photos, mainly to show how I was growing Cascade hops at home.

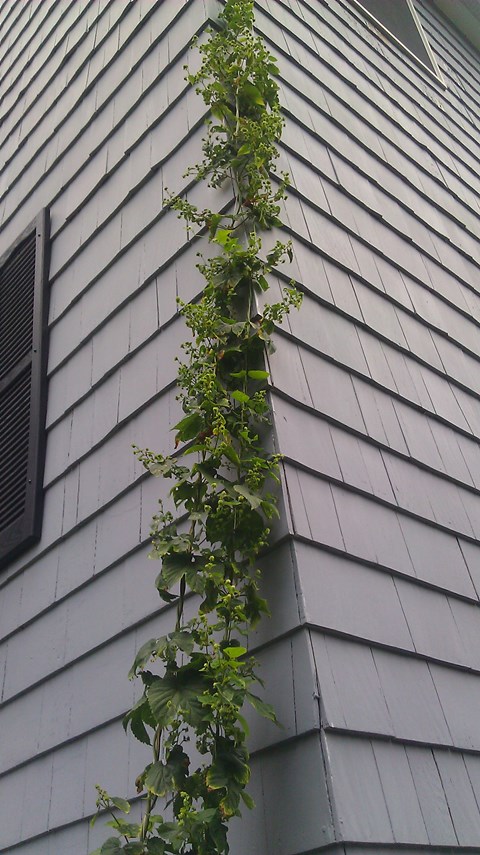
The first photo is to show how tall the bines grew this year. I haven’t measured them but I think eighteen feet is a good guess at their height.

Homegrown Cascade Bines

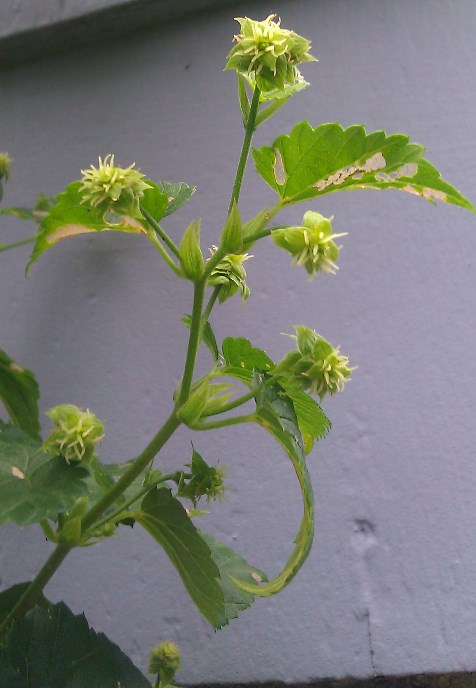
I put up strings up the side of my house and the bines grew right up them. Much to my chagrin surprise were all the shoots that came along in the middle of June with all the little, spiny hop flowers. These are still pretty immature at this point. In about a month, these flowers should turn into cones. I am not sure how big the cones will be. The Magnum cones are pretty big; some are two inches long. The Cascade cones look to be half the size at this point.

Here’s a close up of some of the flowers and the start of a few cones.

Homegrown Cascade Cones

If I am lucky to have a good harvest from the Cascade plant, it will be an experiment to brew with them to see if their signature flavor and aroma will be present from this homegrown version. Depending on how much I have will dictate what beer I brew. I made an award winning blonde with homegrown hops a few years ago so as long as they don’t taste bad, I think I can replicate that beer.

In the fourth year, the Magnum hops are as strong as ever and the yield should be sufficient for a beer recipe. I brewed an Alt last year with them and my brother’s Mt. Hood hops. He looks like he is going to have a great harvest so we’ll just have to make sure we dry them well.

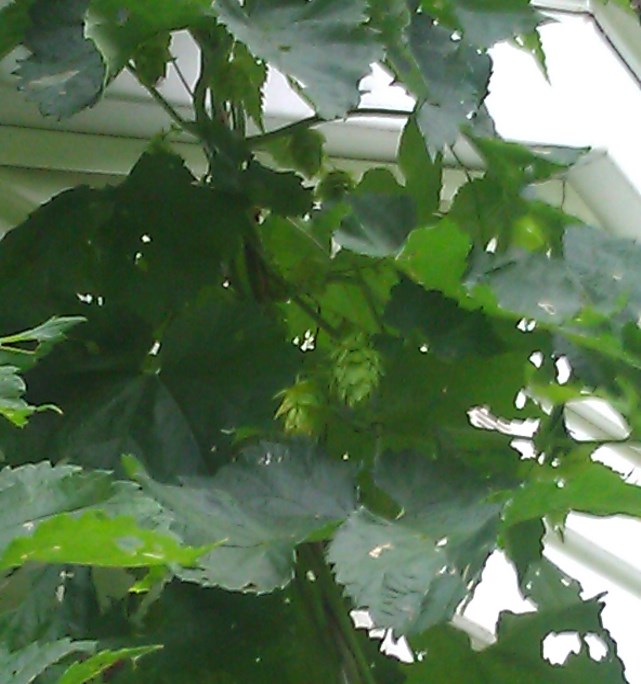
If you look closely, you can see the large Magnum cones hanging out waiting to be picked next month.

Large Magnum Hop Cones

These hops don’t grow in the bunches that the Cascade hops do. I guess it more of a size thing than a quantity thing. I will post something once I harvest them.

Page 160 of 322

Powered by WordPress & Theme by Anders Norén