Brew Dudes

Homebrewing Blog and Resource

The hobby of homebrewing beer

Autumn Ale Brew Day

My grains and yeast arrived on Friday so I was prepared to brew on Sunday morning. The hops didn’t need to be purchased, because the Autumn ale called for homegrown ones.

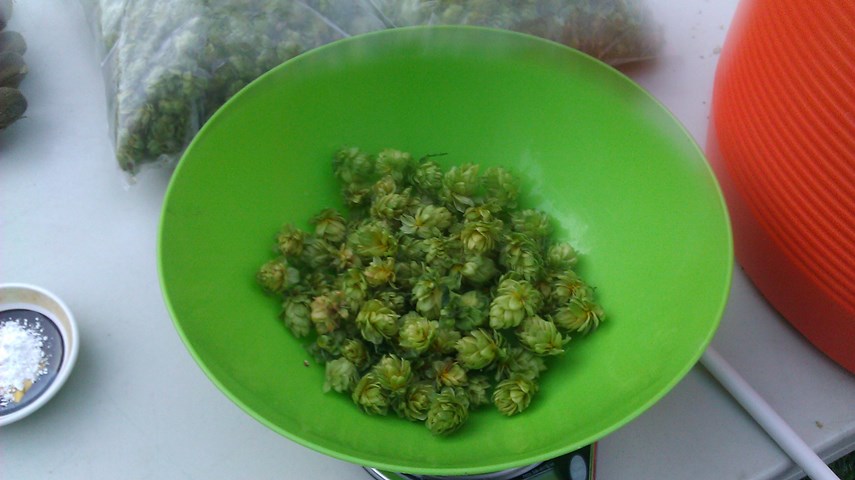
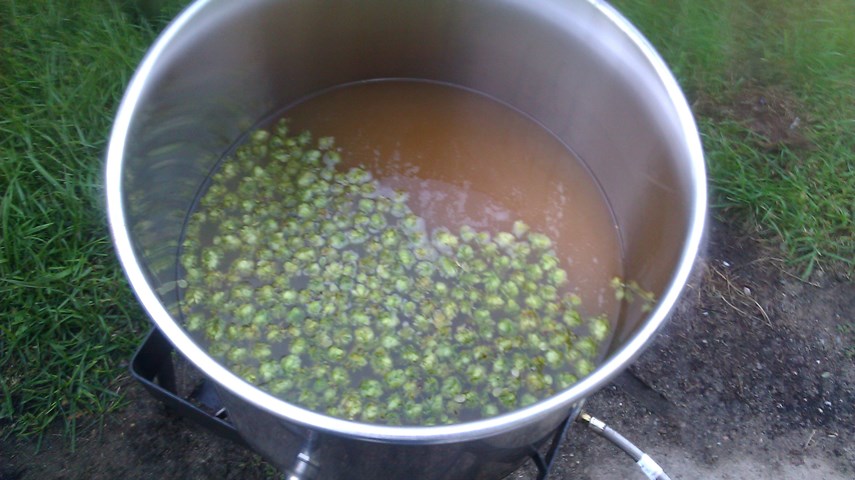
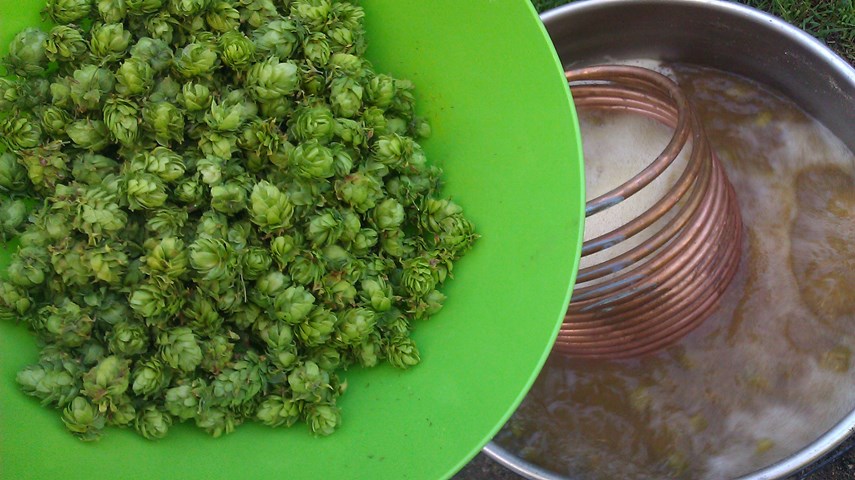
Since this year’s harvest was plentiful, I had enough hops to try out some hopping techniques like first wort hopping. After the first runnings were in my kettle, I added a half ounce of my Cascade hops to take a swim while I sparged the grains to get to my full boil volume.

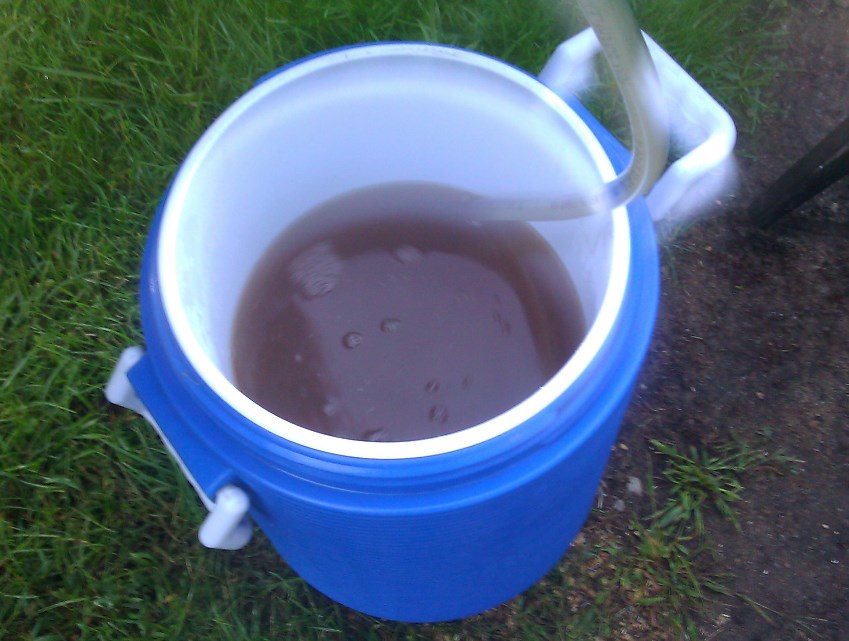
There was a mishap with my mashtun during this brew day. The tube that connects the false bottom with the tun’s spigot got disconnected during the mash. To get things flowing again, I poured the grains and liquor into another cooler, fitted the tube back in place, and then returned the mash contents back to the tun. Clearly, that was not an ideal situation but I felt victorious in finding a workable solution that allow me to continue with the brew day. It would have been a tragedy if everything had to come to a halt at that point.

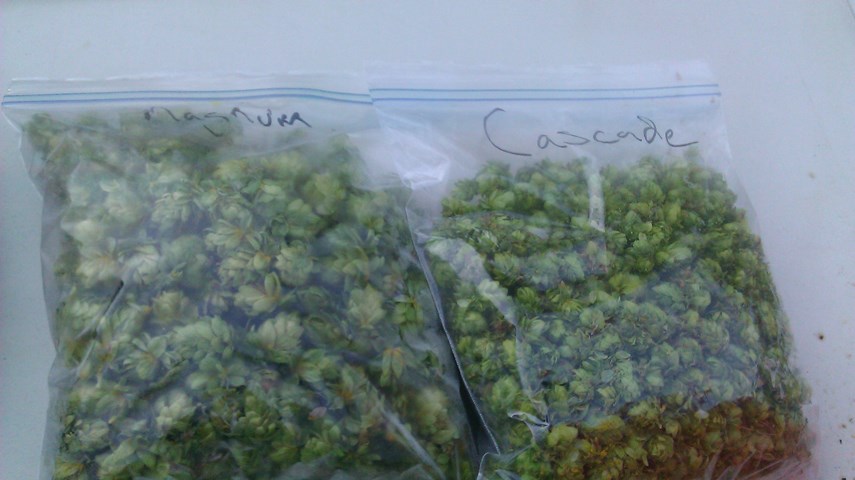
The Magnum hops were used as my bittering charge and they were added right at the start of the boil. They do have a nice non-funky, non-fruity flavor so they can be used to give your beer a hoppy, bitter background taste on which you can build upon with some bolder flavors.

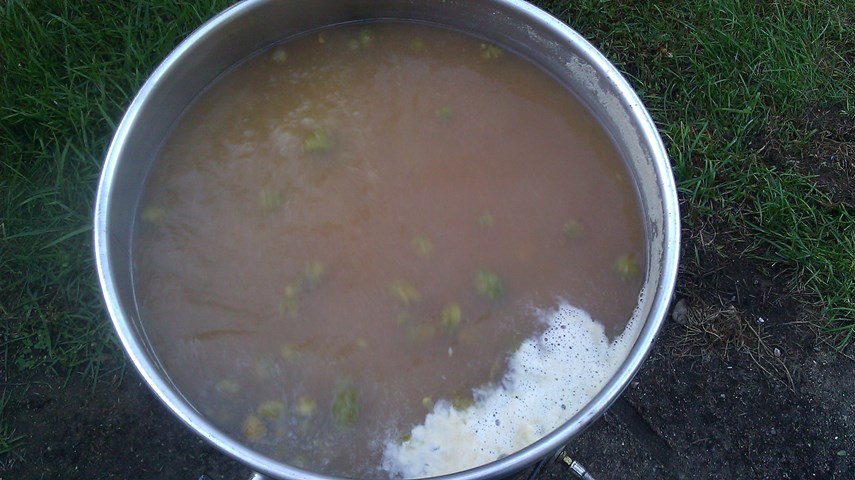
I had a 10 minute hop addition of Cascade hops and at flameout. the remainder of the bag were added which turned out to be 1.25 ounces. There was no need to save them for another brew. This Autumn ale needed more hops.

The only other not-so-smooth moment was when I pitched my yeast. Both vials of the WLP001 exploded when I removed the cap like shook-up soda bottles. It seemed like there was some kind of pressure change that made the yeast vials to spray out like that. Weird. Anybody else encounter that – exploding yeast vials?

Anyway – photos! BREW ON!
American Dark Lager Recipe

This is a style that I am familiar with only from the perspective of seeing a commercial version of it at my uncle’s house while I was growing up.

Well, I think it was a beer that would fit into this style – I looked up the commercial examples under the BJP guidelines and it wouldn’t look out of place among those beers.

There was always a six pack of Tuborg Dark in his fridge and if one were to derive style from its slogan, it was a “genuine dark beer.”

I don’t think they brew it anymore.  A few Google searches produced some images of the old bottles but no news on its status.  I am not heartbroken, although it did bring back some memories. My grandmother went on record to say she liked Tuborg Dark and my cousins found that fascinating. They thought, “How could this old lady like dark beer?”

Not that I would one hundred percent brewing this style for drinking enjoyment, but I think that the challenge of brewing a light in body, clean in taste, dark lager would be one I would like to take up.

If you are like me, take a look at this recipe and take a chance at brewing something that is difficult to get right on style.

Makes 5 gallons – Start with a 7 gallon pre-boil volume to get to a 5.5 gallon volume post boil.

Ingredients:

8.5 lbs American 2-Row Malt
2.5 lbs Flaked Rice
0.5 lbs Weyermann Carafa Special® TYPE II
0.75 oz Mt. Hood Pellets (4.5 %AA) boiled 60 mins.
Yeast: White Labs WLP840 American Lager

Instructions:

Make a mighty yeast starter a few days before. Use a yeast count or pitching rate calculator to figure out how might it needs to be. Mash at 150° F for 90 minutes to make sure you get full conversion. Boil for 60 minutes, adding the one hop addition at the start of the boil. Ferment at 50° F for two weeks or until you have reached your final gravity. Lager for 4 to 6 weeks. Bottle or keg as usual.

Predictions:

Original Gravity: 1.053
Terminal Gravity: 1.010
Color: 18.98 °SRM
Bitterness: 13.7 IBU
Alcohol (%volume): 5.7 %

Brewing ESB

I brewed up some ESB a few months back and we finally got around to tasting it and chatting about how I make my ESB. Brewing ESB isn’t really all that hard.

This weeks video focuses on what I do to make a solid ESB.

First off, I love a blend of light caramel malt and toastiness as well from darker malts. But you can go overboard pretty quickly with darker malts and have a dark Mild that is to big in gravity or you can have a brownish Porter on your hands that sort of thin if you don’t balance it just right. My main approach to get the right amount of toast is touch of Pale Chocolate; in general terms 2.5-3.5% of the grist. Pale Chocolate Malt helps when brewing ESB by giving a discrete toast character that plays very well with the biscuit malt character that develops in this beer as well.

I use a strong portion of biscuit when brewing this beer too, but good quality English Pale malt also helps with this flavor profile. I normally will use 4-5% Biscuit malt in the grist.

Picking the right yeast for this beer can be tricky. I tend to go with a high amount (5% total grist) of crystal 40L. You need a yeast that will drive attenuation down enough because if not that amount of any crystal malt will keep the beer a little sweet and the body will be a bit to bold. I have found that a big healthy pitch of WLP013 seems to be my favorite. Its got good attenuation, but it still gives of enough esters to play well with that crystal malt. You can certainly use a different crystal malt color for deeper flavor. I have also blended to or three in the same recipe. I find though that keeping it to two and the total amount should be below 5% of the grist. If you really love a different English yeast in these types of beers. Think about lowering the crystal malt to 3%, or substituting some simple sugar for the base malt to help attenuation.

For hops I am still experimenting with this beer. ESB is the larger of all the English Pale ales. So when brewing ESB the opportunity to play with hops is possible. I still like a predominant East Kent Goldings profile here. But I mention in the video I took the opportunity to use Challenger as a bittering hop this time around. A combo of EKG and Fuggles would work well throughout this on as well.

I could go on and on. ESB is a favorite style of mine, but I think the recipe is still evolving. But that’s homebrewing at is core I think. Developing flavors and beers to perfectly suit your taste.

Cheers. Brew On!

These Brew Dudes Have a New Look

When we started this blog back in 2007, I didn’t have any design skills. Six years later, those skills have not developed in any way or form.

We knew we had to update the look and feel of the site at some point. Well, that point is now. It’s a bit overdue but better now than never.
Not to get too inside baseball about the update, we were able to find someone who could redesign the site for us, mainly because we didn’t have the time on top of the aforementioned lack of web development skills.

So there are some more colors, a crisper look and feel, and some additional functionality. I wanted to make sure people had a chance to share posts on Twitter and Facebook like you can do on every other website. We might put up another module where you can sign up for posts to be emailed to you. This rollout is definitely version 1. We will be making some tweaks as time goes on.

After we stop playing with the design, we can focus on what we really want to do which is writing and talking about homebrewing. There are some good things on the horizon.

The water chemistry experiment(s) will come to a conclusion.

The Saison Throwdown will commence.

Homegrown hops will be used in a few upcoming brew sessions.

These are all exciting events, to be sure. In addition, with the change of season, the apples will be pressed and hard cider will be made. This year, I am going to focus on making two. If I can make a really strong one and a mild one (one for storing and one for a faster turnaround), it will make for some good times later on.

Thanks for reading as always. If you have any comments, please leave them for us.
Brew On!

First Wort Hopping With Homegrown Hops

With all these homegrown hops, I was thinking about employing a different brewing technique-

First Wort Hopping.

This is a way to change the hops profile in your finished beer by adding them to your kettle at a different time in the brewing process.

In the past, I have used my homegrown hops in a dry hopping fashion by adding them to a clean and sanitized glass carboy and letting the beer mingle with the hops for a while.  The results weren’t that remarkable.  To be honest, although it made for nice photos, the beer didn’t come out smelling hoppy or tasting like it was dry hopped.   Besides that, there was a weird hint of bubble gum in the beer’s flavor, which could have been a result of some kind of infection.  That infection which could have been introduced from the dried homegrown hops but I digress.

Using this method, I would be mitigating my risk of infection from homegrown hops since they would be boiled but I should be getting some of the benefits of what dry hopping would provide.

To learn more about the method, you can find information on BeerSmith’s blog or BillyBrew.com but in simple terms, you add your flavoring hops into the kettle at the same time as your first runnings from your mash tun. The hops steep for a while before your wort starts to boil and the effect is a smooth bitterness and aroma in the finished beer.

Mike has tried it different times last year, but he feels that without doing a side by side with a beer that he didn’t brew with a first wort hopping measure, he really can’t say if he noticed a difference.

He said the beers that he did FWH, he tended to feel like the hop profile wasn’t what he was looking for.

He feels that first wort hopping is almost always done by people doing lots of hopping for IPAs or Pale Ales. He thinks the effect is probably lost in the total hop effect because so much more hops being added to the wort anyway.

Well I am going to try it for the Autumn Ale and hopefully it will be FWH -> FTW 

Page 156 of 322

Powered by WordPress & Theme by Anders Norén