Brew Dudes

Homebrewing Blog and Resource

The hobby of homebrewing beer

Equipment to Dry Bottles In the Best Way Possible

Since I have been homebrewing for almost 9 years now, I should have a piece of equipment that helps dry bottles where they are in a position to drain out.

I notice that even after my best rinsing if the bottle is left to dry standing upright, many times there will be a little bit of liquid left to dry in the bottom of the bottle.

When I go to start the bottling process, I will angle bottles towards a light and look into them to see how clean they are.  More times than not, I see a little bit of film staring back at me.  Most times after a quick rinse, the film is gone.

The thing is: if the bottle had dried upside down or at least at an angle so that the remaining liquid could run out, then there would be no residue to deal with when I was getting bottles ready.

I have seen bottle trees and they seem to work ok.  I think you have to be careful how you place bottles on them since too many on one side may not be a good thing from a balance perspective.  Also, they appear to take up too much space with all the bottle hanging on it at those angles

Besides that, they look like an accident waiting to happen.  Reflecting on this topic as I write this post, the main reason I never bought a bottle tree is due to the small children I have running around this house I live in.

(I am not sure where I came to collect these children – as time goes on, you just gather more stuff, I guess)

Storing bottles in boxes was always a better option than a tree.  The boxes were stackable and rectangle shaped which made it easy for me to find a place for them that was out of the way.

A new piece of equipment I have seen in the catalogs and online is the FastRack.  The concept is simple enough. The rack are plastic and allow bottles to be stored upside down and each rack can be stacked on top of each other.  The website has some fun videos to demonstrate how stable the racks are once they are stacked.  Even with a few kicks, the bottles didn’t fall over.

I think  the true test would be my small children test to see what kind of mess they could make but I don’t think I will let them try it out.  As long as they couldn’t knock it over accidentally, that’s all I need to know.

Until I start kegging full time, this new kind of bottle drying equipment might be a good short term investment.
Mixed Berry Mead Making

Making mead is pretty easy as compared to brewing beer. I made a 4 gallon batch last night in under an hour, including clean-up. Not that 5 gallons would be added time to the session (I only made 4 gallons to keep costs within my budget), but I can tell you once you close the lid on the fermentor after pitching the yeast into your must you start to wonder why you don’t do this more often.

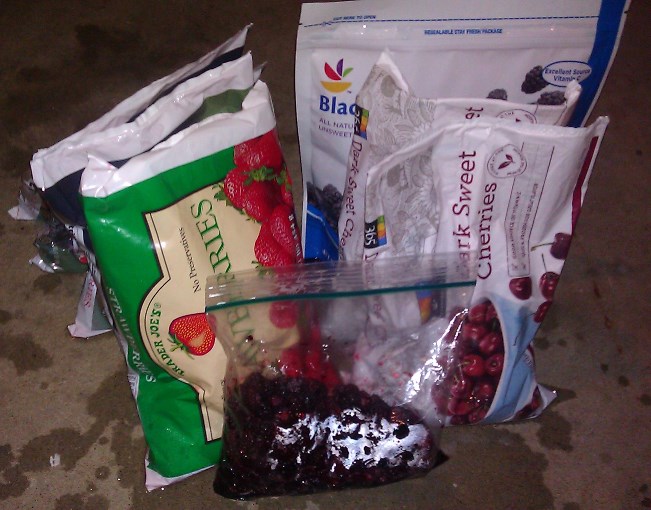
Here are some photos I took of the session. Following my recipe for a mixed berry mead, I had a good number of bags (the sum of their contents was 10 pounds) to spray with sanitizer and open up. These bags were left in the fridge to defrost so pouring the fruit from the bags to the bucket was quick and painless. The ziplock bag is my harvest of black raspberries.

Frozen Fruit Bags Standing Up and Santized

I sanitized the scissors I used to cut the bags open. To ensure proper transfer of fruit from the bag to the bucket, sit the bag up so all the fruit sits at the bottom and make sure you cut across the whole top of the bag.

The recipe calls for 2.5 gallons of water and 9.5 pounds of honey. The water was easy enough to measure; I bought a large container held exactly that amount. The honey was little more challenging.

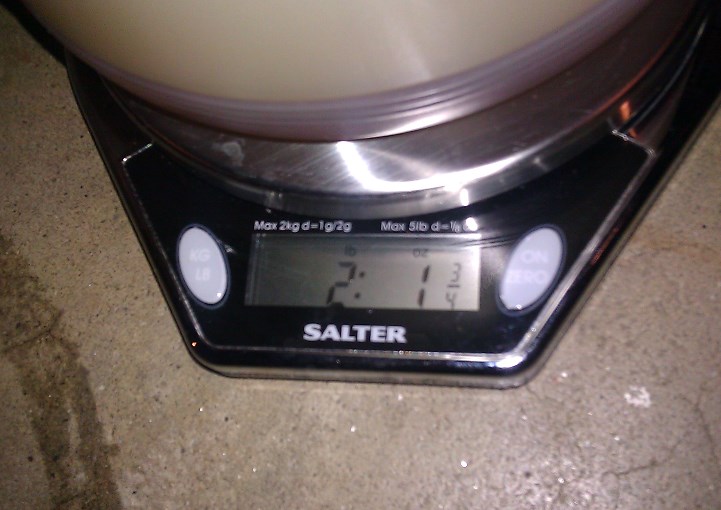
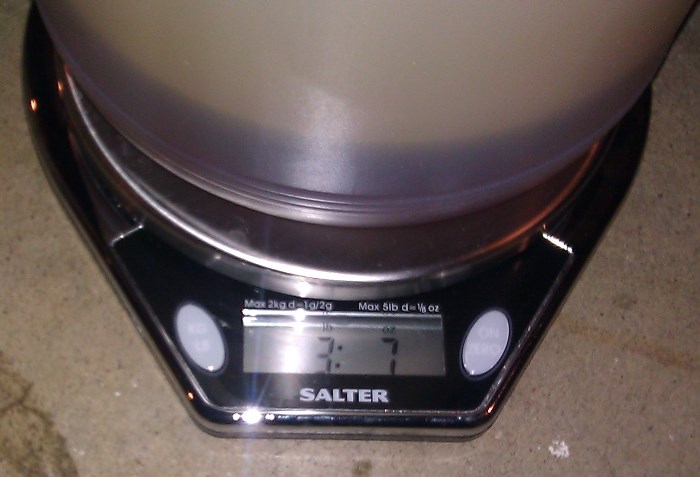
With a container filled with 12 pounds of honey and a scale that only measures up to 5 pounds, I had to take my measurement after I poured honey into the fermentor.

After the first pour, I was pretty close.

First shot at the honey amount

After the second pour, I was a little over.

Second shot at the honey amount

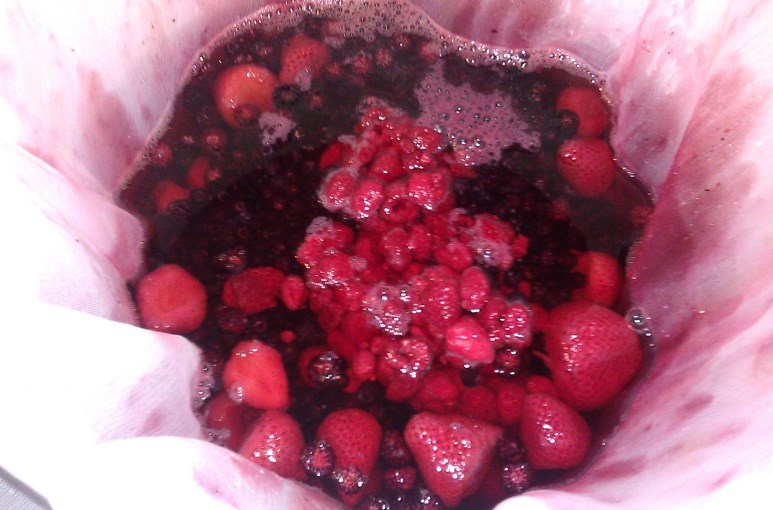
Nobody complained about having a little more honey in the recipe, right?  The next step was to add the berries. To eliminate needing to deal with berry bits and seeds at the end of primary fermentation, I put a sanitized mesh bag in the bucket and used an elastic band to hold it in place. Once it was secure, I poured all my berries into the bag and after I was done it looked like this medley of berry goodness:

Berries for the Mead

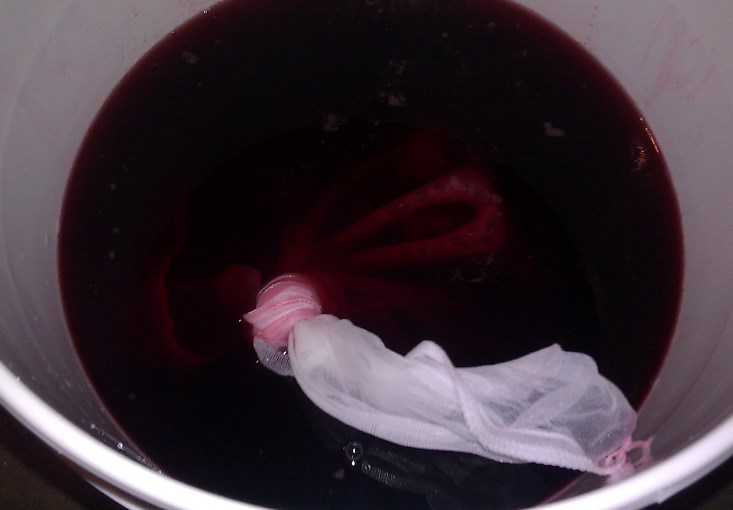
With the berries added in, I took off the elastic and tied the bag in a knot.

Berries all tied up in the mesh bag
This berries in a bag method is something I saw Curt Stock do. After I rack to a secondary, I will let you know how it worked. With the water, honey, and berries sitting pretty together, I pitched my yeast and my nutrient/energizer.
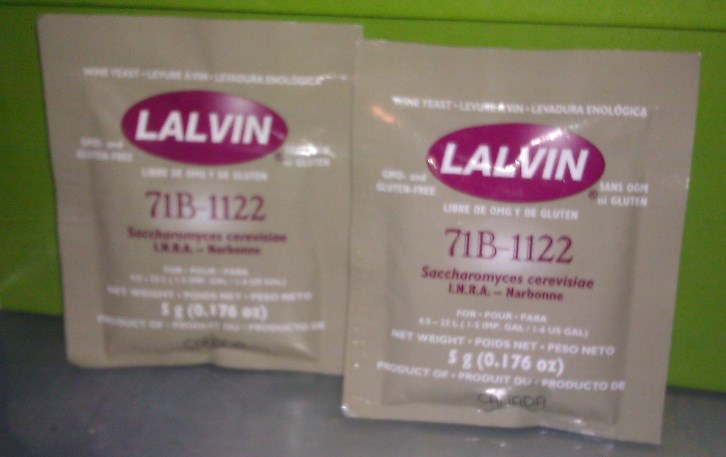
Lalvin Narbonne 71-B 1122 Yeast

I didn’t proof the yeast. With two packets, I felt like I was covered and yes, I was being lazy.

Not noted in the recipe, I added some pectic enzyme (2 teaspoons) to help with the clarity of the mead.

Again, it was very quick to set up and clean up. If you haven’t made a mead, you should try it at least once.

Note: This morning, the fermentation was going strong. Tonight, I will add a little more nutrient and energizer and then again at 48 hours and probably mid-week next week following a staggered addition schedule that I wrote up in the recipe.

Read more about the set up of this mead making day.

Brewing Tips for Vienna Lager

Vienna Lager is a style that you don’t see too often on the store shelves. Many Vienna lager-like beers are brewed in Mexico these days, believe it or not. Much of the time it’s difficult to tell if the examples you can buy are fresh or not and how much adjuncts the commercial brewers are using. Of course, these factors are some of the main ones that play into why we home brew beer. If you haven’t gotten into brewing lagers yet, the Vienna Lager style is a good reason to start.

John has brewed Viennas a couple times and had some competition success. In this video, we run down some of the techniques he’s used to brew an excellent version of the style. While an amber colored lager might not seem like a great summer beer, Vienna has a couple characteristics that should change your mind. Slightly caramel-y and bread like, Vienna Lager pairs extremely well with grilled foods. Its pleasant noble hop character also works well with this pairing. Being a lager with a crisp finish, it’s very quaffable and perfect for drinking in session with groups of friends.

The first tip may seem obvious, but a great Vienna Lager starts with Vienna Malt. Vienna Malt is a slightly toned down version of Munich. Munich seems to get all the attention as a complement to drive maltiness in other styles. Vienna malt sort of gets overlooked due to its milder malty, bready, and caramel notes. However, that milder quality serves well to be a larger part of the base malt grist for this beer. Balance with some Pilsner malt and you have a great base to start playing with some caramel malts, roasted malts, or other base malts to drive some color and complexity.

The second tip is to go with a great lager yeast. John prefers straight up White Labs German Lager yeast WLP830. As with any lager, using a mighty pitch of healthy yeast is key. More importantly is to really brew several lagers with one lager strain and get used to how it performs. For Vienna Lager focus on treating the yeast right to drive attenuation as much as you can. A large pitch of yeast, nutrient, and plenty of O2 before the ferment and WLP830 will make a clean and crisp, but still malty and complex, Vienna Lager.

Last tip comes down to color and post fermentation fixes. Sometimes it is tough to get the right color in Vienna Lager without having specialty malts taking over and being too powerful in the taste. A simple fix for this is to experiment with the specialty grains you like until the flavor is right, then you can darken the beer with a little Sinamar from Weyermann. Sinamar is a dark malt based extract that can be used to darken the beer. The best way to apply it would be at packaging. Evaluate how much darker you want the beer to be and start adding and blending in the Sinamar a half ounce at a time. Do this until the beer hits a color you are happy with. I tend to love that dark orange almost true amber color.

There you have it. Thinking about Vienna Lager always makes me thirsty and long for a big liter of good cold lager!

BREW ON!

3 Steps to Prepare a Mixed Berry Mead

There may not be only three steps in preparing to make a mixed berry mead, but I took care of 3 today. Take a look at the photos I snapped today.

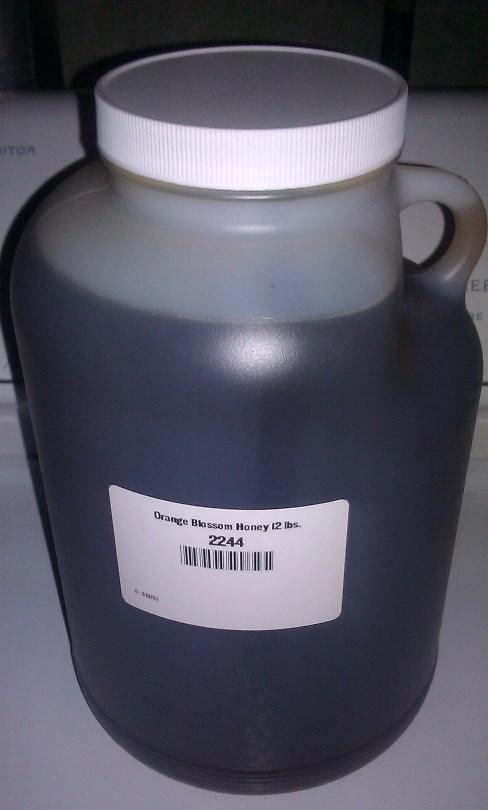
1. One of the first things you need to do is to get yourself a large jug of honey. This is a 12 pound container of honey that I bought from Northern Brewer.
12 pounds of Orange Blossom honey
Orange Blossom honey is supposed to be great to use in a berry mead or melomel. I used clover last time and I thought that was ok. Again, buying honey in bulk is not cheap and the Orange blossom variety is more expensive than clover or wildflower so I am hoping the extra money can be tasted in the mead.

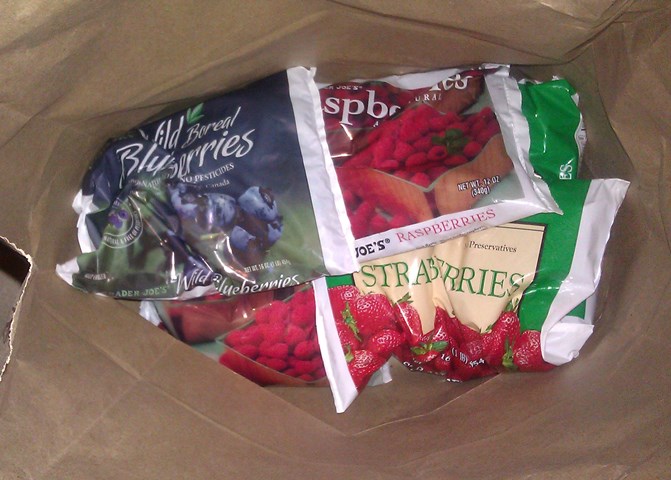
2. If it is a melomel, then you need to get fruit, specifically berries. Some people swear by fresh berries, but frozen ones work well for me. Their cells walls have been busted open so their flavor comes in strong in the mead. It gives me the advantage of making mead out of season.
Assorted frozen fruit
Again, even with a four gallon recipe, you do need a large amount of fruit if you want a strong berry flavor rather than just a hint or touch of fruit in your mead. I went to Trader Joe’s to buy some packages today. Too bad they didn’t have everything I needed. I will have to go elsewhere for the cherries and the blackberries that the recipe calls for.

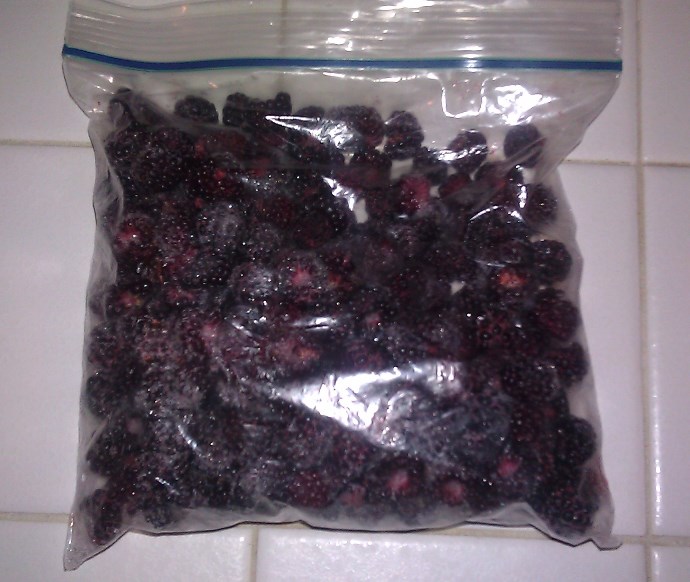
Bonus: I have some wild black raspberries that I picked last summer and froze for this recipe.

Frozen wild black raspberries

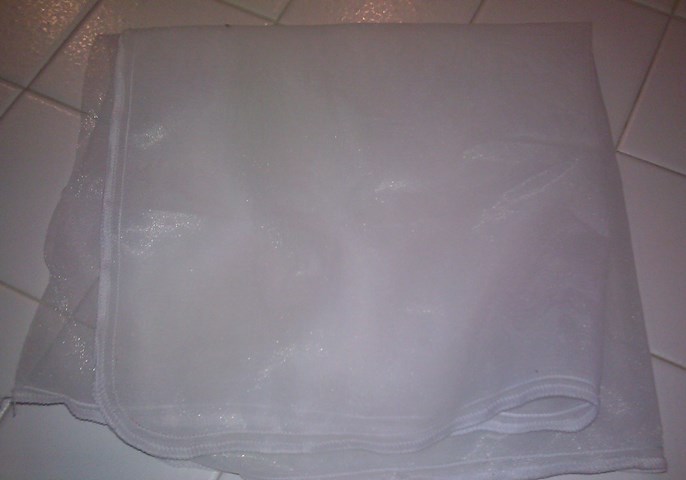
3. If there was one thing that I learned from the last mead I made, it was that seeds are hard to remove. It took many rankings to get the mead to clarify. This time, I have fine mesh bags that I will use with this time around to keep the seeds out of the mead which should reduce the number of times I have to rack it.

Fine mesh bag

These are the three steps I followed today. There are more for sure, but I will write about them when I make it later on this week.

Mead On.

See the details of the mead making day.

Lambic Recipe – Exploring the Sweet Side of Sour

A friend came to visit us at the end of last year and we hung out on New Year’s Eve.   I brought over some of my beers and we tasted them.  He commented, “Don’t you have anything sour?”

I laughed.  When he and I were in Zurich a couple of months prior, I bought a few lambic style beers while we were eating dinner.

Brewing an excellent lambic at home is a mighty challenge.  These are complex beers that have been brewed in Belgium for centuries using a spontaneous fermentation and wooden barrels for conditioning.

Since I don’t live in Belgium or have a wooden barrel, I’d say I am at a disadvantage.  If you are reading this post, you are most likely in the same boat as me.

With some help from a fantastic article written by Steve Piatz, I put this recipe together with instructions on how you can brew this style at home too. Now I am not an expert, but I came up with this approach that I think will work.

This is an extract recipe for a five gallon batch.

Preparations

One particular ingredient you will need for this recipe is aged hops. At the time I am writing this post, I did find them for sale if you are willing to buy a pound of them. If you are not willing to buy that much, you will need to make your own but it will take some time. To get hops properly aged, leave them in a paper bag in a dry, hot place like an attic for a few months until they turn yellow. Another way to get old hops (not aged) is to ask your local homebrew shop if there are some packets that have been on the shelves for too long and see if you can take them off your hands.

Now The Mad Fermentationist has written that he has made many beers without aged hops. You may skip the aging process but I would use low alpha hops like Saaz and use an ounce, add for the full boil time. The style should not have any hop aroma or flavor so keep that in mind.

Getting oxygen into the beer during the fermentation phase is important. Since plastic is more permeable than glass, use a plastic bucket for the primary fermentation.

You can use dregs from bottles of commercially available lambic to ferment your beer but for your first time, try using a lambic blend that you can buy from one of the big yeast sellers.

Ingredients

4 pounds of extra light dry malt extract
2 pounds of dry wheat malt extract

Mr. Piatz calls for adding maltodextrin to the boil so there is something for the bacteria to eat after the initial sugars are fermented by the brewer’s yeast. I am going to follow his suggestion and add some to my recipe

4 ounces of maltodextrin

3 ounces of aged hops or 1 ounce of Saaz hops

1 vial of WLP001 yeast
1 vial of WLP655 Belgian Sour Mix

Instructions

Add enough water for a 7 gallon volume. Boil the extract and the hops for 90 minutes. Cool wort and aerate. Pitch WLP001.

(If you want to be adventurous, you can let the wort sit with the lid cracked open to let the airborne yeast/bacteria to get at the wort before you pitch the yeast.)

After a week, pitch the mix and let the fun start. I am planning to keep it in the bucket for a year.

Once the year is over, I plan to taste it to see how it turned out.

From there, I bottle or let it sit longer. We’ll see. BREW ON!

Page 144 of 322

Powered by WordPress & Theme by Anders Norén