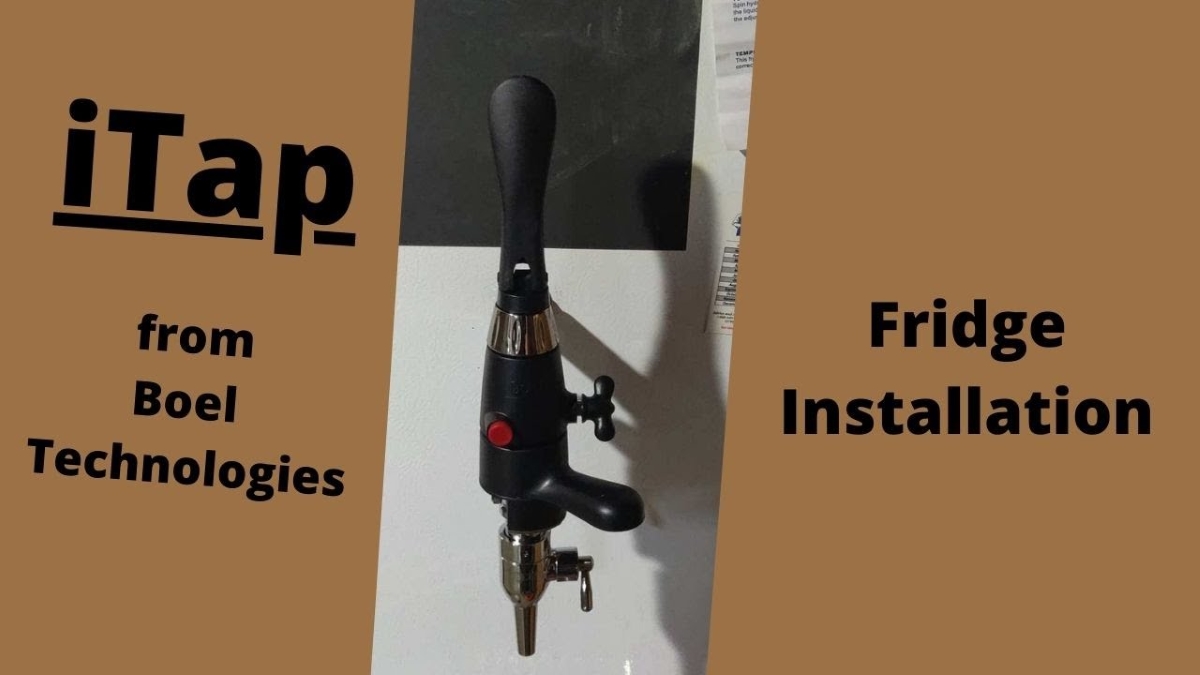
I have had my own beer fridge for years. It was a gift from my wonderful wife – a tangible show of support for my silly hobby. For a while, I have wanted to add a tap to the fridge’s door. When Boel Technologies sent their iTap beer faucet and counter pressure bottle filler to us, it was the perfect opportunity for a beer tap installation in my basement. Check out this video as we set up the iTap on my beer fridge.
Steps for Tap Installation
There are a few things you should know before you set up your own tap. If you’re installing the tap right into the appliance door like we did, here are the steps and details to know before you get started.
- You’ll need to drill a hole through the door. Mike brought over his electric drill with a metal hole saw bit. The diameter of the bit matched the shank that sits in the door and connects the beer keg line to the tap. He used a smaller bit just to mark the position of where the tap would be placed and then used the larger saw bit to drill through the door. Refrigerator doors have a thin layer of sheet metal that you need to cut through, along with some insulation, and finally, plastic on the interior side of the door. It didn’t take too much effort to cut the hole into the door.
- Use the fasteners that come with the shank to secure tightly to the door. I know this step sounds like common sense, but we really had to tighten the collars to the point where they were indenting the plastic on the inside of the door to ensure a good seal. Just keep that in mind.
- Buy tubing, a beverage out connector, and fasteners. The iTap didn’t come with any of the supplies that you need to get beer from the keg to the tap. When you’re prepping for your tap installation, remember to get all the things you need to connect the keg to the tap.
- Get a drip tray. After you’re done pouring your beer, the tap will drip. Having a tray to catch those drip is essential so you don’t have to clean up beer every time you open the tap. I got one and used some magnetic tape to place it on the door. Of course, you can secure yours permanently in place with screws but in my case, I wanted the flexibility to move it up or down based on what I was filling.
Installing the tap was pretty easy once the hole cutting was done. If you have been kegging for a while, the connections from keg to tap should be familiar to you.
Hope you liked this video. Thanks for watching and Brew ON!
Leave a Reply