Brew Dudes

Homebrewing Blog and Resource

The hobby of homebrewing beer

Maintaining Fermentation Temperatures

With the new (to me) house, I am still learning my way around where the best place to brew is (day and night editions), where the best place to store equipment is, and where to ferment.  It’s important to know where you can maintain fermentation temperatures in your living space.

In the winter time, it was easy…I just set up my heating pad rig with a blanket in the basement and I was good to go!

Now that it is spring, the basement may be too warm for the rig to be optimal.  It may make things too hot.  I just don’t know my basement well enough yet.

On top of that, we here in the Northeast experienced some fairly warm temperatures over the past 5 days.  We broke records in Boston with 93 degrees yesterday making the temperature in the house pretty balmy.

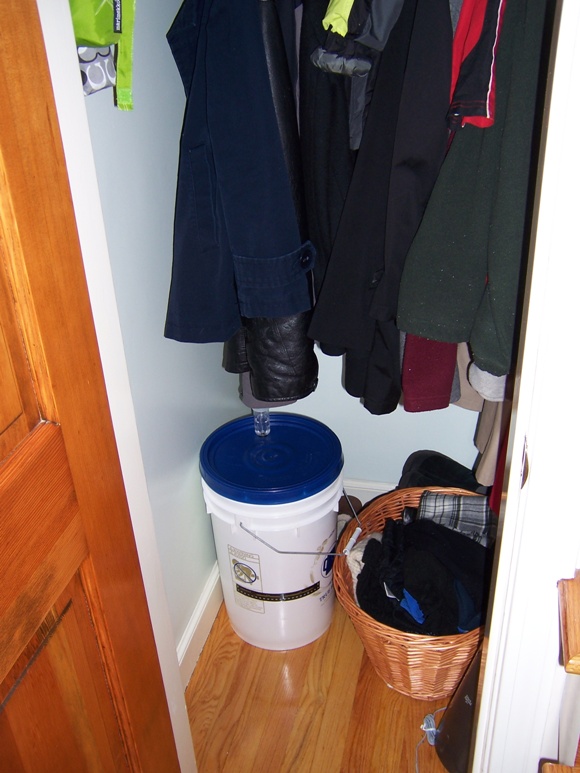
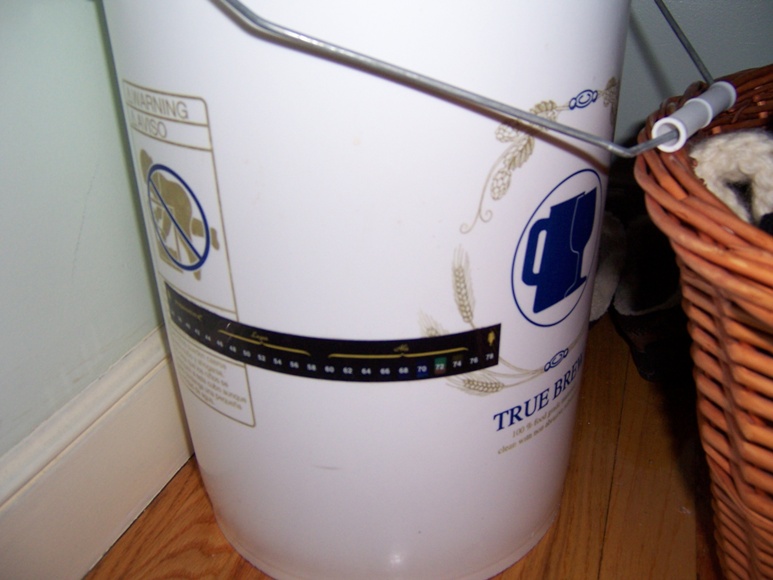
Thankfully, the small closet near the front of the house saved the day.  Not sure if it is just really insulated well or what, but the ambient temperature in the closet stayed cool.  My fermentation bucket stayed right in the range it needed to be.

I have put the bucket in this closet before, but it was winter and I think my heating pad rig worked better.
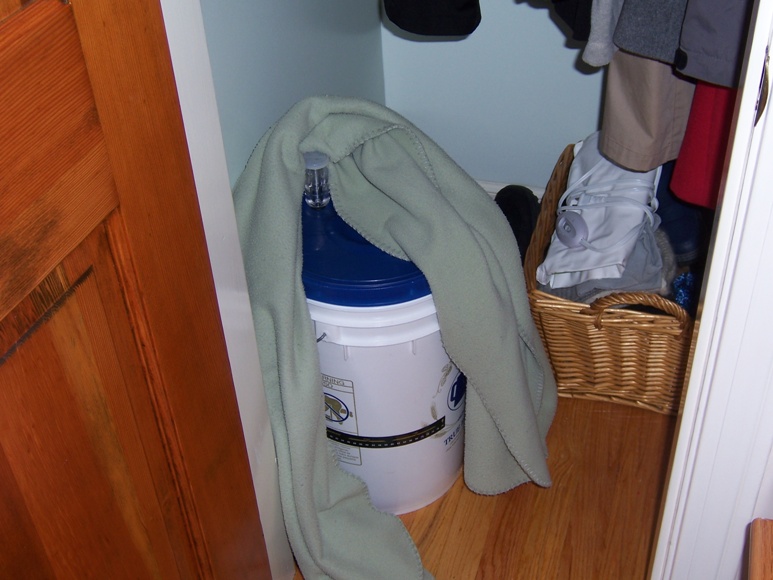
Now I know where to ferment in non-winter months.  Until I get a fridge with a thermostat, this knowledge is valuable.

Some photos of the fermentation closet:
Fementation Closet Fermentation bucket in closet Good fermentation temperatures

Northdown Hops

While I am waiting for the Chelmsford Pale Ale to finish fermenting, I did some research into the hop variety known as Northdown.

This is an English hop that was developed in the 1970s as a bittering hop.  The alpha acid content was high for the times.  Nowadays, with varieties having alpha acid percentages in the double digits, it’s not as impressive.  Northdown hops live on because of their apparent excellent flavor profile.  Every source said they have excellent flavor characteristics!

Origin: UK

Aroma/Flavor: Excellent!  One source said very resiny.

Alpha Acid: 7.5 – 9.5%

Typical Usage: Dual purpose.  Probably better suited for flavoring in the 21st century.

Beer Styles: English Ales.  Porters were mentioned mostly.

Using Liquor In Homebrew

This month’s Fermentation Friday is being hosted by NorthernTable.com.

The theme is as follows:

My topic is all about liquor….and how you use it in your brewing!

I think the best example of using liquor in homebrew is the Holiday Ale that Mike created. It may not be the season to be brewing holiday ales, but keep this one in mind for late summer.

Here is the recipe for Mike’s Holiday Ale with Bourbon!

First All Grain Brewing Session Learnings

So I have had a few days to think about it and after reviewing my notes, I thought I would post some learnings about my first all grain brew session.

1. My converted cooler did great.  It kept the 4 gallon mash’s temperature constant for an hour.  It didn’t work well for partial mashes.  If you are going to do a partial mash, you should get a cooler that fits your mash volume.  If you are going to mash a small quantity (~1 gallon of water to a few pounds of grain), then find a smaller cooler that is closer to that volume (2 gallon cooler).  Bigger coolers just don’t do a good enough job.

2. I have to get myself a grain mill.  I need to have control over my grind.   My base malt had a very fine grind and we had a few stuck sparges along the way.  If I have my own grain mill, I will be able to control the grind and make sure I have grain that would become one hugely condensed cake at the bottom of my mash tun.

3.  I need to get another large pot for sparge water.  You never know how much you are going to need.  It’s better to have the flexibility of another kettle to heat up sparge water and be able to do it quickly.

4.  It takes a lot of time to brew all grain, but I think it’s worth it…  Well, I will really know if it is worth it when I taste the beer.  Homebrewing is a lot of fun and the time doesn’t seem wasted.

Brew on.

Check out these posts about the brew session:

All Grain Videos

Batch Sparging Tips

All Grain Brew Day


Batch Sparging Tips

During the all grain brewing session on Friday night, Brew Dude Mike gave some batch sparging tips that we captured on video.  The tips are focused on how much sparge water is needed to hit our boil volume target.  The volume of sparge water is calculated based on how much we expect to get out of our mash tun in our first runnings.  Watch the video to learn more about what you need to keep in mind when batch sparging.

Although our mash was a little thin, our extraction was pretty high.  I think when we checked the specific gravity on the first runnings, it was over 1.080.  I think it was due to the fact that we had such a fine crush…which we talked about in other posts.

Check out more information on the brew day!

Page 265 of 322

Powered by WordPress & Theme by Anders Norén