Brew Dudes

Homebrewing Blog and Resource

The hobby of homebrewing beer

Ball Lock Disconnects

In this part of our kegging series I’ll go over an easy part of the equipment but the vital pieces that allow you to put it all together, the disconnects.

I use all ball lock equipment.  I think that most keggers are using ball locks today, but there may be some secret enclaves in the country where only pin lock stuff is available.  So be sure that you know what your favorite shop carries for equipment before you start searching for kegs.

On the top of your keg there are two posts.  Most kegs will actually say on the top of the keg, at the base of each post, “IN” and “OUT”.  Simply put one is for the gas in, then other is for the beer-out.  Inside the keg you’ll see that the gas in side has a small 1-2 inch long dip tube.  The length of that tube is really sort of meaningless as you don’t do much with it (unless you want to use a carbonation stone, but we’ll talk about that at another time).  The center of each post has a small circular valve that is spring loaded, this is called a poppet.  The poppet pushes up agains the inside of the post to seal the keg off from the inside.  Getting the beer out or the gas in all happens at the poppet with the disconnect.

If you look inside a standard black or grey disconnect you’ll see a plastic pin.  That pin is what pushes down the poppet to allow that valve to be open when the disconnect is on.  Below are a couple pictures of the standard dissonnect.  Normally, the black ones are for the “out” side, or beverage side. The grey ones are for the “in” side or the gas side.  These disconnects are very simple to use.  They simply slip down on top of the correct post (in or out) and snap on.  To remove the dissconnect, there is a round collar that you simply pull up on to release the “ball lock” and then you pull the whole connector off of the post.

Basically you can use standard clear food grade vinyl tubing to go from regulator to gas-in connector, or to go form beverage out connector to your beer faucet.  There are some more specialized types of tubing but I have always used the standard tubing.  The diameter of your gas line is not all that important, however the diameter of your beverage line becomes an important consideration.  The diameter of your line, and the length of that line is important and can cause excess foaming in the beer if not chosen correctly.  In the kegging process we call this balancing the system.  It can be a difficult topic to cover, so I’ll write about that separately and stay focused on the parts here.

The last thing you need to get (post ball locks, and tubing) is a faucet of some sort.  Beer is delivered through a faucet, not a tap.  A tap is the part of the system that draws the beer out of the keg.  In this case the “tap” is the black ball lock dissconnect.  If you were “tapping” you favorite commercial sanke keg of beer, the tap is the device that you push down onto the keg’s large center post.  Beer is delivered out of a faucet.  When you get started a standard picnic or cobra faucet is all that you need.  Here is a picture:

You deliver your beer through the faucet to you glass (or mouth!).  One key I always have to remind people is that you should fully depress or open the faucet.  Or no matter how well balanced your set up is, you’ll get foam.

I have been playing around with some of my kegging stuff lately as I am getting some of my most recent brews ready. I think that the best way to see this stuff in action is through a video.  I’ll try and get that up soon with this post.

BREW ON!
Sprint to the Finish

It’s September! In September I always start thinking about how I am going to wrap up the end of the year as a brewer. Also, for most of us the extra warm temps of the summer are starting to slip behind us and there is a limited window of opportunity to brew in some ideal temps if you don’t have an active temp control set up for your brewing. There are only a few short months left to brew what you want to brew before the year ends. I start thinking about the Fall beers I want, and any holiday beers I may want to lay out. The latter is certainly important to think about now as these beers tend to be a little bigger and will take more time to mature.

So as my brew kettle starts to ramp up here is my short list of things to try and knock out before the year is out:

  1. Oatmeal Stout– I want to try a new recipe concept with some Munich and Crystal 15
  2. Cherry Wheat– This one is just a fun beer. I didn’t brew any wheats this summer, to the chagrin of my wife. That and I told John I would give him this pound of lactose I have in my supply closet. He wants to make a sweet chocolate stout. I figured blending some chocolate stout and cherry wheat might make some really cool black forest beer. So yeah, I am putting John on the spot for this one.
  3. Sweet Potato Beer– A fall beer recipe I have had kicking in my head for over a year. Its time to bring it to life.
  4. American Cream Ale– My inlaws have really taken to this beer, we have been working on a keg of it I have for most of the summer. I like the ego kick it gives me as they salivate over pitchers of this beer. With family get togethers coming from Thanksgiving to Christmas, brewing up this one before then will keep my ego pumped through the new year.
  5. Holiday Ale– I have a beloved recipe that I haven’t made in a couple years for this one. Its a real winner and I won my first competition medals with this many years ago. I might increase the OG 10-15% so I can age it a bit as well.

The list could have easily been longer than that but I have to draw the line there somewhere. On top of that as a blog we are still covering kegging for newbies, I have a baltic porter and a pale ale to write up, we are still working on some more regular video logs as well. I am building a new keg mash tun, I have placed a pump in my process now, and I need to finish off my kegorator. So there is much for us to do and write about.

We’d love to hear what’s on your year end brew sheet!

BREW ON!

Belgian Witbier First Tasting

Four weeks after brewing the witbier, it was time to taste how it turned out. Well, I have to say I thought it would have been better.

When I was bottling this beer up, I was tasting it and there was some good flavors coming out of it. I really got a sense of the silky mouthfeel of the oats and the softness of the wheat.

Since it carbonated, the phenols from the yeast are really up front and present. The spice/citrus notes are very present too, making this white ale play more like a saison.

I don’t think there are any off flavors from contamination. I think this is more of a fermentation temperature issue. I did my best to keep the beer at 68°F for the majority of the fermenation. Maybe the water bath I had the carboy in wasn’t enough to insulate it from the warm ambient air temperature, which was around 80°F in my basement.

I don’t know. I am going to have Mike taste it and get his notes. The bottles are now in the beer fridge. I hope that some cold conditioning will help mellow out some of the flavors. I’ll put this one into competition to see what judges say.

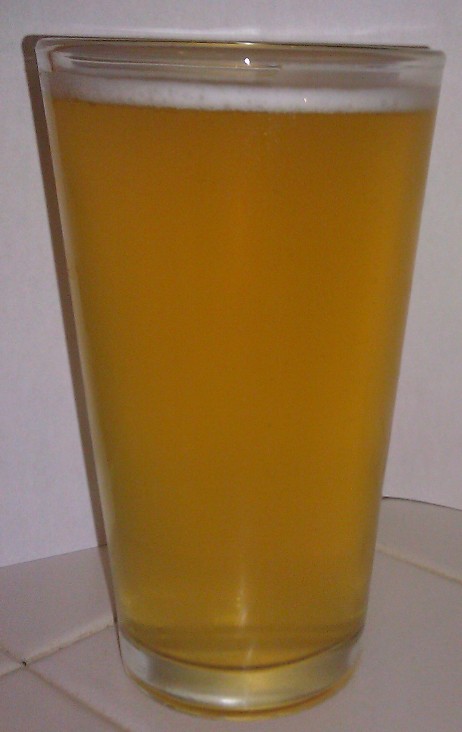
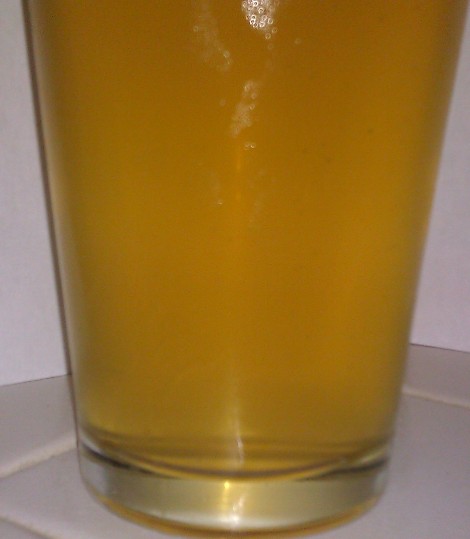
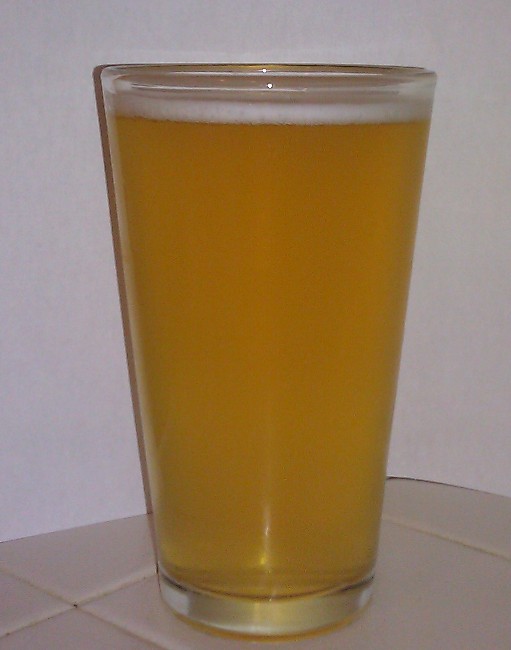
I took some photos to show the color off. It’s not as “white” as I’d like it to be.

Belgian Witbier Belgian White Beer Homebrewed Belgian Witbier

CO2 Regulators and Tanks

The next installment of our Kegging your Homebrew series is all about the heart of the system, the CO2 tank and regulator.  We covered Corny Kegs in our last post, in short that’s where the beer goes.  Next we need to have a way to put CO2 in the keg, get it to dissolve in the beer and use the pressure to dispense the beer (We won’t talk about carbonation levels and balancing the system here, as that will take a separate post, or more).

I took a picture of my CO2 tank and regulator as its hooked up to my kegerator right now.  You can see the gray/silver tank.  I use what’s called a 5-pound tank.  This is pretty standard.  The next size up is 20-pounders.  I have heard about 10-pound tanks, but those are an awkward size and my gas supplier doesn’t carry them.  The top of the tank itself has a valve on it which opens the tank and allows the gas to vent out to the air, if you don’t have a regulator on there.

(Opening the tank valve is not recommended without a regulator unless you are into loud hissing noises and are not prone to a little frost bite should you spray yourself or fingers with gas.)

In the picture, you can also clearly see my two dial regulator.  The regulator is used to regulate the amount of CO2 that comes out of the tank.  The gauge on the left lower side reads the total pounds of pressure left in the tank.   The gauge at the top of the regulator is the amount of pressure that is being applied through the red “exit” valve at the base of the regulator.  You can see in the center of the regulator a screw and nut assembly (sometimes this might be a small T handle or a wing nut, depends on the manufacturer of the regulator).  This nut is what you use to dial in the amount of CO2 you want to come out of the tank, read in PSI (pounds per square inch).  Lastly, all around the CO2 regulator you can see a triangular cage.  That is normally an additional purchase.  It is a protective thing that will protect the gauges from getting broken should the tank tip over.  I didn’t use one for years, then one day I knocked the tank over and busted the tank pressure gauge.  Not a big deal but eventually it got annoying to not know if I was getting close to empty.  So I bought one and you can see it installed there.   I highly recommend getting one.

CO2 tank

A word on gas supply.  Many kegging starter kits come with CO2 tanks.  While the regulators are usually the bulk of the cost, the tank is usually a close second.  Before purchasing a kegging kit, I strongly recommend you research where you’ll be getting your CO2 from.  CO2 suppliers are often one of the following business types: gas supplier, welding supplier, fire safety/extinguisher, paintball hobby store.  Regardless of where the CO2 comes from its usually sold in two formats either via refill of your tank or by tank swap programs.  The reason this info is important is because if you buy a kegging kit that includes a tank and you can’t find anyone to fill it, you’ll have to kiss your nice shiny new tank goodbye to a swap program.  So if having a shiny new tank is important to you, be sure you have a local place that will fill tanks, not swap them.  This happened to me when I started.  There were no reasonably close filling stations near me, eventually I had to bone up and say good by to my tank.

Its not a big deal really in the end.  Eventually tanks wear out and the gas supplier is required by law to take it out of service.  If you own the tank for 10 years say, they take it and cut it open to be sure its out of service and throw it in a pile (you don’t even get to keep it for salvage metal prices).  Then your buying a new tank.  I personally like the swap program because that element of service date is on the supplier and the swap “lease” fee is cheaper than the new tank usually.  All I pay for when I go in after that one time fee for the tank is the fill up.  Which is usually $18.

One last issue on tanks.  It’s expensive to get started, but you may want to consider two tanks.  The reason being YOU WILL eventually run out of gas.  And YOU WILL run out when you have twenty thirsty friends coming over for a pig roast.  So if you have two tanks, you’ll never run out.  Keep in mind that when you first set up the system, you may have a small leak somewhere, and in your excitement to get carbonated, run your tank dry before you even get that first sip of beer.

That’s the long descriptor for tanks and regulator parts.  In future posts, we’ll go over how to use the tank and CO2 regulator to carbonate the beer.  But first we’ll need to discuss tubings and disconnects for putting the whole system together.

BREW ON!

Homegrown Hops Harvest 2011 Part 2

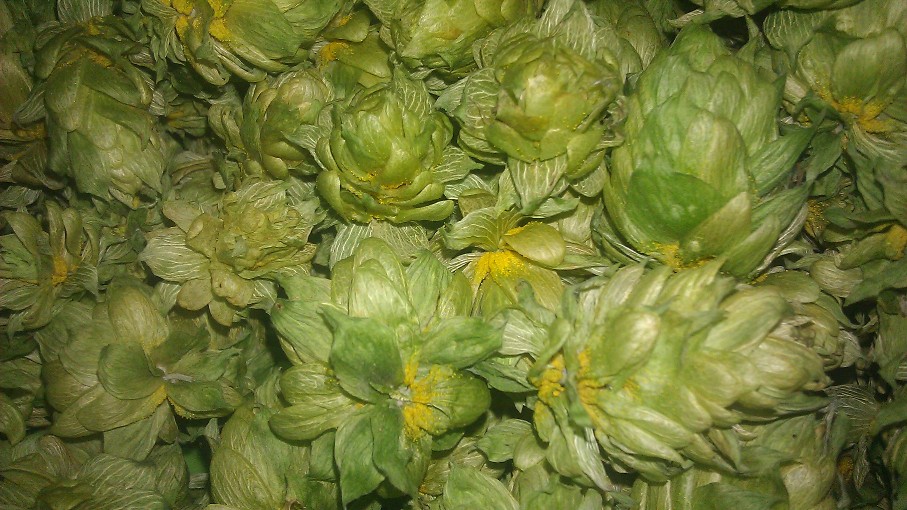
On Sunday, I harvested all the hop cones that grew on the bines since the first harvest in July. I didn’t expect there would be two rounds of harvesting this year but I am not complaining.

The cones are currently drying right now. I plan to bag them up and weigh them tonight to see what kind of yield I got this year.

UPDATE!

With the two harvests, I collected 5 ounces of homegrown Magnum hops in total this year. That is a 300% increase as compared to last year. Maybe we can see that same year over year growth in 2012?  We will certainly try.

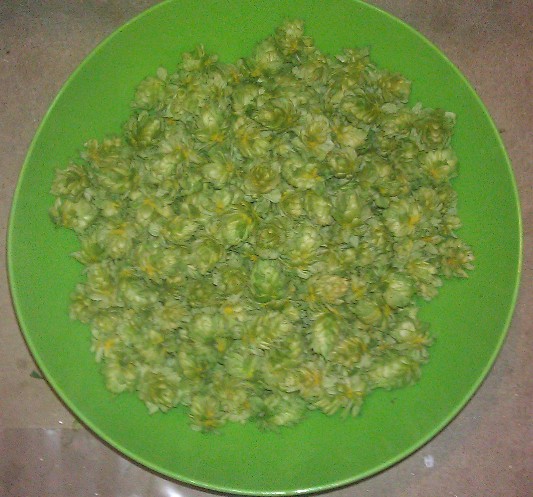
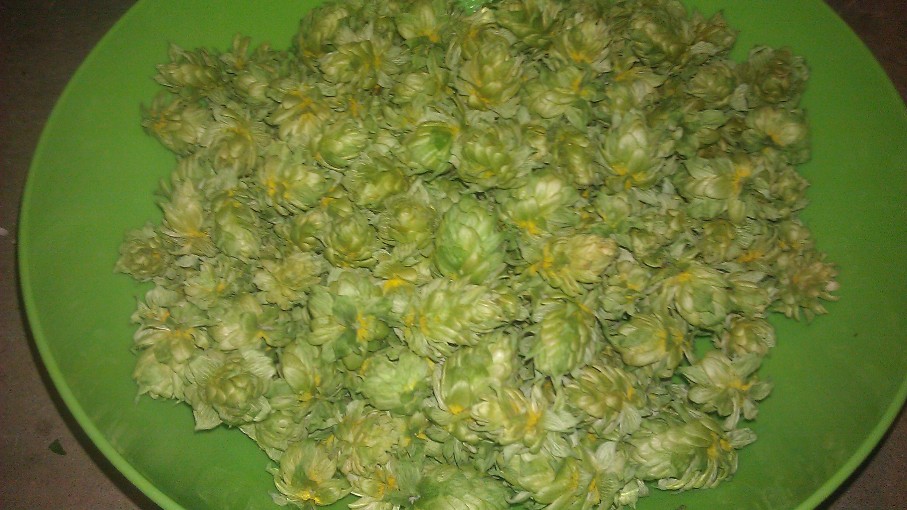
Harvesting Hops 2011 Dried Hop Cones Dried Hops with Lupulin Close-up

Mmmmm….Lupulin… Bring on the Harvest Ale Brew Session!

Page 204 of 322

Powered by WordPress & Theme by Anders Norén