Brew Dudes

Homebrewing Blog and Resource

The hobby of homebrewing beer

Purchasing a Mill

Not too long ago John posted a piece about buying a grain mill or buying a refractometer. Recently while shooting video for the site, we started talking about it again, but this time with the camera on.

Several advantages to having a grain mill arise. First is the ability to buy grain by the sack. Often you can get sack grains a bit cheaper per pound then when you are buying in in only 10-15 pound quantities from your local homebrew shop (LHBS). While you can save a few bucks this way, the downside is that now you have 50 pounds of a particular grain. Not a big deal if you plan ahead and brew say several lagers and Belgian beers at once with a sack of Pilsner malt or if you plan out a flight of English Session beers, Stouts, and Porters with Maris Otter. However, many homebrewers jump around the style chart and getting locked into a 50 pound sack can be a challenge.


The second major advantage is freshness of the crush. While uncrushed sacks of grain will stay pretty well if stored properly, crushed malt does start to stale regardless of most home storage systems. This also includes crushed malt that you have shipped to you from online retailers. Having a mill lets you plan your brew days a little better because you don’t have all the fear of all that crushed malt for your next recipe slowing getting stale.

We also ponder the choice of mills and we balance the pros and cons of buying certain types of equipment rather than building it yourself. We note that time and money being the primary factors.

This hobby can be expensive. We wonder if buying everything you need to be the best homebrewer you can be is the ultimate answer to improve your home brewing skills.

Join in the conversation and leave a comment on the video if you have a preference of mills over refractometers or otherwise.
American Barleywine Recipe

The plan for next year is to brew a few cellar beers. I have an idea of giving away some bottles as gifts and big beers that can change over time would be ideal. Secretly I am hoping the gifts will be shared with me years later so I can tell them how much different it tastes, but that’s me being selfish. I think a couple of bottles with nice labels on them – one to drink now and one to drink later would be a fine present to find under the tree.

One of those big beer is an American Barleywine. I had to refer to my own style guideline to remember how to brew this strong ale.

There are some pointers to keep in mind when brewing American Barleywine. Most of the intense malty flavor comes from the pale base malt wort boiled for a longer time period. Of course with any beer -fermentation temperature and yeast pitch rate are important. With this style, you really need to dial in both factors for the beer to turn out right. It shouldn’t be too hot with alcohol flavors or too sweet from an unfinished fermentation.

Boil Volume: 7 gallons
Batch Volume: 5 gallons

Ingredients

17 lbs 2 Row Malt
3 lbs Munich Malt; International Malting
1 lbs American Caramel 40°L
1.5 oz Chinook Pellets – 13% AA boiled 60 mins.
0.50 oz Centennial Pellets – 10% AA boiled 15 mins.
0.50 oz Citra Pellets – 12% AA boiled 1 mins.
Yeast: White Labs WLP001 California Ale

So that a pretty big grain bill, right? If your equipment can’t mash that amount of malt, you can reduce the amount of 2 row malt to 4.5 pounds and add 7 pounds of Extra Light dry malt extract instead. Your numbers will be close to the all grain version.

Instructions

Mash grains at 150 degrees F for 90 minutes. Boil wort for 90 minutes. Add extract at the beginning of the boil if you are using it. Add hops when specified. At the end of the boil, cool wort to 68 degrees F and aerate well. Pitch a mighty yeast starter.

Ferment at 68 degrees F until final gravity is reached. Don’t rush it as it could take a while. Bottle and keg as usual. Store bottles somewhere dark and cool for 6 months before enjoying. Hide some bottles to be enjoyed years from now.

Mixed Berry Mead Recipe

I like making mead in the winter. It’s probably because I don’t have to go outside to make it.

This recipe is for a mixed berry mead based on Ken Schramm’s Mambo in your Mouth melomel. I adjusted it for a 4 gallon batch.

Ingredients:

9.5 pounds of orange blossom honey
2.5 gallons of water
2.4 pounds or 38 ounces of strawberries
2.8 pounds or 45 ounces of blackberries
1.2 pounds or 19 ounces of raspberries
1.6 pounds or 26 ounces of blueberries
2 pounds of cherries

2 packets of Lalvin 71B-1122 yeast

You will need 1 teaspoon of yeast energizer and 2 teaspoons of yeast nutrient and you’ll follow a staggered addition schedule.

Instructions:

First, add .25 teaspoon yeast energizer and .5 teaspoon of the yeast nutrient once all the above ingredients are combined.

And then –

Add .25 teaspoon yeast energizer and .5 teaspoon of the yeast nutrient 24 hours after fermentation begins
Add .25 teaspoon yeast energizer and .5 teaspoon of the yeast nutrient 48 hours after fermentation begins
Add .25 teaspoon yeast energizer and .5 teaspoon of the yeast nutrient after 30% of the sugar has been depleted

I bought some large nylon mesh bags to put all the berries in when they are in the fermentor. I use a bucket for primary and I am hoping the mesh bag makes it easy to remove the seeds from the finished mead.

With the raspberry mead that I made, I had to rack it 5 or 6 times to clarify it.  With the bag, maybe I will only have to rack it 2 or 3 times.

I use frozen fruit for my meads but if you can get your hands on some fresh fruit, go for it.

The mead will ferment for a few weeks but will condition for a good 2 months before it’s ready to drink.  This mead will probably be very “hot” tasting right after the primary fermentation but it will mellow out over time.  The more time you let it condition, the better off you will be.

Target original gravity should be 1.092.

 Check out the steps I took to get ready to make this mead.

Take a look at the details of my mead making day.

Brewing with Homegrown Hops

We taste a fine blonde ale from John this week. The magic of this brew is the entire use of homegrown hops for throughout. Namely, he even used homegrown hops to bitter his beer.

Many people on the ‘interwebs’ will cry foul of trying to bitter your brew knowing the alpha acid content. We say poo-poo to them. We have found that when using homegrown hops you CAN assume the alpha is in the predicted range for breed of hop you are using. In the end, you might be off by a few IBUs from what the try alpha might say, but its not noticeable.

More importantly brewing is an art. People condemn bittering with homegrown hops because we tend to forget how great beer is made. Great beer never comes out of a piece of software, magazine or water calculator. It’s a function of brewing a beer, tasting it, re-developing the recipe or process and brewing it again.

The same goes with homegrown hops. If you assume the alpha to be in an average range then you’ll make good beer. If it’s not bitter enough or over hoppy, then make your adjustment and brew it again. We can never emphasize enough the necessity of brewing and re-brewing to get better. If burning a 5 gallon batch on homegrown hops is too much risk for you, then brew a pilot one gallon batch and see where those hops get you.

The bigger problem, as I see it, with homegrown hops is in the essential oil content. The essential oils responsible for aroma is often really effected by growing conditions and harvest time. More so than the alpha content. So homegrown hops, in my opinion, are more likely to let you down as aroma hops. There I said it, the opposite of what everyone else tells you about homegrown hops.

Well watch the video and take our tips under advisement. Leave a comment if you have experience with homegrown bittering hops.

Fermenting Cider With Raisins

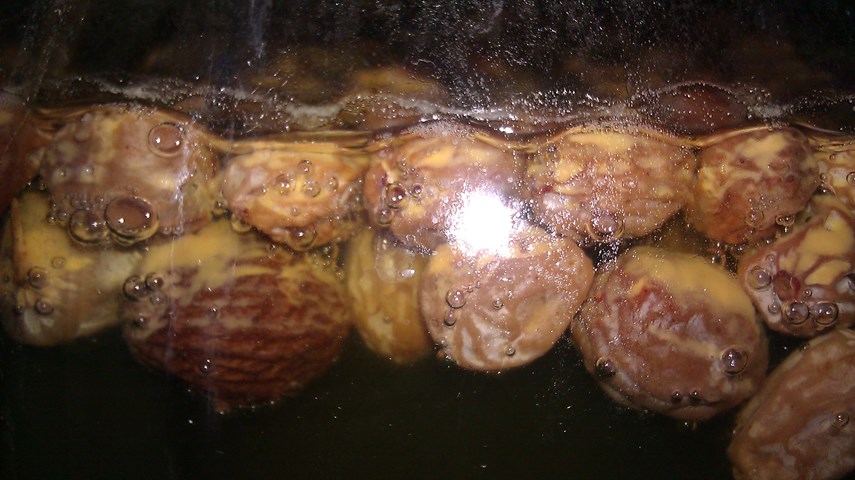
When I was younger, a friend of mine told me how his uncle would buy freshly pressed apple juice from an orchard and turn it into cider by adding raisins and letting it sit on the back porch for a couple of weeks. After that time, his uncle would have a nice bubbly beverage for Thanksgiving.

Flash forward 14 years and here I am adding raisins to my cider.

Now, from my friend’s story of his family cider making, the raisins appear to have been the delivery system of yeast to ferment the juice into cider.

My use of them? I guess it’s the same reason, but I already had a primary fermentation using English ale yeast.

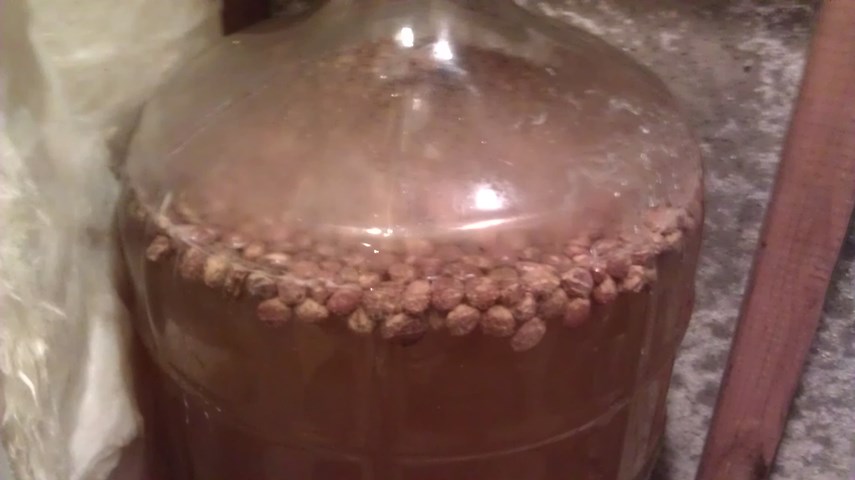
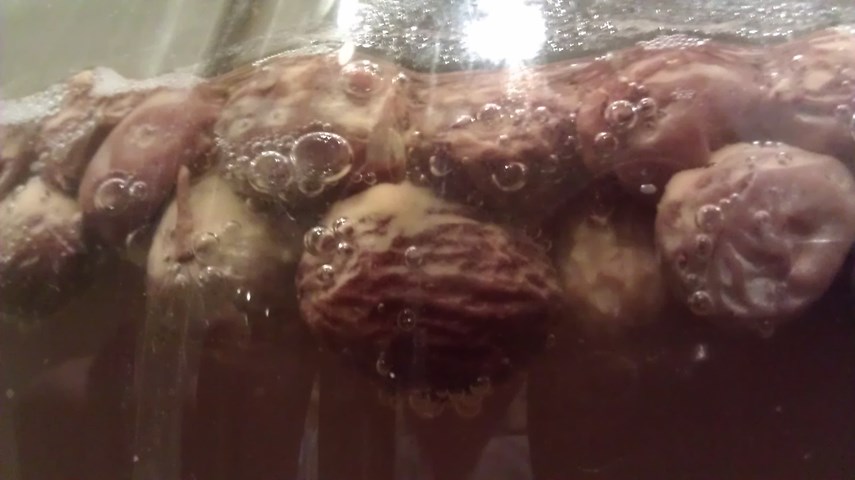
These raisins were added after I racked the cider into a new, secondary container after things started to settle down after 3 weeks in the carboy.

Last year, I used raisins in my New England hard cider but I don’t think I did it right. I chopped them up and I steamed them for 15 minutes before I added them to the cider.

Chopping them up was a big mistake. It was difficult to rack the cider away from the floating bits of the dried fruit. The bits were in the bottles I entered into competition and I was dinged for it.

This year, they were added whole and as they were. No steaming – I was hoping the yeasts that were on the raisins made it into the cider.

I am not sure what flavors the raisin’s yeasts will bring nor do I know if the cider will pick up any dried fruit flavor from the extended contact in the secondary vessel.

We’ll know more after this batch is done. I will not be adding any other flavor agents to this cider. No oak chips or any spice. This cider will only have the addition of raisins.

I bottled this cider and had some initial thoughts on the taste of it.

See how the finished cider turned out in our tasting video!

Page 150 of 322

Powered by WordPress & Theme by Anders Norén