Brew Dudes

Homebrewing Blog and Resource

The hobby of homebrewing beer

Warm Temperature Lager Brewing

Homebrewing gets interesting when the brewing doesn’t go as planned but the results are still great. That’s what happened with my most recent lager brew. A somewhat unconventional warm temperature lager.

I have this beer labelled as “Red Lager” on my kegorator. John however has redubbed it Resurrection lager. The first attempt at a springtime red lager was a disaster. I let a mash sit overnight in my garage but it was too cold out there and the mash settled in at a pleasant 100F. A perfect temp for all the bacteria and stuff present in the grain to have a real party with the converted mash. I have done overnight mashes in the past with ill effect but they usually only lose enough temp to get down to the 140F-ish ballpark.

Not wanting to be defeated (and having all this lager yeast ready to go) I scrounged around for ingredients. Finding what I had available and mainly relying on some Carafa Special III for color I made a kitchen sink lager of sorts.

Still being somewhat defeated and not really focused on the outcome, I pitched a good larger pitch of WLP833 Bock Lager Yeast, shook it really well and set it in my 60F basement. A far cry from my normal 48F pitching temp for a lager brew. Over the month plus that the beer sat in the basement we would occasionally bump up the temp in m basement for the kids playroom. This would occasionally take the basement up to 65F. And if we weren’t paying attention we’d leave the heat on all night. Then we’d lower it back down. So my lager ferment was also on a roller coaster ride.

In the end, I let it be and didn’t think much of it. Did some other brews with more care and finesse. Once spring really broke, I went into spring cleaning mode and prepped several kegs for incoming beers. The Red Lager went to keg along with a couple other brews ready at the time.

In the end I am super surprised and please with the results. This beer is very clean, very crisp and its also pretty clear. At the time of the video and our initial tastings of the beer it was still a bit hazey. At the time of this post it pours from the keg a brilliantly crystal clear beer.

My lessoned learned here is that at the end of the day brewing is still an art. As much as we want to apply science and technical aspects to it, art (and maybe luck) still play a big role. Secondary to all that is that brewing really good beer isn’t that hard. Beer is pretty forgiving.

If you don’t have dedicated temp control for doing a lager, don’t worry about it. Get yourself a big tub of water and rotate three to four frozen soda bottles in and out of it to keep it cooler than you would your ales. It’ll still be beer!

BREW ON!
Berry Mead Bottling Day

Winter time mead making leads to spring time bottling. The berry mead that I made back in February is now ready for bottling.

Thinking about this mead’s timeline, the fermentation was probably over in about 10 days. I think I let it sit for a month just to be sure it was done.

Once I decided fermentation was over, the mead was racked to another carboy and I added oak chips. I like what the oak flavor brings to the berries in the mead. I think I let the mead condition with oak for another month.

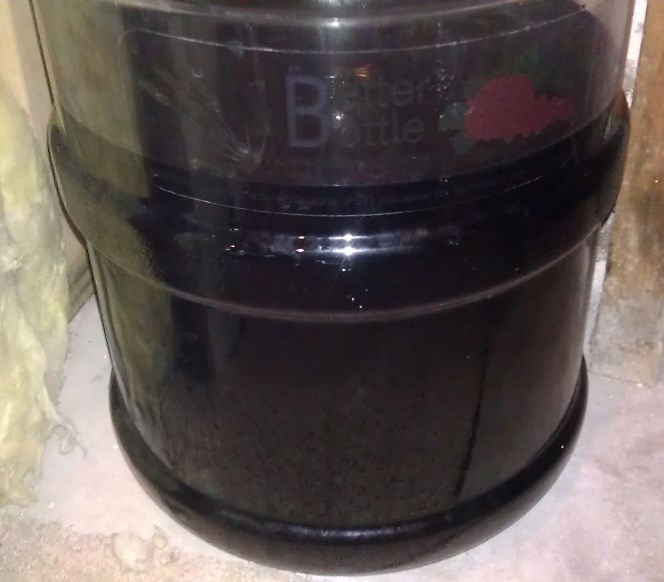
In April, I racked again to another carboy and I have been letting it sit to clarify even more. I think this is as clear as it is going to get.

Berry Mead ready for bottling

What I have found with many of my fermentables is that even if the carboy view isn’t super clear, the view in the glass tends to be a different story.

I have become a little more sophisticated in my mead bottling. Now I am using wine bottles – watch out!

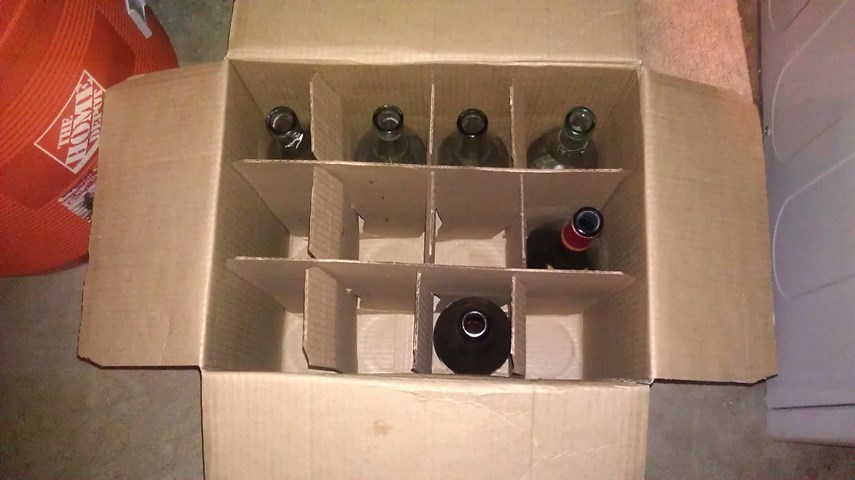
Here is some of my collection:

Wine bottles for mead

These bottles needed a good cleaning. They were rinsed out before they were stored but you could tell that some of the bottles had residue. I soaked them in a solution of PBW to get the gunk out.

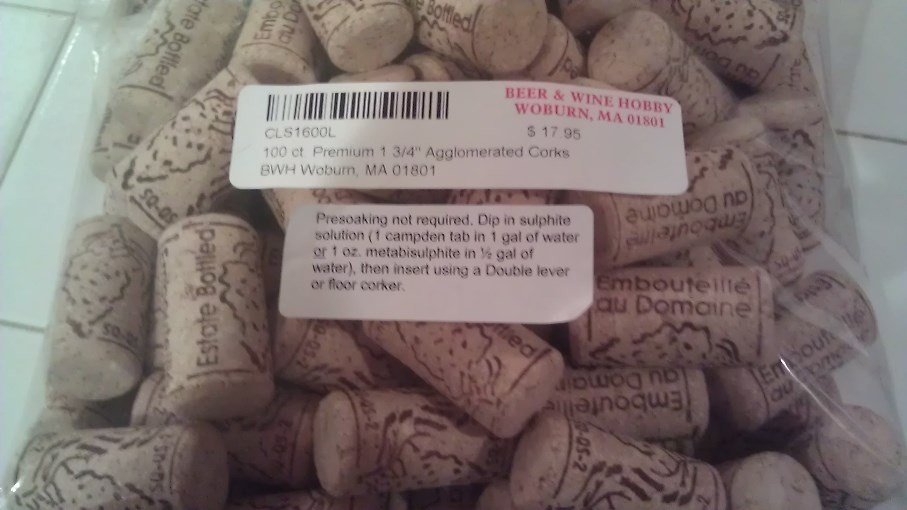
Here are the corks I am going to use once the bottles are filled:

Corks for mead bottling

It’s interesting to note the instructions on the cork bag. They say to dip them into a sulphite solution before corking the bottles. I didn’t know that you had to do that when using corks. Is this standard practice?

When I have used corks in the past, I haven’t treated them at all and I haven’t had any problems. Then again, the bottles don’t get stored on their sides and frankly they aren’t stored for that long. Mead tends to not last long around here.

Since there is not bottle carbonation, the mead should be good to drink right after it is bottled. I have a few 12 ounce bottles to fill for competitions but the rest is going into the wine bottles.

Mead on!

Dunkelweizen Tasting Notes

Spring is well upon us and with that we down some dunkelweizen from John.

John intended to try a dunkelweisse a year or so ago, but it never made it into the rotation.  Dunkelweizen seem to us to be a perfect way to straddle two seasons.  Its still cool enough for darker beers with flavors of caramel and toast.  But our dreams are on the warmer months ahead when we dream of wheat beers and well balanced sessionable drinkers.


Tasting this beer we experience all that German wheat brewing can be. Clean fermentation profiles, hearty malt aromas and flavors and interesting yeast derived esters and phenols (or lack there of if German lager yeasts are still in employ at your brew house).

There is a clear presence of darker malt and a touch of caramel, but not accompanied by a sweet finish. The pilsner and wheat backbone give a medium bodied mouthfeel, but maintain a uniquely balanced backdrop for the character malts that give us the color and flavor.

A great Dunklelweisse (I imagine) makes great use of the malt available while creating a clean enough backdrop for the fermentation profile. Weizen yeasts can be coaxed into a great many flavors. You can push them into banana ester bombs or you can create clove like immensity that would make you cry (at least me). Lurking in there somewhere to I have experienced weizen yeasts that can make the beer seem a little solvent like as well. Not a great combo when the clove is high as well.

These dangers be damned! This version of John’s delivers in the balance category. Just enough clove and a sense of banana that muted way in the back. Its presence is just enough to lure me in for sip after sip, trying to pull the flavors apart. Getting this keen balance is a function of temperature profile most of the time. Assuming adequate pitching volumes and oxygen levels, a cooler than normal ferment seems to restrain some of the harsher edges that Weizen yeast can throw.

While this isn’t normally my style to enjoy, and I certain’y don’t think about brewing it, this version comes out pretty damn good. Some early season brats and pickled cabbage on an early season 80+ degree day would be a perfect pairing combo. (Get on that John!)

Tell us about your Dunkelweizen experiences, recipes or questions. Tell us about your favorite spring-time transition brews! We’d love to hear about it.

BREW ON!

Red Wheat Malt

When it comes to using wheat malt in my beers, I use white wheat malt.  I have known that red wheat malt is available and I wanted to know the difference.  Are they compatible or is one better suited to certain beer styles?  After some reading, I present this post so that you can make your own decisions.

Although it called red wheat, the color of the grain does not differ much from its white counterpart on the Lovibond scale.  Some examples I saw for sale had a slightly lighter color description than white wheat.

The wheat comes from North America and it is malted like barley is for your homebrewing activities.  The starches from the wheat can be converted from mashing the grains.

Brewer’s preference is the leading reason why someone would brew using this type of wheat malt over another.  Here are some other particulars for you to contemplate:

Flavor: Distinctive wheat flavor.  Creamy, smooth, slightly sweet. Great choice for wheat styles.  May be slightly fuller tasting than other wheat malts.

Color: 2.3 °L to 3.5°L

Body: May “thin” out a beer’s body if used in a small quantity.

Use: Can be the majority of the grain bill for wheat beer styles.  Can be using in combination with white wheat malt for a different flavor combination rather than used alone.  A small amount in your grain bill (up to 5%) can help with head formation and improve foam retention.

So, for years, I have avoided red wheat malt and I really shouldn’t have.  I thought that it was a different flavor or color than the wheat malt I always used.  If it is the same price as white wheat malt, then I am going to use it for my SMaSH beers that I have lined up to brew in the next few months.  I think you should give red wheat malt a try too.  The name is deceiving, in my opinion.  This wheat malt may be better than the one you are using.  Test it out and let us know what you think.

Big Saison Brew Day Recap

Here’s a recap post from the Big Brew day last Saturday. Mike didn’t brew any of the suggested recipes but he did take the occasion to brew a saison for summer with an experimental twist. For this saison, he split the final post-boil volume into two separate vessels. One vessel will be fermented with the Belle Saison dry yeast. The other vessel will be fermented with Belle Saison and some Brettanomyces.

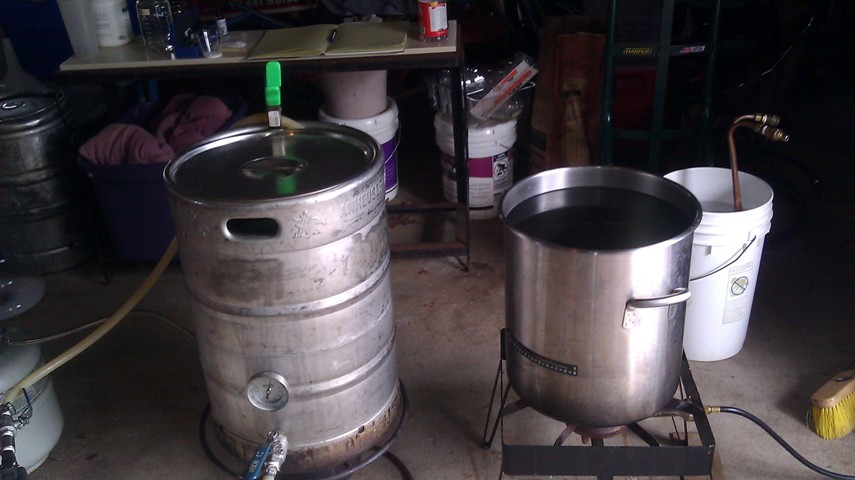
I took some photos during the brew. Mike’s set up consists of some large vessels so he can get a full volume boil for these greater than 10 gallon boils.

Homebrew Setup

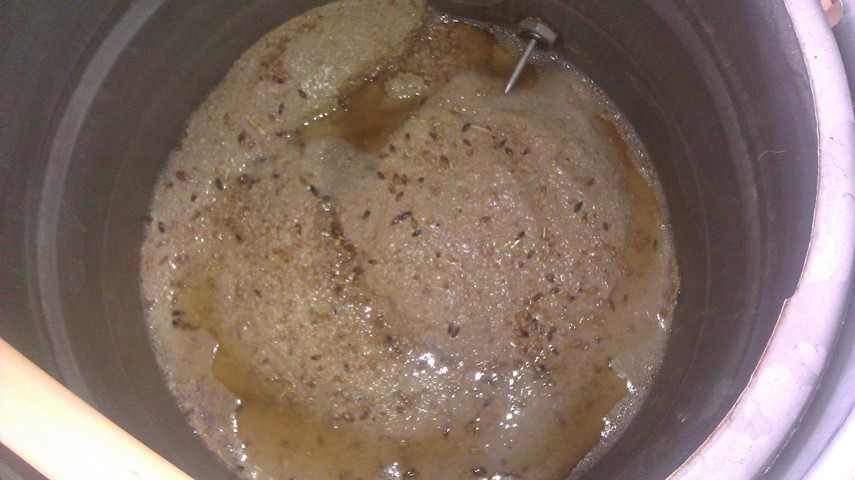
The grain specifics and volumes I did not record for this post but I do know that he is using a little bit of acidulated malt in the mash since he had success using it in the last saison he brewed. Some of the new homebrew club guys hadn’t used the acid malt before so it was a treat for them to see it and chew it so they could know how sour it was.

Saison Grain Bed

The boil went by quickly. That tends to happen when you have a good number of people around to distract you. Chilling is still being accomplished by a large immersible chiller.

After the chill was done, the batch was racked to two separate carboys. They were both filled with 4 gallons each of chilled wort.
One thing Mike remembered that Saison yeast do better with well aerated wort so he was sure to hit both carboys with a good amount of O2. Under-aerated wort is sometimes the reason why saison yeast doesn’t ferment all the way. Well aerated wort can prevent this issue from happening and also eliminate the need for high fermentation temperatures.

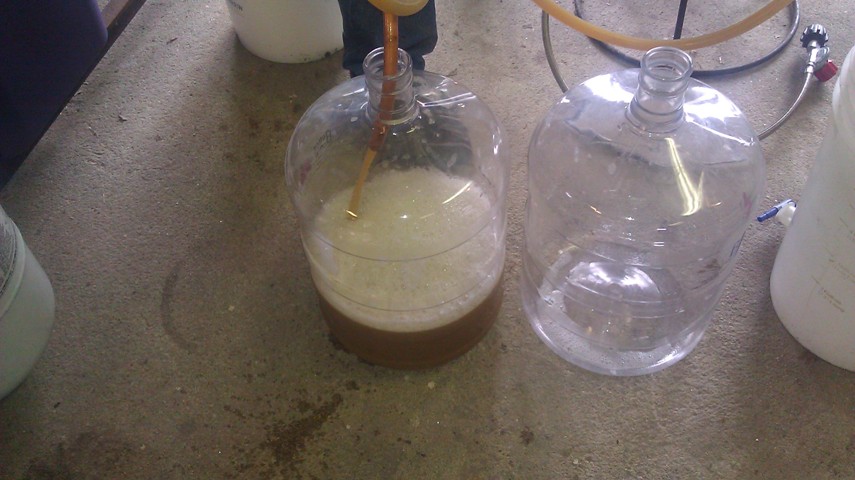
Splitting the Saison Between Two Vessels

As I stated previously, both were inoculated with the dry Saison yeast but only one had a vial of Brett poured into it. The half of the batch should have noticeably different flavor and body characteristics from the yeast only one. We’ll be sure to do a side by side tasting.

Brew On.

Page 137 of 322

Powered by WordPress & Theme by Anders Norén