
Winter time homebrewing.
In some ways, a better brewing experience than its counterpart in summer. The heat from the fire actually warms you up. The cold break you get from the immersion chiller is well defined. Your beer stays cold outside.
All good points but distracting from the main reason for this post. Today I brewed a Maibock.
As voted on by readers of this blog, this was my first attempt at a lager style.
If you are following along at home, I updated the Maibock Recipe to reflect what happened today.
After the mash, I was able to get the boil going pretty soon (ok, it took a while).
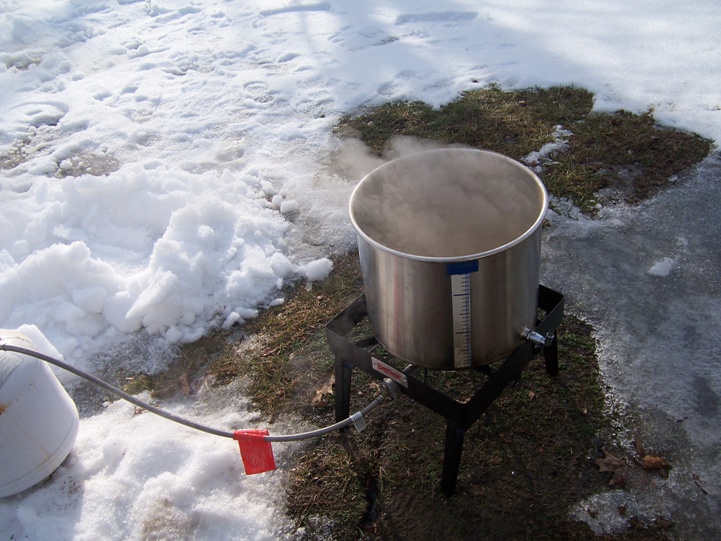
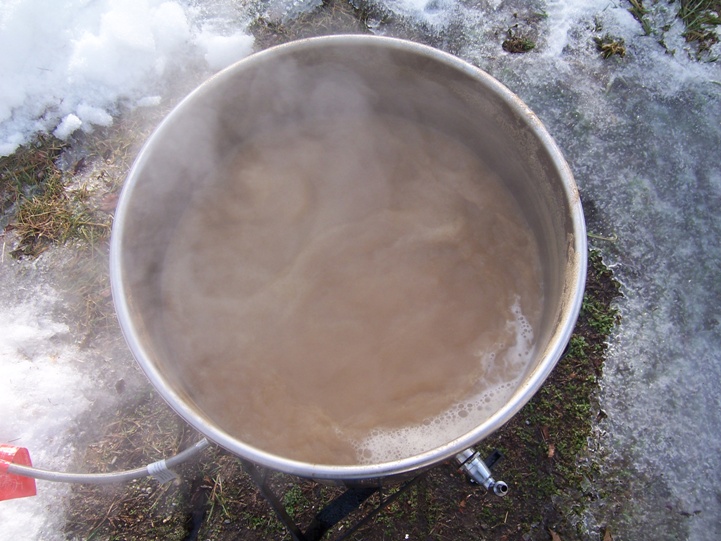
The brew itself had a nice caramel color. I was able to get a 7.5 gallon boil volume going, which tested the limits of my heat source and the size of my kettle.
While things were chilling, I got my yeast starter out for a photo.
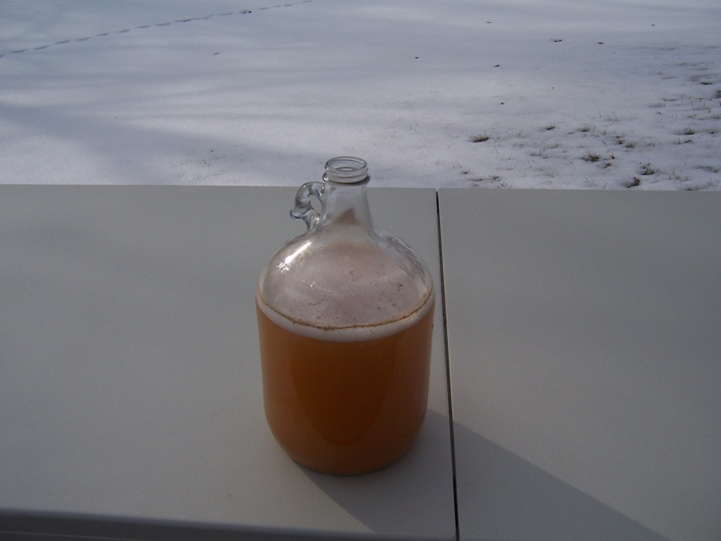
I decanted most of the “beer” off of the yeast cake at the bottom of the glass jug. The bit that was left I used to help swirl around to get all the yeast out.

While things were chilling (it took a while to get it down to the target fermentation temp – a little colder than an ale yeast temp), I was able to pour a beer we got from the Buckbean Brewing Company. Full disclosure: They sent us a couple of cans free of charge. It was a schwarzbier, which was the other choice for my first lager. It went well with the brewing day.
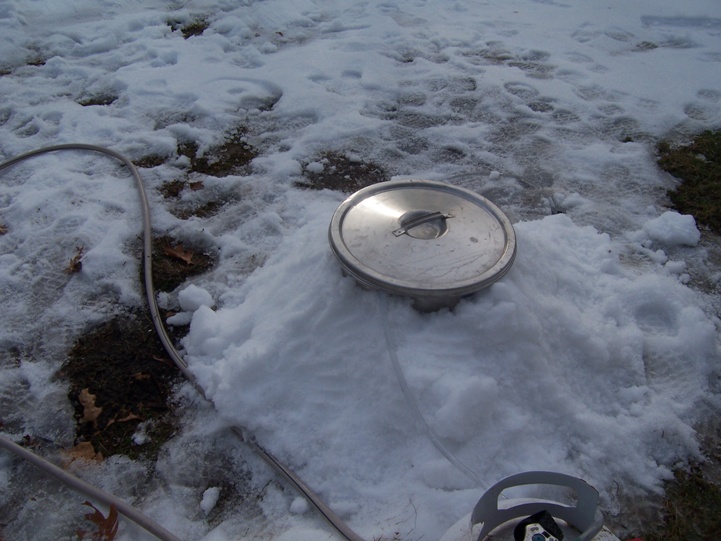
Wort chilling New England style. I had my immersion chiller going and packed the snow around the kettle. It still took an hour or so to get it cold enough, but I think it was faster than without snow.
Good brew day. I hit my original gravity and pitched a good amount of yeast. I am hoping this Maibock comes out well.
Here’s some other posts associated with this brew:
Aaron
Your wort chiller takes an hour to get it down to pitching temps? What size/length coil are you using?
Mine only takes about 15 minutes.
John
I have the entry level wort chiller. I think it’s only has 15 feet of copper coil to cool the wort. It was good when I was stovetop brewing. It’s time to upgrade.
Aaron
Definitely sounds like it… mine’s 3/8″ diameter and 20′ length.
I also get ridiculous water pressure out of my kitchen sink, so that might be helping, too. I’ve found that stirring against the flow of the water in the chiller speeds chilling dramatically as well.
platypotamus
hah! I brewed my first batch during our recent blizzards here in Baltimore, and I considered plunking the kettle down in a snowdrift to chill… wimped out in the end though – way too windy out at the time.
enjoying your posts. good stuff!
Brian
I’ve read that putting the kettle in a snowbank like this actually ends up insulating it (like an igloo). Could be a reason for the slow cool-down. Although, I suspect the wort chiller has more to do with it than anything.
I recently discovered brewing outdoors in the winter as well. My first time out, I thought I would build a fire to keep warm, but found my 75,000 BTU burner was sufficient!